
Changing the computer name is a common Windows Server administration task. You may want to rename a Windows VPS after deployment, apply a consistent server naming convention, or make multiple servers easier to identify.
You can change the Windows Server computer name through the graphical System Properties interface or by using PowerShell. In most cases, the server must be restarted before the new name becomes fully active.
This guide explains both methods, how to verify the change, Windows Server naming considerations, and what to check before renaming a production or domain-joined server.
Before You Change the Windows Server Computer Name
Before renaming your Windows Server or Windows VPS, check the following:
- Make sure you have the required administrator privileges.
- Record the current computer name.
- Choose a unique and appropriate new name.
- Check whether the server is standalone, domain joined, or an Active Directory domain controller.
- Identify applications, scripts, monitoring systems, or scheduled tasks that may depend on the current hostname.
- Make sure you can safely restart the server after the change.
- If the server is running production applications, perform the change during an appropriate maintenance window.
A simple standalone Windows VPS is usually easier to rename than a server that participates in a larger Windows infrastructure.
Choose a Valid Windows Server Name
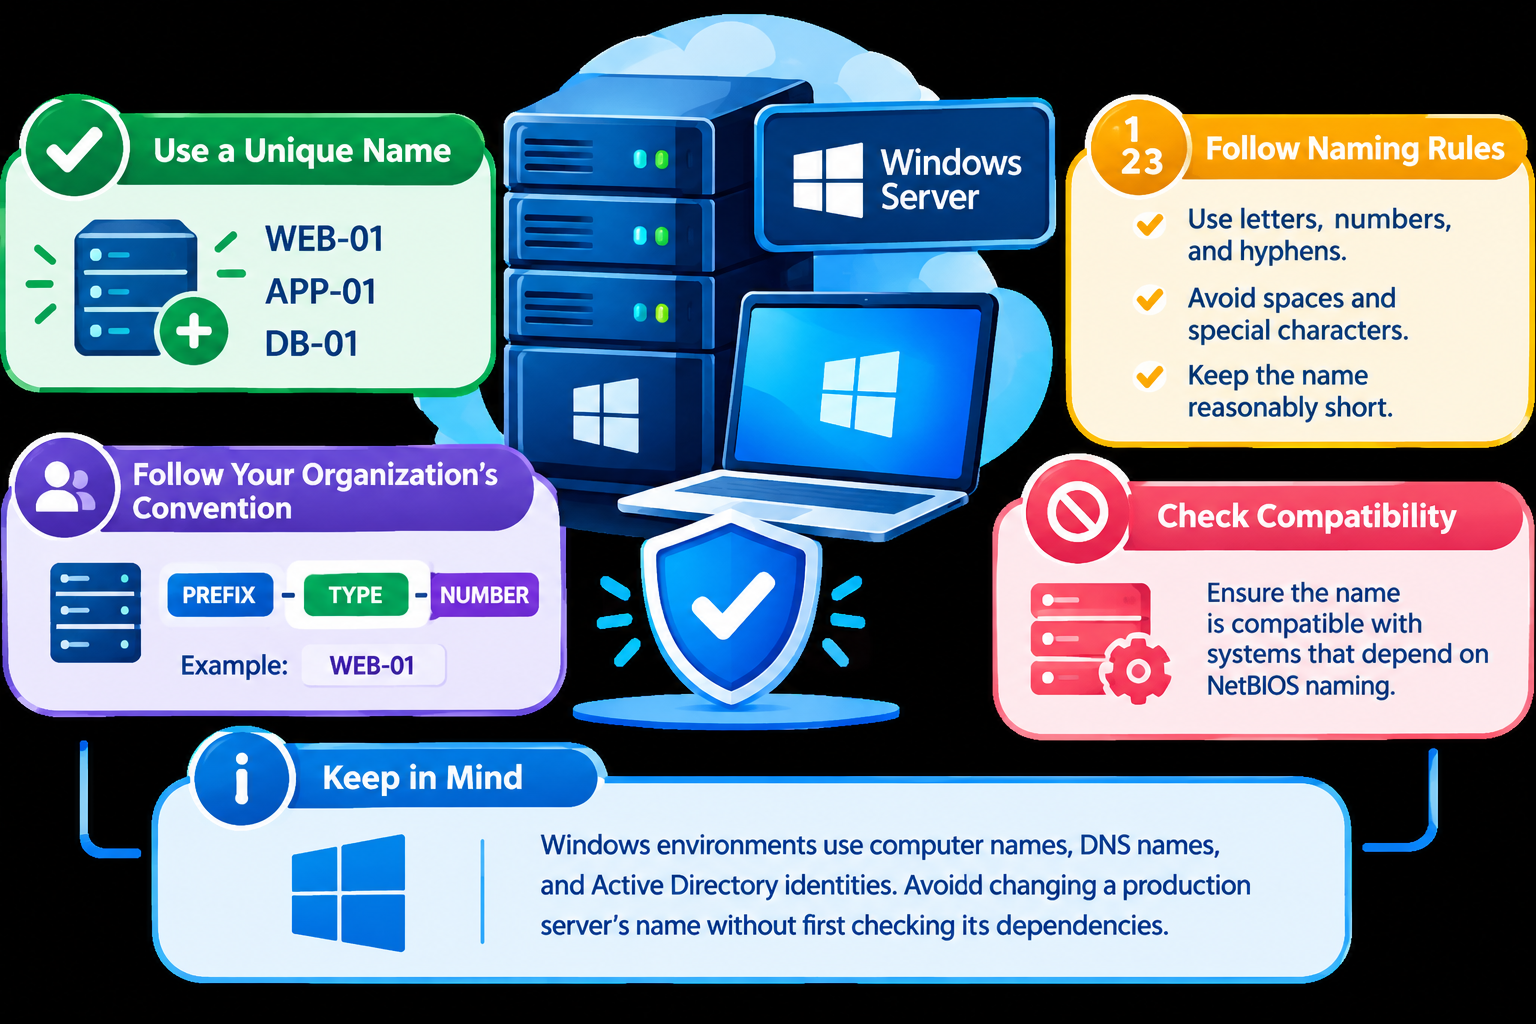
Choose a server name that is easy to identify and follows your organization’s naming convention.
For example:
WEB-01
APP-01
DB-01
Good practices include:
- Use a unique name.
- Prefer letters, numbers, and hyphens.
- Avoid spaces and unnecessary special characters.
- Keep the name reasonably short.
- Follow your organization’s existing naming convention.
- Consider compatibility requirements if the server is used with systems that depend on NetBIOS naming.
Windows environments can involve computer names, DNS names, and, in domain environments, Active Directory identities. For that reason, avoid changing a production server’s name without first checking its dependencies.
Method 1: Change the Windows Server Name Using System Properties
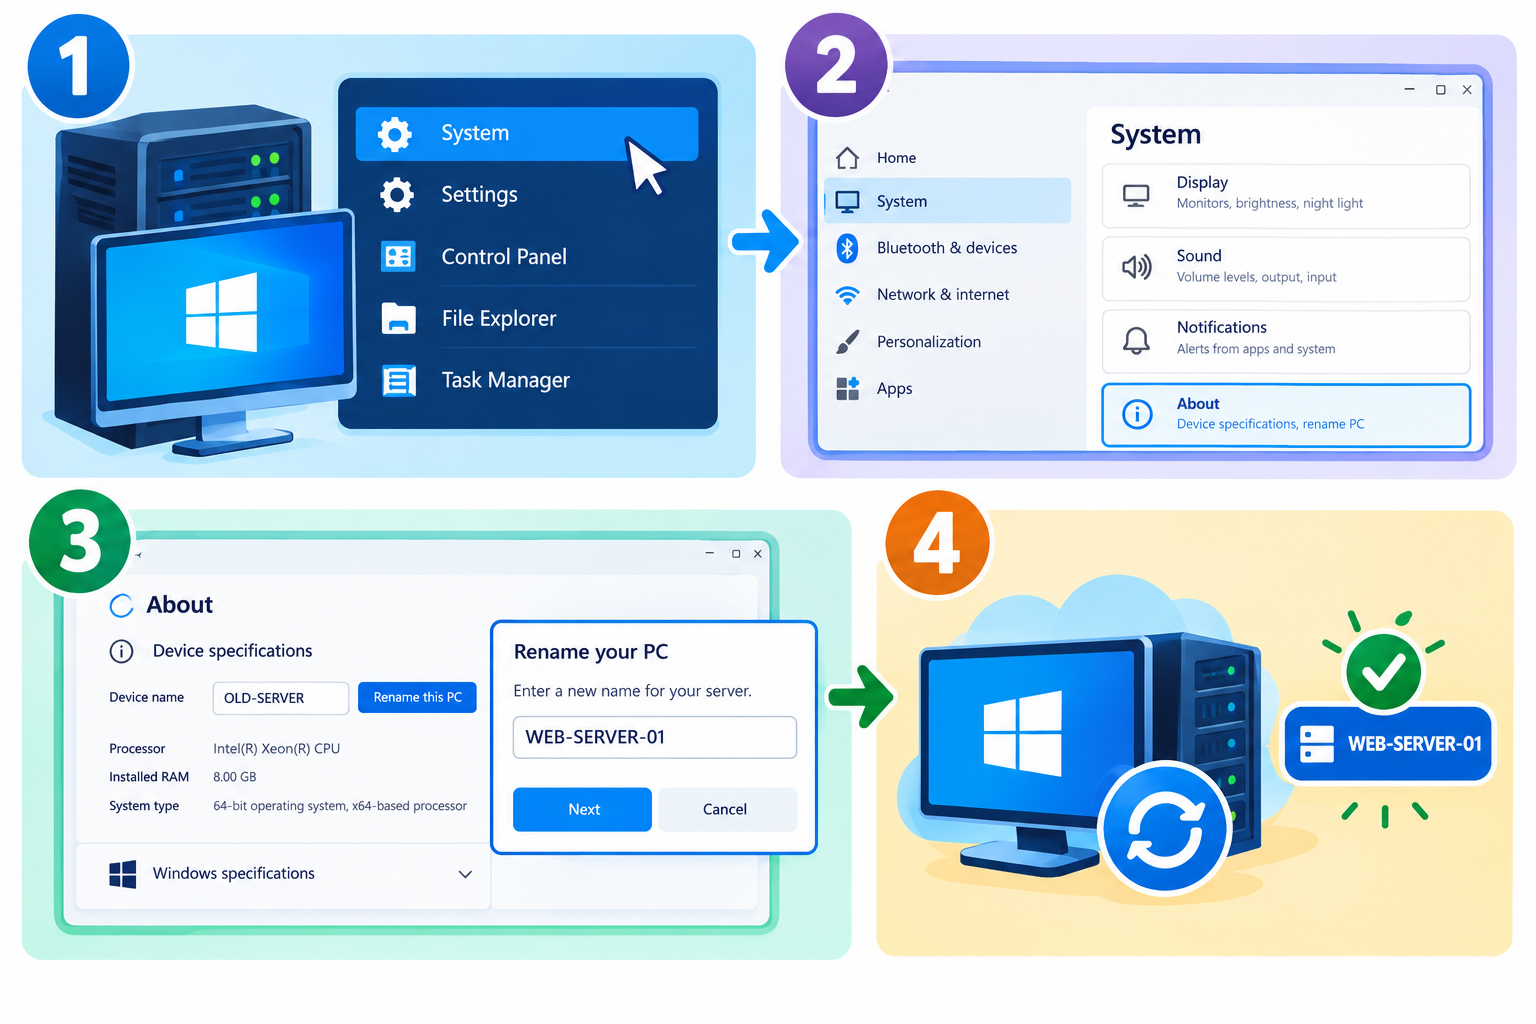
The System Properties interface provides a straightforward graphical method for renaming a Windows Server.
Step 1: Open System Properties
Sign in to the Windows Server with an account that has the required administrative permissions.
Press:
Windows + R
Enter:
sysdm.cpl
and press Enter.
This opens the System Properties window.
Step 2: Open the Computer Name Settings
Select the Computer Name tab.
The window displays the current computer name and information about the server’s domain or workgroup configuration.
Click:
Change…
Step 3: Enter the New Computer Name
Enter the new name in the Computer name field.
For example:
WEB-SERVER-01
Click OK.
Windows will process the requested computer-name change.
Step 4: Restart Windows Server
Windows will normally indicate that the computer must be restarted before the new name becomes fully effective.
Restart the server when it is safe to do so.
If you are managing a Windows VPS remotely, remember that the restart will temporarily disconnect your Remote Desktop session.
Method 2: Change the Windows Server Name Using PowerShell
PowerShell is useful when administering Windows VPS instances remotely or when you prefer command-line administration.
Open PowerShell as Administrator and run:
Rename-Computer -NewName “WEB-SERVER-01”
Replace WEB-SERVER-01 with the name you want to use.
After the rename operation, restart the server:
Restart-Computer
You can also perform the rename and restart in one command:
Rename-Computer -NewName “WEB-SERVER-01” -Restart
The -Restart parameter tells Windows to restart after the rename operation.
Optional: Display the Rename Result
If you want PowerShell to return information about the rename operation, you can use -PassThru:
Rename-Computer -NewName “WEB-SERVER-01” -PassThru
You can then restart the server separately.
How to Verify the New Windows Server Name
After the server restarts, verify that Windows is reporting the new computer name.
In PowerShell, run:
hostname
You can also use:
$env:COMPUTERNAME
Another option is:
Get-ComputerInfo -Property CsName
The returned value should match the new computer name.
Verification is particularly important when managing multiple Windows VPS instances because it confirms that you are working on the intended server.
What Happens After Renaming a Windows Server?
Changing the computer name can affect systems that explicitly refer to the old name.
Depending on how the server is configured, you may need to check:
- Applications that reference the server hostname
- Scripts containing the old computer name
- Scheduled tasks
- Monitoring and management systems
- DNS-related configuration
- Services that explicitly depend on the old server name
This does not mean every rename will cause problems. A simple standalone Windows VPS may require little additional work. The important point is to check dependencies before renaming a production server.
Renaming a Domain-Joined Windows Server
A domain-joined Windows Server requires more planning than a standalone server.
The computer name can be associated with Windows networking, DNS, and the server’s Active Directory computer account. Before changing the name, check whether applications, scripts, monitoring systems, certificates, or other services depend on the existing name.
If the server is a domain controller, do not treat it like an ordinary standalone or member server. Domain controllers have additional Active Directory considerations and require the appropriate domain-controller-specific renaming procedure.
This article focuses on changing the computer name itself rather than providing a complete Active Directory or domain-controller administration guide.
Common Problems When Renaming a Windows Server
The old name still appears
If the old computer name is still displayed, make sure the server has been restarted.
After restarting, verify the name with:
hostname
PowerShell reports an access or permission error
Make sure PowerShell is running with the required administrative privileges.
For domain-joined servers, additional permissions may also be required depending on the environment.
An application still uses the old computer name
Some applications and scripts explicitly store a server hostname.
If an application stops working after a rename, check its configuration and look for references to the old computer name.
Also check:
- Scheduled tasks
- Scripts
- Monitoring systems
- Application configuration
- Services that explicitly reference the hostname
The server is domain joined
Do not assume that renaming a domain-joined server has the same implications as renaming a standalone Windows VPS.
Check the server’s domain configuration and dependent applications before making the change.
Best Practices for Renaming a Windows Server
For a smooth Windows Server rename:
- Record the current computer name.
- Decide on the new name.
- Confirm that the name follows your naming convention.
- Check whether the server is standalone, domain joined, or a domain controller.
- Identify applications and services that may depend on the existing name.
- Perform the rename using System Properties or PowerShell.
- Restart Windows Server.
- Verify the new computer name.
- Check important applications and services after the restart.
For production Windows VPS environments, planning the change is more important than the rename command itself.
Frequently Asked Questions
