
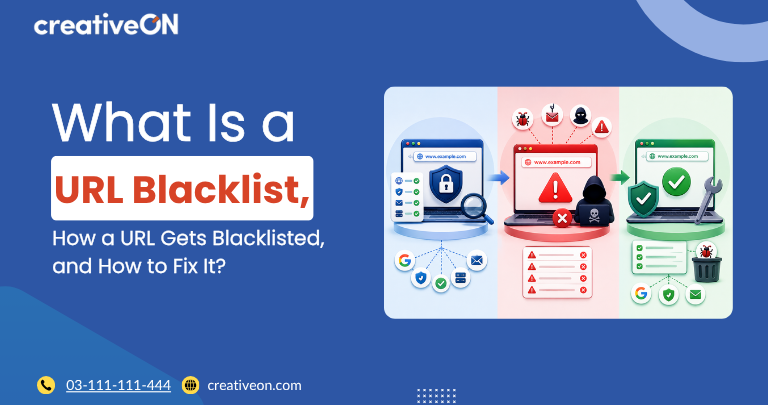
A URL blacklist is a security database used by search engines, browsers, antivirus providers, and email services to flag web addresses as unsafe. When a URL is blacklisted, visitors may see warning pages, email links may be blocked, and search visibility can drop until the issue is resolved.
This article explains what a URL blacklist is, how URLs get flagged, and the exact steps to clean and prevent future listings—without drifting into unrelated hosting concepts.
What Is a URL Blacklist?
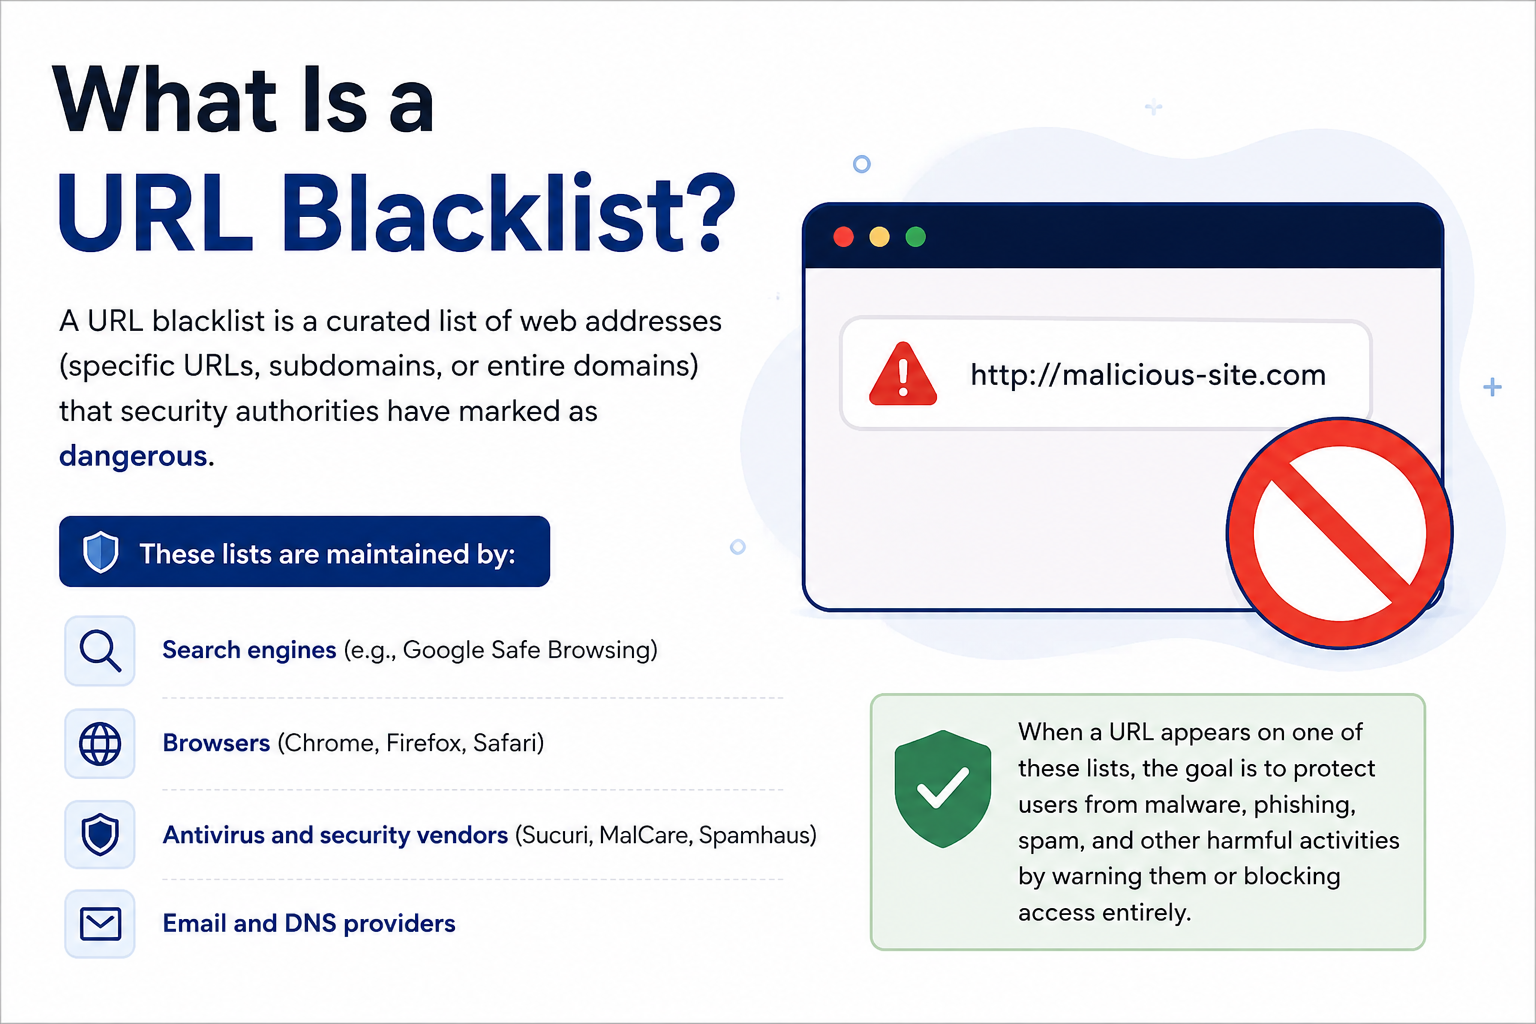
A URL blacklist is a curated list of web addresses (specific URLs, subdomains, or entire domains) that security authorities have marked as dangerous. These lists are maintained by:
- Search engines (e.g., Google Safe Browsing)
- Browsers (Chrome, Firefox, Safari)
- Antivirus and security vendors (Sucuri, MalCare, Spamhaus)
- Email and DNS providers
When a URL appears on one of these lists, the goal is to protect users from malware, phishing, spam, and other harmful activities by warning them or blocking access entirely.
URL Blacklist vs. IP Blacklist
A URL blacklist identifies a specific web address or page as potentially dangerous. An IP blacklist identifies an IP address associated with suspicious activity.
This distinction matters when troubleshooting warnings. On a shared server, multiple websites may use the same IP address, but only one compromised URL may be responsible for the security warning.
How Does a URL Get Blacklisted?
URLs are typically blacklisted after automated scanners or manual reviews detect policy violations or security threats. Common triggers include:
1. A Website Is Hacked
A compromised website may contain malicious files, injected scripts, hidden spam pages, or unauthorized administrative accounts. Attackers can modify legitimate pages or create new URLs without the website owner’s knowledge.
2. Malware Is Added to the Website
Malicious code can be injected into website files, databases, JavaScript, or other resources. If security scanners detect the malicious behavior, the affected URL may be added to a threat database.
3. Phishing Content Is Published
A hacked website may be used to create fake login pages designed to steal passwords, payment information, or other sensitive data. Even if the website itself is legitimate, hosting phishing content can result in its URLs being flagged.
4. Malicious Redirects Are Added
Attackers sometimes modify a website so visitors are redirected to another malicious or deceptive website. These redirects can be hidden from administrators and may only appear under certain conditions, such as when a visitor arrives from a search engine.
5. Vulnerable Software Is Exploited
Outdated CMS software, plugins, themes, libraries, or server components can provide attackers with an entry point. Once access is obtained, attackers may inject malicious content or create unauthorized URLs.
6. Compromised Credentials Are Used
Weak or stolen passwords for hosting panels, CMS administrator accounts, FTP/SFTP accounts, or other services can allow attackers to modify website files. In many cases, the blacklist is a symptom of an earlier security compromise rather than the original problem.
7. Spam and SEO Manipulation
Hidden links to pharmaceutical, casino, or adult sites, cloaking (showing different content to users vs. search bots), and auto-generated spam pages can also trigger blacklisting.
What Happens When a URL Is Blacklisted?
The effect depends on which security provider has flagged the URL and what threat was detected. Visitors may see warnings such as:
- “Deceptive site ahead”
- “This site may harm your computer”
- “Website blocked”
- “Malware detected”
A blacklisted URL may also experience reduced traffic because users are warned away from the page or search engines limit its visibility. Importantly, being blacklisted does not necessarily mean the website owner intentionally published malicious content. Legitimate websites are frequently compromised and can be flagged because of unauthorized activity.
How to Check Whether a URL Is Blacklisted
Start by identifying exactly what is being flagged. Use multiple tools to confirm the scope and source of the listing.
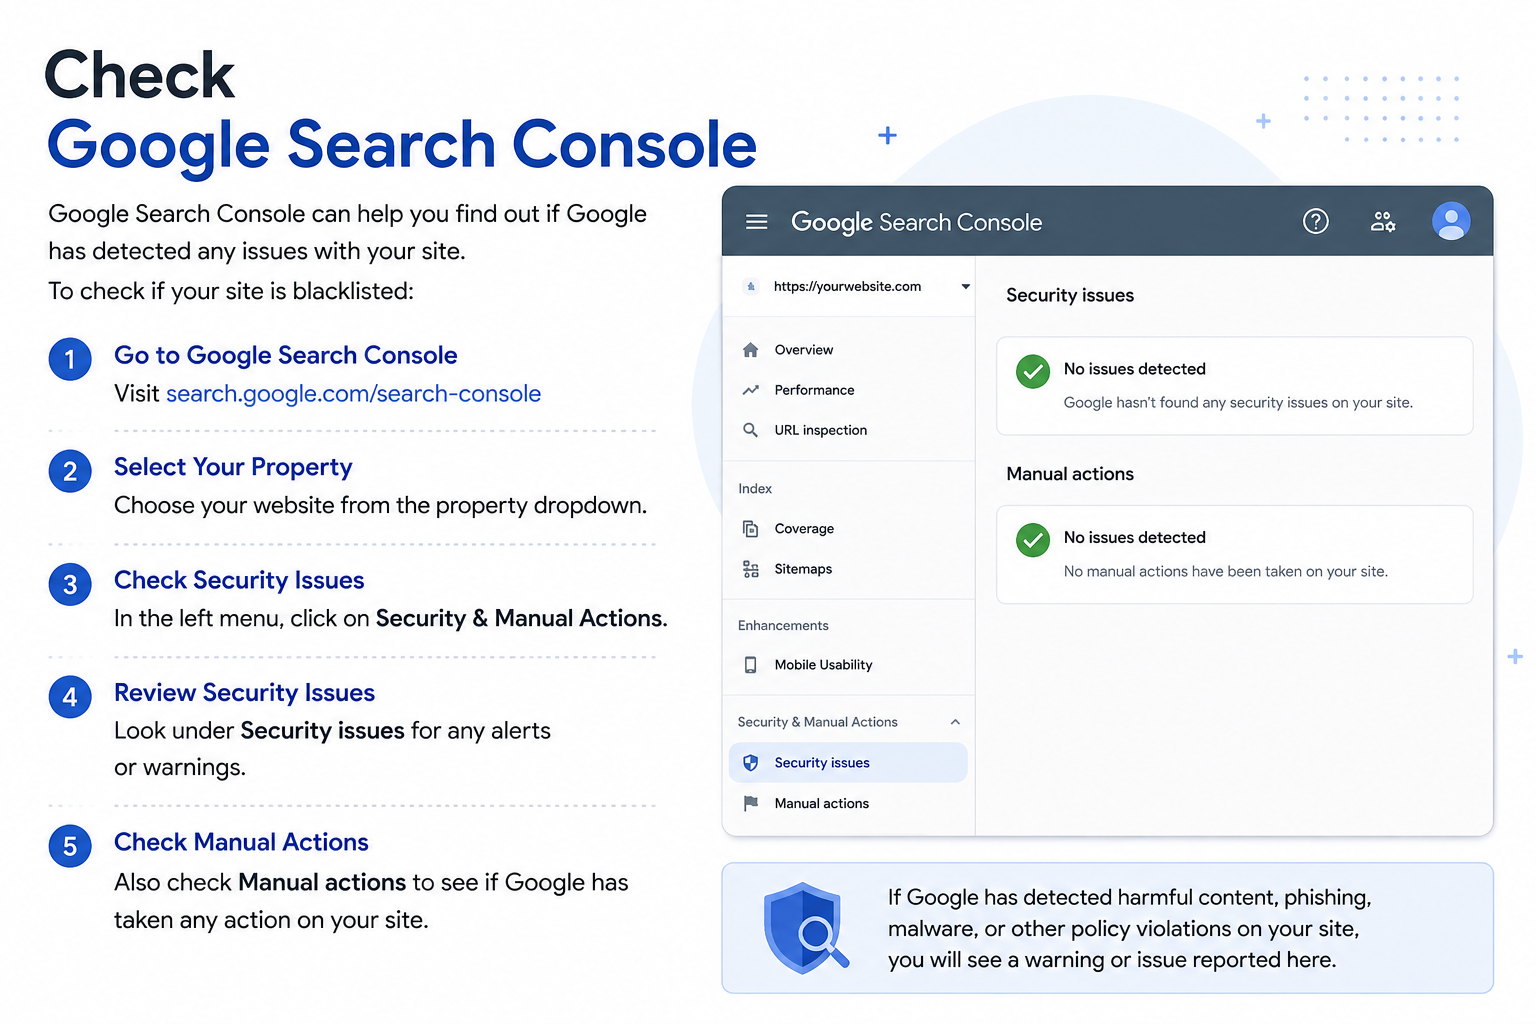
Check Google Search Console
If Google detects security problems on your website, Search Console can provide information about security issues affecting the site. Look for warnings related to:
- Hacked content
- Malware
- Phishing
- Deceptive pages
- Unwanted software
Checking the specific affected URLs can help narrow down the source of the problem.
Check Multiple Security Databases
Because different security providers maintain separate databases, checking more than one service can help determine whether the problem is isolated to a particular security vendor or more widespread. Recommended tools include:
- Google Safe Browsing Site Status (transparency report)
- Sucuri SiteCheck (malware + blacklist status)
- VirusTotal (70+ security engines)
- Spamhaus Domain/URL Blocklist Checker
- URLVoid or URLScan.io for multi-engine scans
Inspect the Website Yourself
Do not rely only on the browser warning. Inspect the website’s files, database, redirects, administrator accounts, and recently modified content. Unexpected files, unfamiliar users, suspicious JavaScript, or strange URLs can indicate a compromise.
How to Fix a Blacklisted URL
Removing the blacklist warning requires fixing the underlying security problem first. Cleanup alone does not remove the listing—you must explicitly ask each authority to re-scan your site.
Step 1: Identify the Source of the Blacklist
Find out which security provider has flagged the URL and what type of threat was detected. Knowing whether the issue involves malware, phishing, spam, or a malicious redirect makes cleanup much more targeted.
Step 2: Isolate and Contain the Threat
- Take the site offline or enable maintenance mode if active harm is detected
- Change all passwords (admin, FTP, database, hosting)
- Revoke suspicious API keys or user accounts
- Disable compromised plugins/themes immediately
Step 3: Scan the Website for Malware
Perform a thorough malware scan of the website’s files and database. Pay particular attention to:
- Recently modified files
- Unknown PHP or JavaScript files
- Suspicious administrator accounts
- Unexpected database entries
- Hidden redirects
- Injected scripts
- Unfamiliar website URLs
If you cannot confidently determine what was changed, consider having the site reviewed by a qualified security professional.
Step 4: Remove the Malicious Content
Delete malicious files, scripts, pages, redirects, and unauthorized accounts. Simply removing the URL from the website is not enough if the attacker still has access or malicious code remains elsewhere in the site.
For WordPress sites, this often includes:
- Replacing core files with a fresh download from WordPress.org
- Deleting and reinstalling all plugins from the official repository
- Removing any PHP files in the /wp-content/uploads/ directory (there should be none)
- Cleaning the wp_options and wp_posts tables for injected scripts or suspicious URLs
- Repairing or replacing the .htaccess file
Step 5: Update Vulnerable Software
Update the CMS, plugins, themes, frameworks, and other website components responsible for the vulnerability. Removing malware without fixing the vulnerability can result in the website being compromised again.
Step 6: Change Compromised Passwords
Reset passwords for accounts that may have been exposed, including:
- CMS administrators
- Hosting control panels
- FTP/SFTP users
- Database accounts
- Other privileged users
Use strong, unique passwords and enable multi-factor authentication (2FA) where available.
Step 7: Request a Security Review
After the website has been cleaned, request a review from the security service that reported the URL. For Google:
- In Google Search Console, go to Security Issues → Click Request Review
- Provide a concise summary of what was found, how it was fixed, and steps taken to prevent recurrence
- Typical review times are 24–72 hours, though complex cases may take longer
Submit similar reconsideration requests to other blacklisting authorities (Spamhaus, antivirus vendors, etc.) as needed. Do not request a review until the site is 100% clean—repeated requests without full cleanup can prolong the listing.
How to Prevent Future URL Blacklisting
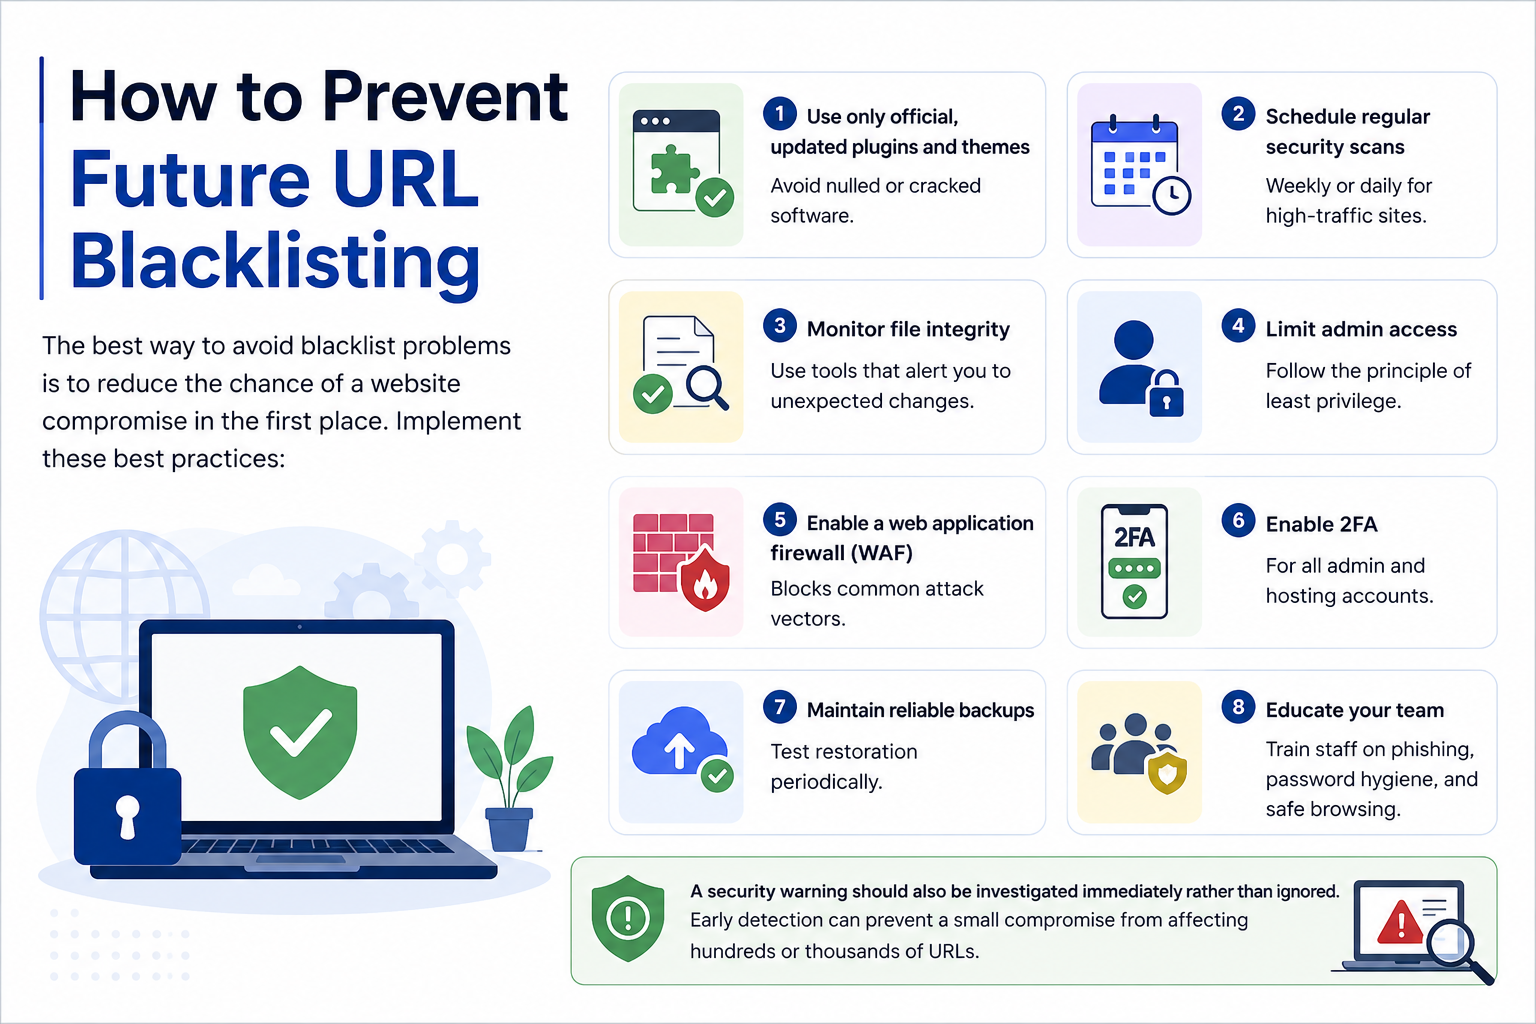
The best way to avoid blacklist problems is to reduce the chance of a website compromise in the first place. Implement these best practices:
- Use only official, updated plugins and themes — avoid nulled or cracked software
- Schedule regular security scans — weekly or daily for high-traffic sites
- Monitor file integrity — use tools that alert you to unexpected changes
- Limit admin access — follow the principle of least privilege
- Enable a web application firewall (WAF) — blocks common attack vectors
- Enable 2FA for all admin and hosting accounts
- Maintain reliable backups — test restoration periodically
- Educate your team — train staff on phishing, password hygiene, and safe browsing
A security warning should also be investigated immediately rather than ignored. Early detection can prevent a small compromise from affecting hundreds or thousands of URLs.
Final Thoughts
A URL blacklist is a security mechanism designed to protect users from potentially dangerous websites and pages. URLs can be blacklisted because of malware, phishing, malicious redirects, hacked content, or other security threats.
If your URL has been blacklisted, the priority is not simply to remove the warning. Find and eliminate the underlying security problem first, then request a review from the relevant security provider.
For website owners, regular updates, strong access controls, malware monitoring, dependable backups, and proactive security hardening are among the most effective ways to prevent a compromised URL from becoming a larger security problem.
