
FileZilla is one of the most popular free FTP clients for uploading, downloading, and managing files on a remote server. Whether you’re moving website files, updating a theme, or backing up content, connecting through FileZilla is fast once you know the correct settings. This guide walks through the exact steps to connect FileZilla to a remote server using FTP, FTPS, or SFTP.
What You Need Before Connecting
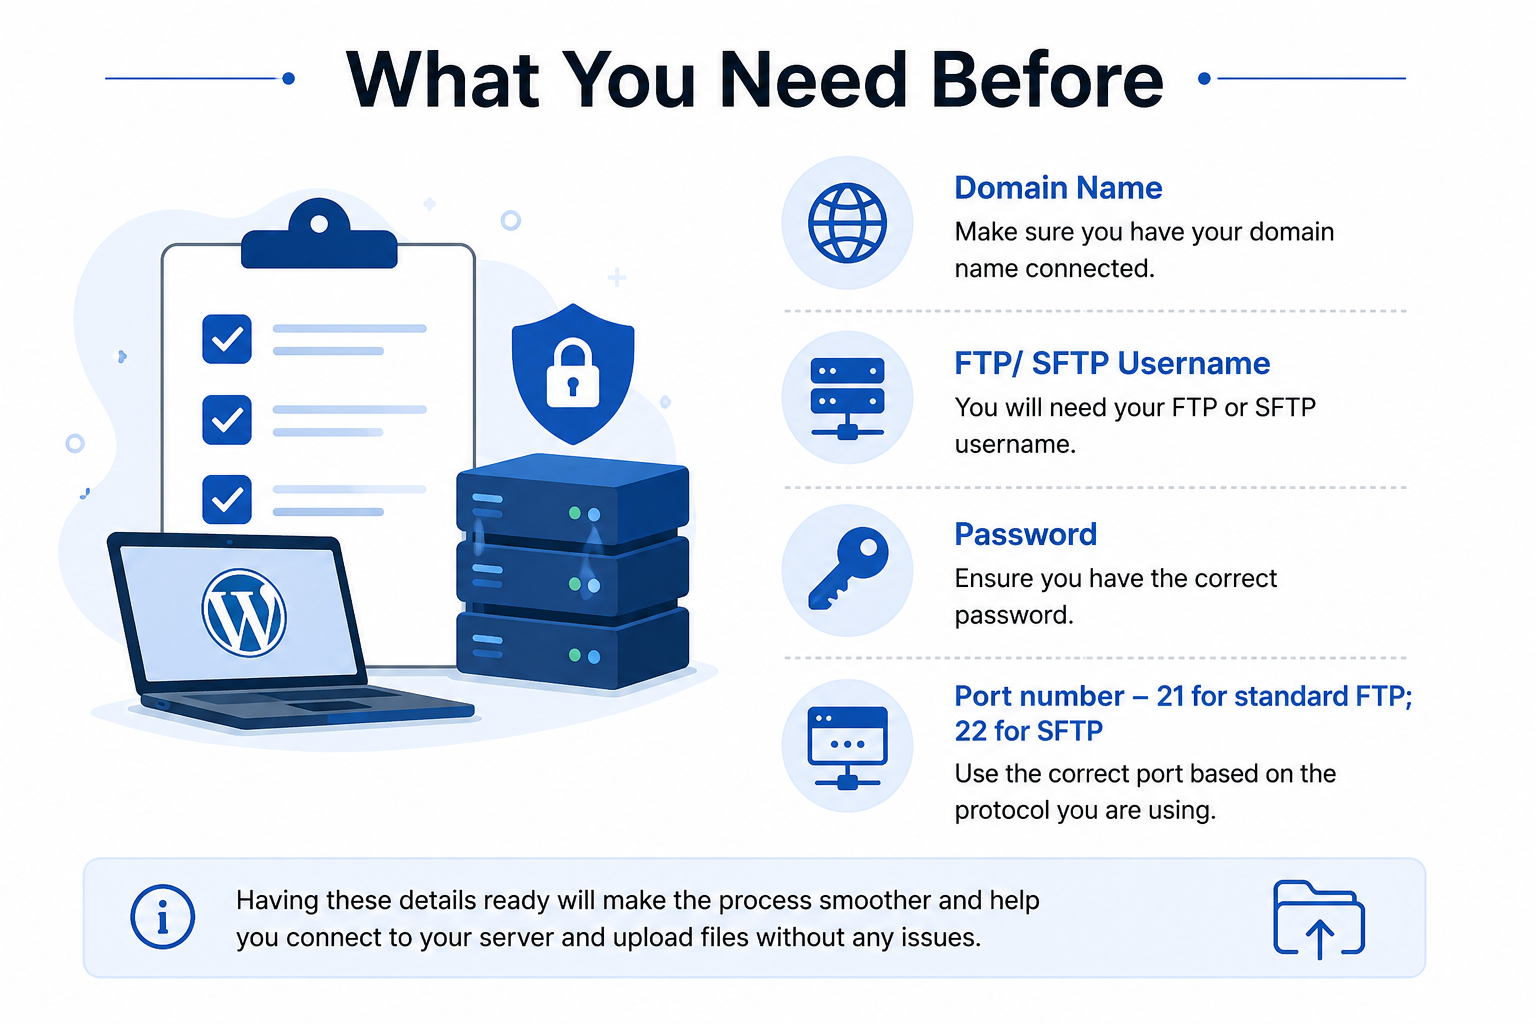
Before opening FileZilla, gather these connection details:
- Host address — usually your domain name or server IP
- FTP/SFTP username
- Password
- Port number — 21 for standard FTP, 22 for SFTP
You’ll typically find these credentials in your hosting account dashboard or in the welcome email sent when your hosting account was set up.
Step 1: Download and Install FileZilla
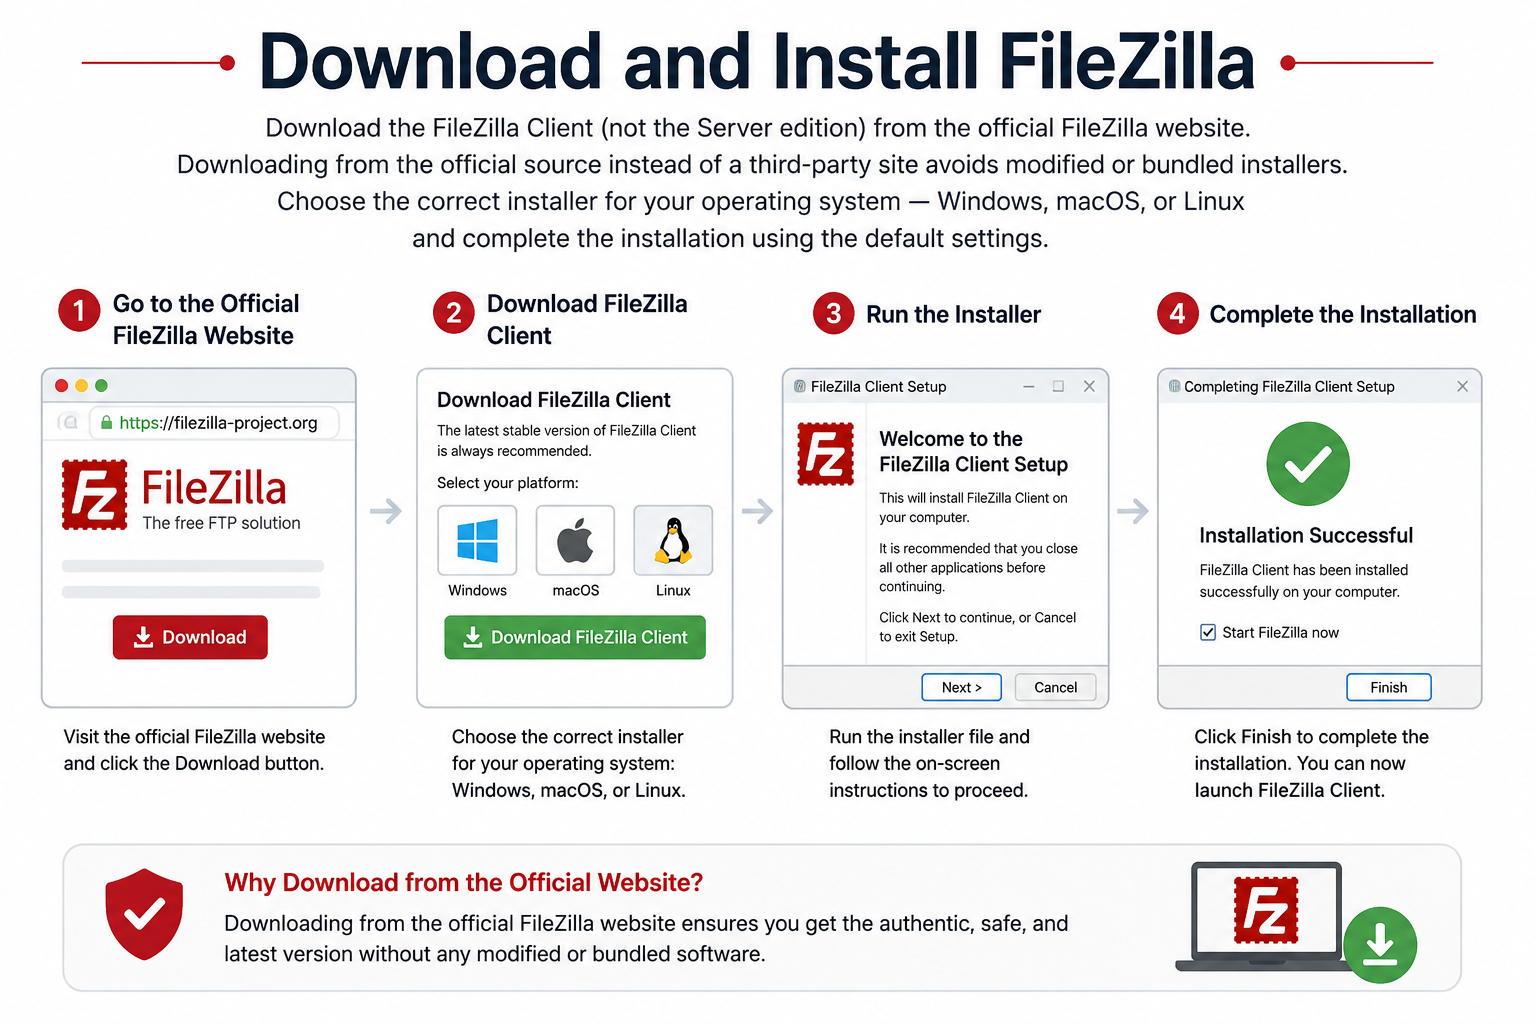
Download the FileZilla Client (not the Server edition) from the official FileZilla website. Downloading from the official source instead of a third-party site avoids modified or bundled installers. Choose the correct installer for your operating system — Windows, macOS, or Linux — and complete the installation using the default settings.
Step 2: Open the Site Manager
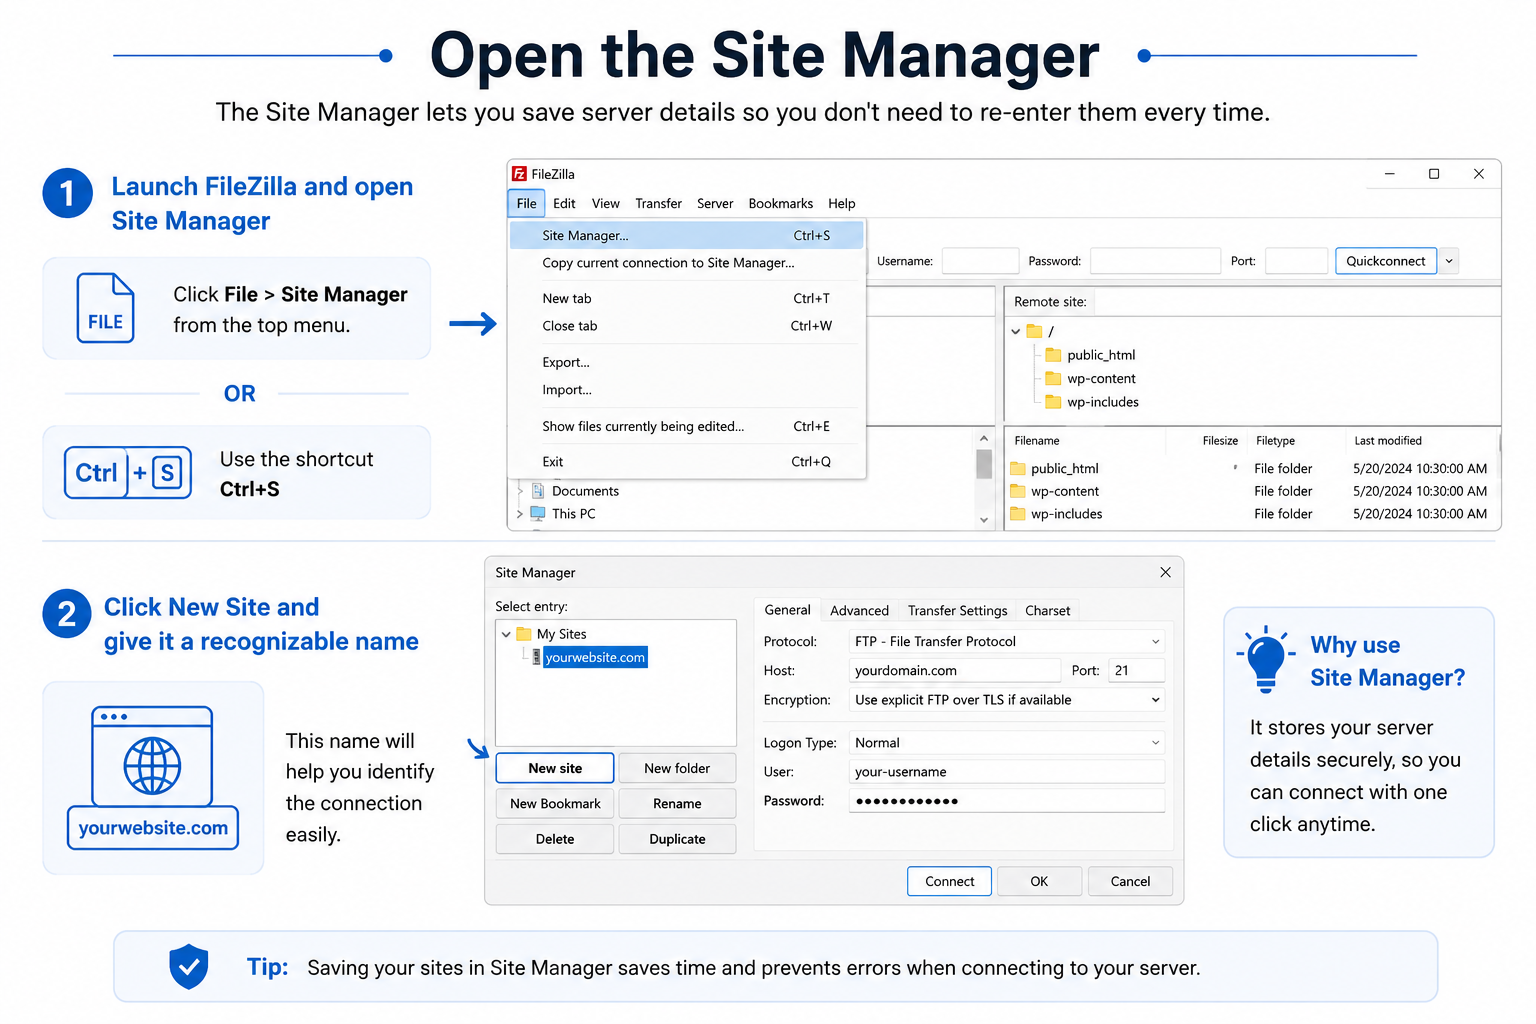
Launch FileZilla and open the Site Manager by clicking File > Site Manager, or using the shortcut Ctrl+S. The Site Manager lets you save server details so you don’t need to re-enter them every time.
Click New Site and give it a recognizable name, such as your website’s domain.
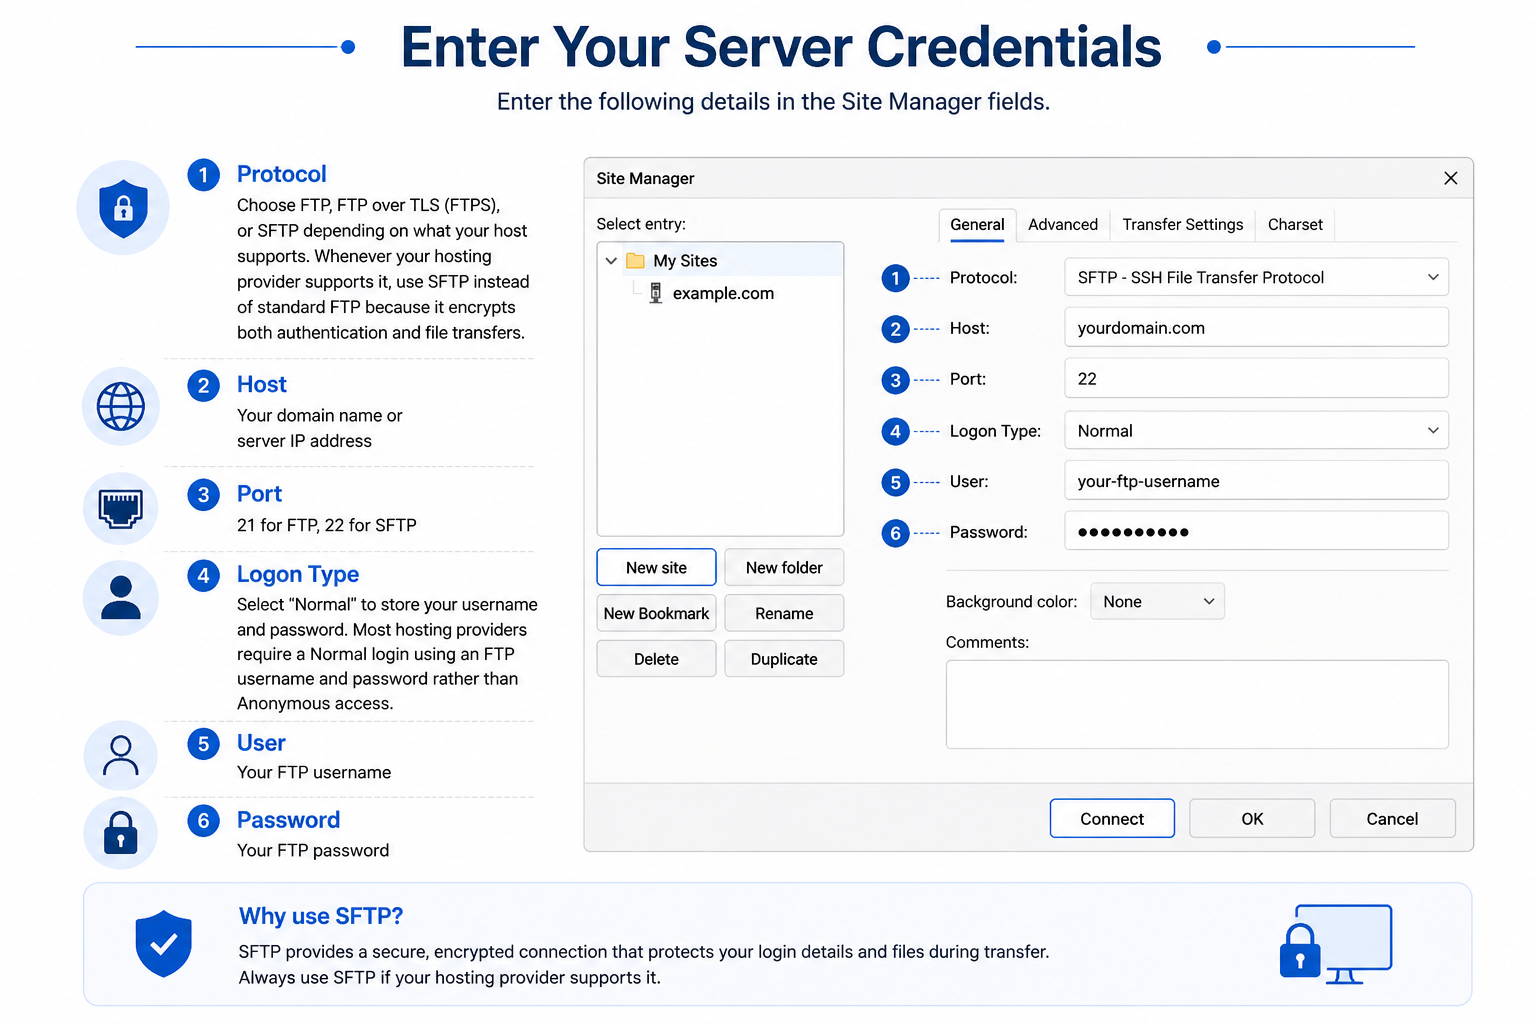
Step 3: Enter Your Server Credentials
In the Site Manager fields, enter:
- Protocol: Choose FTP, FTP over TLS (FTPS), or SFTP depending on what your host supports. Whenever your hosting provider supports it, use SFTP instead of standard FTP because it encrypts both authentication and file transfers.
- Host: Your domain name or server IP address
- Port: 21 for FTP, 22 for SFTP
- Logon Type: Select “Normal” to store your username and password. Most hosting providers require a Normal login using an FTP username and password rather than Anonymous access.
- User: Your FTP username
- Password: Your FTP password
Step 4: Connect to the Remote Server
Click Connect. If your credentials are correct, FileZilla will establish the connection and display two file panels:
- Local site (left panel) — your computer’s files
- Remote site (right panel) — files on the server
If you’re using FTPS or SFTP for the first time, FileZilla may show a certificate or host key prompt. Verify the details match your server, then accept to continue.
Step 5: Transfer Files Between Local and Remote Directories
Once connected, transferring files is simple:
- Upload: Drag files from the local panel to the remote panel, or right-click and select Upload
- Download: Drag files from the remote panel to the local panel, or right-click and select Download
The Transfer Queue at the bottom of the window shows progress and confirms when each transfer completes successfully.
Depending on your hosting environment, your website files are commonly stored in a directory such as public_html, www, or htdocs.
Quick Fixes for Common Connection Issues
- Connection timed out: Check that the correct port is open and that your firewall or antivirus isn’t blocking FileZilla. If standard FTP connections fail, verify that Passive Mode is enabled in FileZilla (Edit > Settings > Connection > FTP) and that your firewall allows FTP traffic.
- 530 Login incorrect: Double-check your username and password for typos or extra spaces.
- Certificate warnings on FTPS/SFTP: Confirm the host key fingerprint matches what your hosting provider has on file before accepting.
- Could not connect to server / Host not found: Verify the host address is typed correctly and that your domain’s DNS is pointing to the correct server.
- Connection refused: The server may be blocking your IP, or the FTP service may be temporarily down — confirm with your hosting provider.
Final Thoughts
Connecting FileZilla to a remote server comes down to three things: accurate credentials, the right protocol and port, and saving the connection in Site Manager for future use. Once set up, file transfers between your computer and server become a simple drag-and-drop process.
