
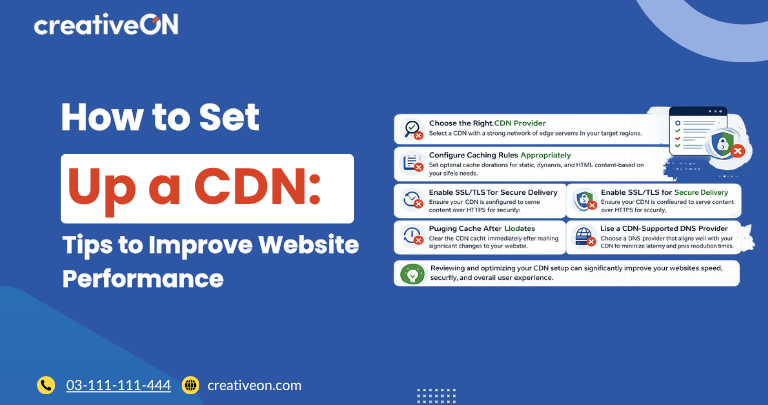
A Content Delivery Network (CDN) is one of the fastest ways to make a website load quicker for visitors around the world. If your pages feel slow for users outside your server’s region, setting up a CDN is often the most direct fix. This guide walks through the setup process itself and the practical tweaks that turn a basic CDN configuration into a genuinely fast one.

What a CDN Setup Actually Involves
At its core, setting up a CDN means connecting your website to a network of edge servers that cache and serve your content from locations closer to your visitors. Once configured, static files like images, CSS, JavaScript, and even full HTML pages are delivered from the nearest edge node instead of a single origin server.
The setup process generally follows these steps:
- Choose a CDN provider that supports your content type and target regions.
- Connect your domain to the CDN, usually by updating DNS records to point to the provider’s network.
- Configure caching rules for different file types.
- Enable SSL/TLS so content is served securely over HTTPS.
- Test and verify that content is being served from edge locations rather than the origin.
Each of these steps has details worth getting right, since a poorly configured CDN can actually slow a site down or serve outdated content.
Step 1: Pointing Your Domain to the CDN
Most CDNs work by having you update a CNAME record (or, in some setups, nameservers) so that requests for your domain route through the CDN’s network first. The CDN then decides whether to serve a cached copy or forward the request to your origin server. This is known as an origin pull: when an edge node doesn’t have a file cached, it fetches it from your origin once, stores it, and serves that cached copy to the next visitors in the same region.
A few things to watch for here:
- Propagation can take time, so test with tools that check DNS resolution from multiple regions before assuming something is broken.
- If your CDN provider offers full DNS management, using it can simplify future changes, but it also means all your DNS records now live with that provider.
- Keep TTL (time-to-live) values reasonable during setup so you can roll back quickly if something misconfigures.

Step 2: Setting Caching Rules Correctly
This is where most performance gains — or losses — actually happen. A CDN only helps if it’s caching the right things for the right amount of time.
Static assets (images, fonts, CSS, JS) should generally get long cache lifetimes, since they rarely change and can be safely stored at the edge for days or weeks.
Dynamic content (account pages, checkout flows, personalized results) usually should bypass the cache entirely or use very short cache windows, since serving stale personalized data creates real problems.
HTML pages sit in the middle — many sites benefit from short-lived caching (minutes rather than days) so content stays fresh without hitting the origin on every request.
Most CDN dashboards let you set these rules by file type or by URL path pattern, which is worth doing deliberately rather than accepting defaults.
Most CDNs also respect Cache-Control or Expires headers sent by your origin server, unless you override them with custom edge rules. Reviewing what your origin already sends is worth doing before setup, since conflicting directives between the origin and the CDN’s edge rules are a common source of caching confusion.
It’s also worth understanding how CDN caching relates to browser caching. The CDN controls how long an edge server holds a file; the same Cache-Control headers also tell a visitor’s browser how long to store that file locally. When both are set correctly, repeat visits load almost instantly, since the browser doesn’t even need to contact the CDN for unchanged assets.
Step 3: Cache Invalidation and Purging
Once caching is live, you need a plan for clearing stale content when you update your site. Two common approaches:
- Manual purging: clearing specific URLs or the entire cache after a deployment.
- Automated purging: triggering cache invalidation as part of your deployment pipeline, so updated files propagate without manual steps.
Sites that update content frequently benefit far more from automated purging, since manual purging is easy to forget and leads to visitors seeing outdated pages.
For static assets like CSS and JavaScript, asset versioning (also called cache busting) is often a simpler alternative to purging. Appending a version string or hash to the filename — such as style.css?v=2 — forces the CDN and browser to treat it as a new file, so updates show up immediately without needing to invalidate the old cached copy.
Step 4: Enabling Compression and Modern Protocols
A CDN setup isn’t complete without checking a few delivery-level settings that directly affect speed:
- Gzip or Brotli compression should be enabled at the edge so files are transferred smaller.
- HTTP/2 or HTTP/3 support should be turned on if the provider offers it, since these protocols reduce connection overhead for visitors loading multiple assets.
- Image optimization features, if your CDN offers them, can automatically resize or convert images to modern formats without extra work on your end.
These settings are often available but not enabled by default, so it’s worth checking the provider’s dashboard directly rather than assuming they’re active. Dashboard layouts and terminology vary between providers, but the underlying setup principles — enabling compression, choosing protocols, configuring caching — stay the same regardless of which CDN you use.
Step 5: Verifying the CDN Is Actually Working
After setup, confirm the CDN is doing its job before moving on:
- Check response headers (like x-cache or cf-cache-status) to confirm whether content is being served from cache or from the origin.
- Test load times from different geographic locations to confirm edge delivery is actually reducing latency.
- Monitor origin server traffic — a properly working CDN should noticeably reduce the number of requests hitting your origin directly.
- Check your cache hit ratio in the provider’s analytics dashboard — this shows what percentage of requests were served from the edge versus the origin, and is usually the clearest single indicator of how well your caching rules are working.
If cache hit rates stay low after setup, it usually points back to overly aggressive cache-bypass rules or misconfigured headers rather than a problem with the CDN itself.

Common Setup Mistakes to Avoid
- Caching personalized or session-based content by mistake, which can expose one user’s data to another.
- Setting cache lifetimes too short, which reduces the CDN’s benefit since the origin still gets hit frequently.
- Forgetting to purge cache after major updates, leaving visitors with outdated versions of the site.
- Ignoring SSL configuration, which can cause mixed-content warnings or broken HTTPS delivery through the CDN.
Avoiding these issues usually comes down to reviewing cache and header settings carefully rather than accepting provider defaults blindly.
Final Thoughts
Setting up a CDN is a straightforward process on paper — connect the domain, configure caching, enable compression — but the real performance gains come from tuning caching rules, verifying edge delivery, and building a reliable purge workflow. Once these pieces are in place, most sites see a clear, measurable improvement in load times for visitors regardless of where they’re located.
