
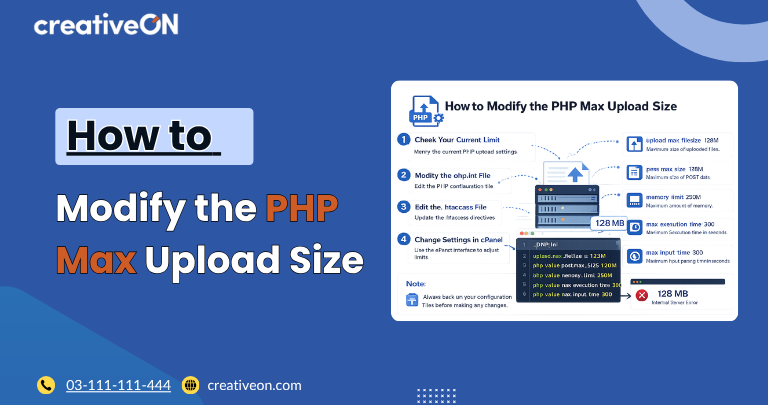
If you receive an error stating that your uploaded file exceeds the allowed size when uploading a plugin, theme, image, video, or website backup, you’ll need to increase the PHP max upload size. This limit is controlled by your PHP configuration and determines the largest file your website can accept.
Whether you’re using WordPress or another PHP-based application, this guide explains the most common ways to modify the PHP max upload size, how the related PHP settings work together, and what to do if your changes don’t take effect.
Before You Start
Before modifying PHP settings:
- Note your current PHP values so you can restore them if necessary.
- Make sure you have access to your hosting control panel or PHP configuration files.
- Keep in mind that some hosting providers enforce maximum upload limits that cannot be overridden from your hosting account.
Check Your Current PHP Upload Limit
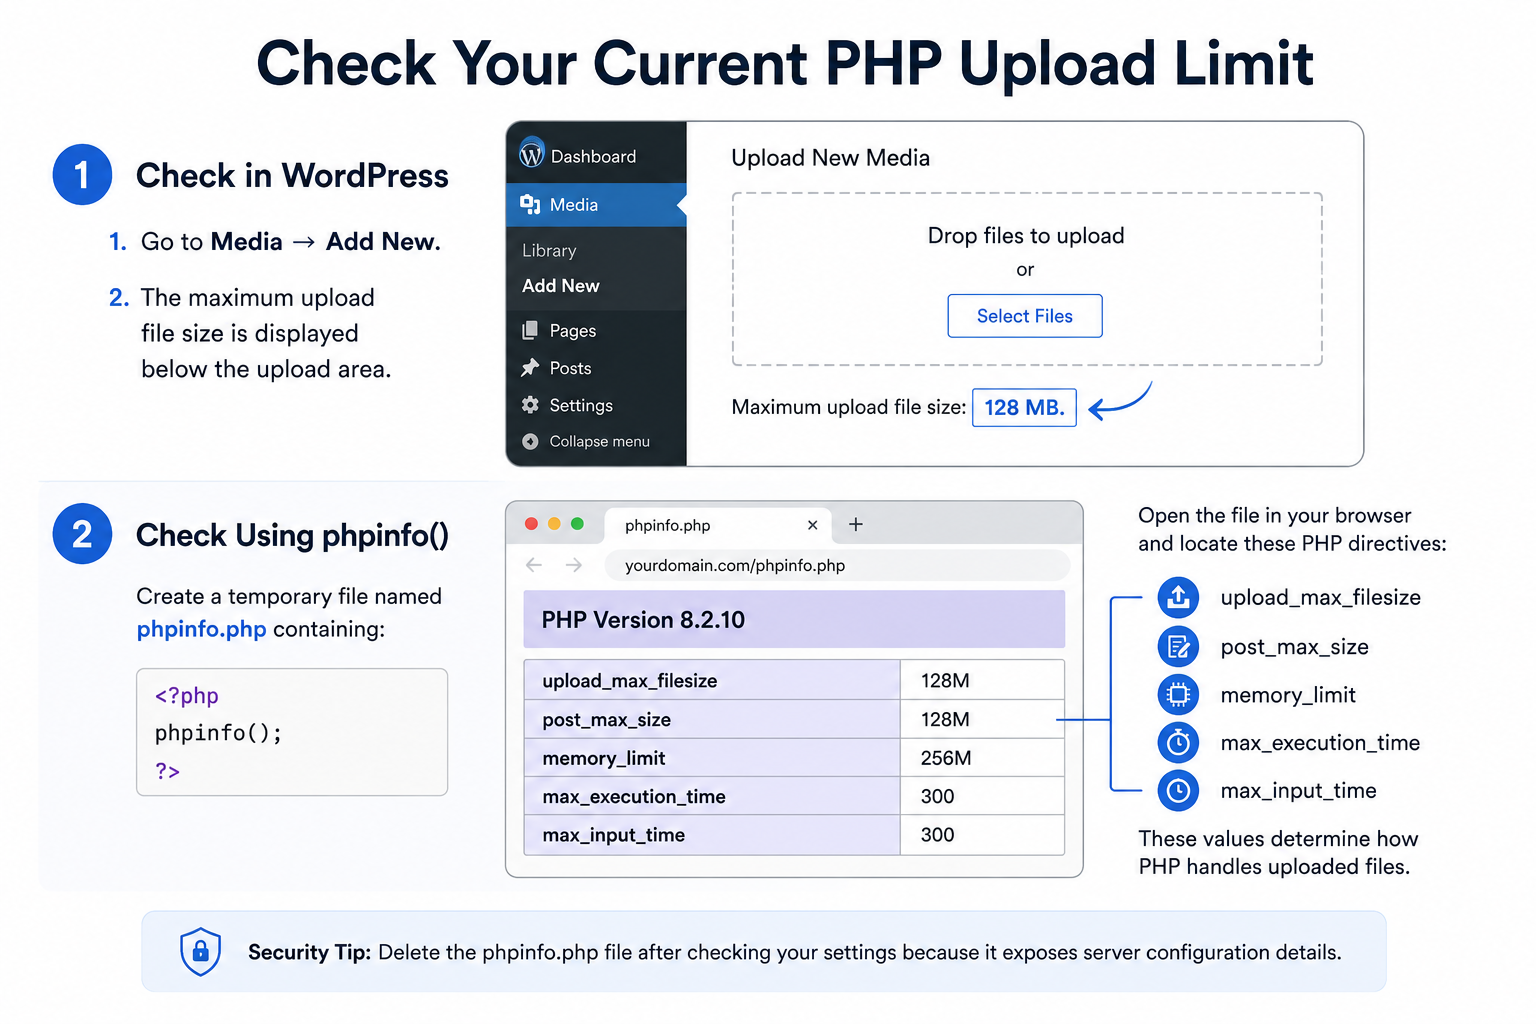
It’s a good idea to verify your existing upload limit before making any changes.
Check in WordPress
If you’re using WordPress:
- Go to Media → Add New.
- The maximum upload file size is displayed below the upload area.
Check Using phpinfo()
Create a temporary file named phpinfo.php containing:
<?php
phpinfo();
Open the file in your browser and locate these PHP directives:
- upload_max_filesize
- post_max_size
- memory_limit
- max_execution_time
- max_input_time
These values determine how PHP handles uploaded files.
Security Tip: Delete the phpinfo.php file after checking your settings because it exposes server configuration details.
How PHP Upload Settings Work Together
Increasing only one PHP setting is often not enough. Several directives work together during the upload process.
memory_limit
↑
post_max_size
↑
upload_max_filesize
upload_max_filesize
This setting specifies the maximum size of an individual uploaded file.
post_max_size
This controls the maximum size of the entire HTTP POST request. It should always be equal to or larger than upload_max_filesize.
memory_limit
PHP needs enough memory to process uploaded files. As a general rule, memory_limit should be larger than post_max_size.
max_execution_time and max_input_time
These settings define how long PHP is allowed to process and receive uploaded files. Larger uploads often require higher values to prevent timeout errors.
Method 1: Modify the php.ini File
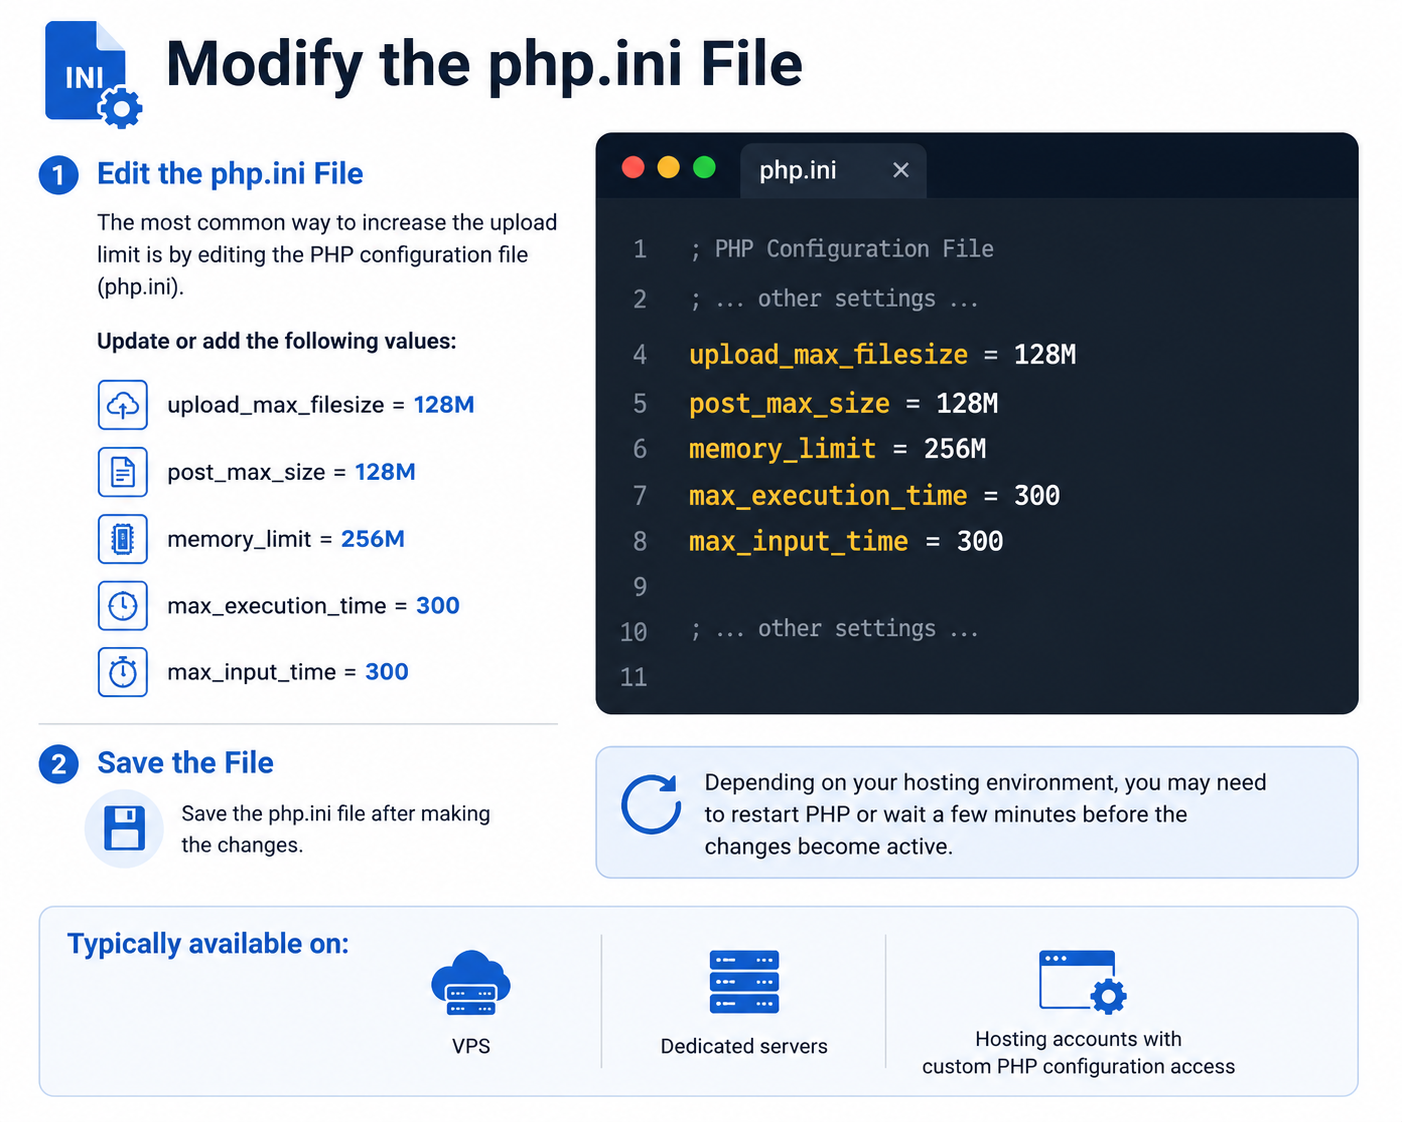
The most common way to increase the upload limit is by editing the PHP configuration file (php.ini).
Update or add the following values:
upload_max_filesize = 128M
post_max_size = 128M
memory_limit = 256M
max_execution_time = 300
max_input_time = 300
Save the file.
Depending on your hosting environment, you may need to restart PHP or wait a few minutes before the changes become active.
Typically available on:
- VPS
- Dedicated servers
- Hosting accounts with custom PHP configuration access
Method 2: Increase the Upload Limit Using cPanel
Many hosting providers allow you to modify PHP settings directly from cPanel.
Open one of the following tools:
- MultiPHP INI Editor
- Select PHP Version → Options
Increase the following values:
- upload_max_filesize
- post_max_size
- memory_limit
Save the changes and verify the new upload limit.
If your hosting account supports multiple PHP versions, make sure you’re editing the settings for the PHP version currently assigned to your website.
Method 3: Modify the .htaccess File
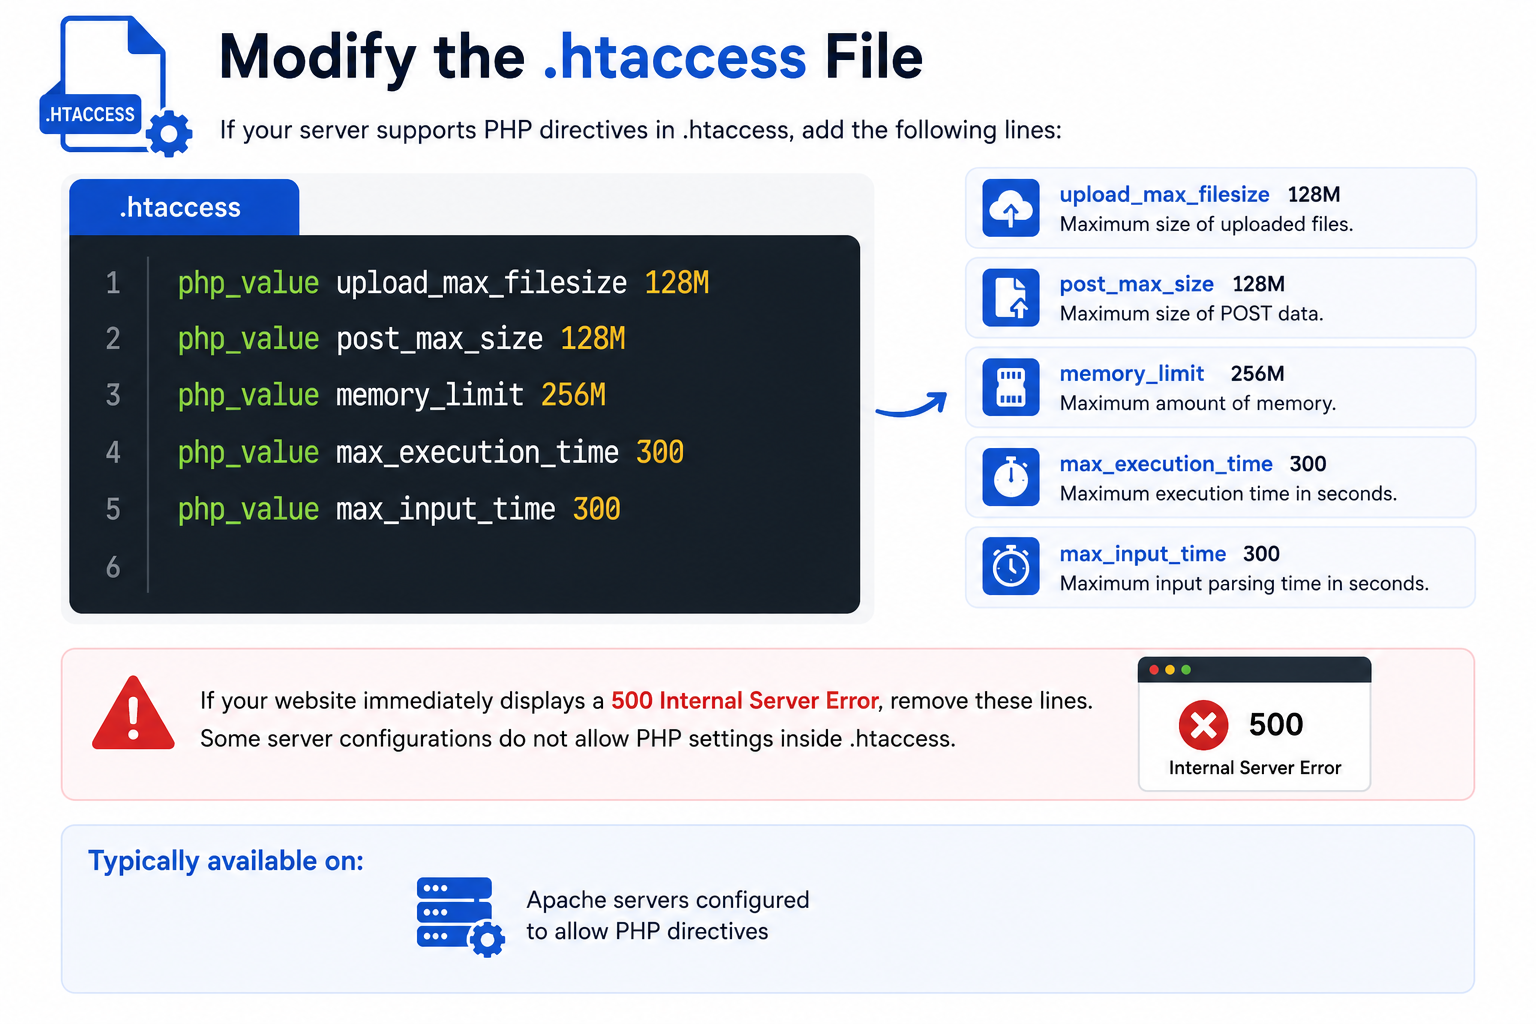
If your server supports PHP directives in .htaccess, add the following lines:
php_value upload_max_filesize 128M
php_value post_max_size 128M
php_value memory_limit 256M
php_value max_execution_time 300
php_value max_input_time 300
If your website immediately displays a 500 Internal Server Error, remove these lines. Some server configurations do not allow PHP settings inside .htaccess.
Typically available on:
- Apache servers configured to allow PHP directives
Method 4: Use a .user.ini File
Many hosting providers running PHP-FPM use a local configuration file called .user.ini.
Create or edit the file and add:
upload_max_filesize=128M
post_max_size=128M
memory_limit=256M
It may take several minutes before PHP reloads the updated configuration.
Typically available on:
- Shared hosting
- PHP-FPM environments
Method 5: Change PHP Settings from Your Hosting Control Panel
Some hosting providers offer a graphical interface for managing PHP settings.
Look for options such as:
- PHP Settings
- PHP Configuration
- PHP Selector
- PHP Options
Update the upload-related values, save the changes, and verify that the new upload limit is active.
Recommended PHP Upload Settings
The ideal upload limit depends on the type of files you upload.
Purpose | upload_max_filesize | post_max_size | memory_limit |
Images | 32 MB | 32 MB | 128 MB |
Themes | 64 MB | 64 MB | 256 MB |
Plugins | 64 MB | 64 MB | 256 MB |
Website Backups | 256 MB | 256 MB | 512 MB |
Choose values that match your website’s needs instead of setting unnecessarily large limits.
Verify the New Upload Limit
After saving your changes:
- Refresh your website or hosting control panel.
- Clear any server or application cache if applicable.
- Check the upload limit again using WordPress or phpinfo().
- Upload a file that previously exceeded the limit.
If the upload completes successfully, your new PHP configuration is working.
Troubleshooting
If the upload limit hasn’t changed, consider these common causes:
- The wrong php.ini or .user.ini file was edited.
- Another PHP configuration file overrides your changes.
- PHP or PHP-FPM hasn’t reloaded the updated configuration.
- Your hosting provider enforces a maximum upload limit.
- Cached information is displaying the old settings.
If you’re unsure which configuration file your website uses, contact your hosting provider for assistance.
Frequently Asked Questions
