
MySQL is one of the most widely used relational database management systems for websites, web applications, and business software. Installing MySQL on an Ubuntu VPS allows you to store, organize, and manage application data directly on your server.
Whether you are setting up a WordPress website, deploying a PHP application, or preparing a Linux server for a custom project, MySQL provides a reliable database environment.
In this guide, you will learn how to install MySQL on an Ubuntu VPS, configure database users, secure your installation, manage remote connections, create backups, and troubleshoot common installation problems.

What Is MySQL?
MySQL is an open-source relational database management system (RDBMS) that stores information in structured tables. It uses Structured Query Language (SQL) to create, retrieve, update, and manage data.
Websites and applications commonly use MySQL to manage:
- Website content, including posts and pages.
- Customer records and user accounts.
- Product information and inventory.
- Orders and transaction records.
- Application settings and business data.
MySQL supports several programming languages, including PHP, Python, and Java. It is also an important component of the traditional LAMP stack:
- Linux: The operating system.
- Apache: The web server.
- MySQL: The database management system.
- PHP: The server-side programming language.
For example, WordPress uses a MySQL-compatible database to store website content, user information, settings, and other application data.

Prerequisites for Installing MySQL on Ubuntu VPS
Before installing MySQL, make sure your Ubuntu VPS is ready.
You will need:
- An Ubuntu VPS running a supported Ubuntu release.
- Root access or a user account with sudo privileges.
- SSH access to the server.
- An active internet connection.
- Sufficient RAM, CPU, and disk space for your expected database workload.
First, check your Ubuntu version:
lsb_release -a
Check available disk space and memory:
df -h
free -h
Check for an existing database installation
Before installing MySQL, check whether MySQL or MariaDB is already installed:
dpkg -l | grep -E ‘mysql|mariadb’
MariaDB is a separate relational database server that is compatible with many MySQL applications. Some Ubuntu installations or hosting environments may already use MariaDB.
If another database server is installed, review its packages, configuration, and existing databases before proceeding. Do not remove or replace an existing database installation without a verified backup.
For production servers, choose VPS resources according to your database size, application requirements, and expected traffic.
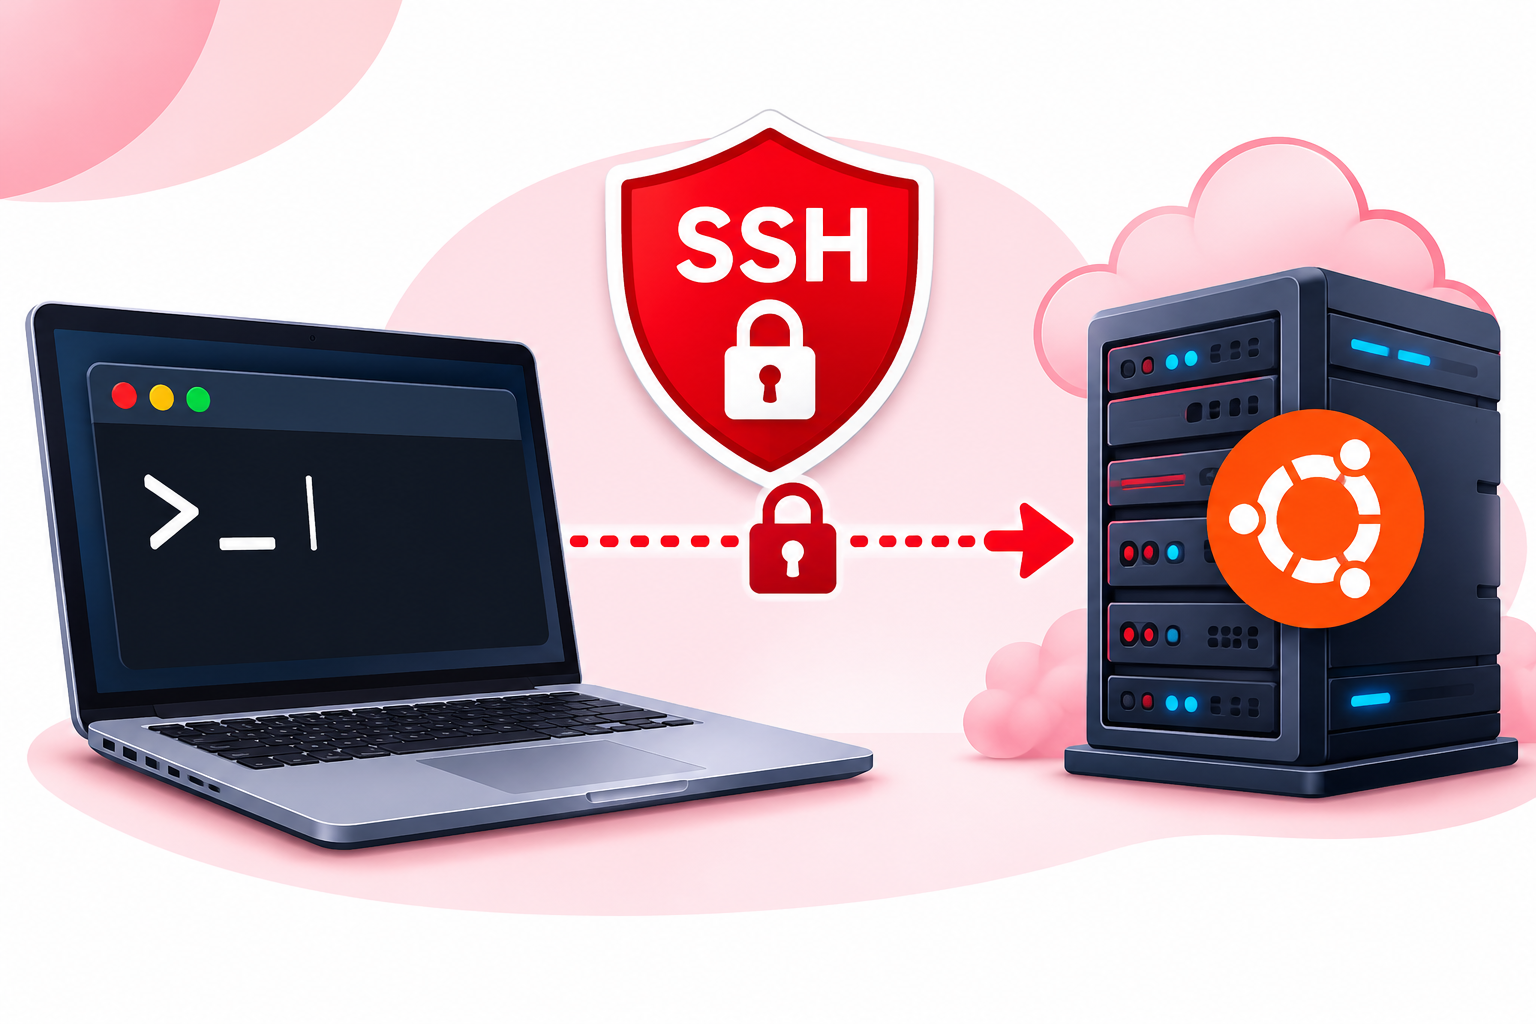
Step 1: Connect to Your Ubuntu VPS Through SSH
First, connect to your Ubuntu VPS using SSH.
From Linux or macOS, open the terminal and run:
ssh username@your-server-ip
Replace username with your VPS account username and your-server-ip with your actual server IP address.
For Windows users, PuTTY provides a graphical interface for SSH connections.
- Open PuTTY.
- Enter your VPS IP address.
- Select SSH as the connection type.
- Click Open.
- Enter your username and password when prompted.
Once connected, you can execute commands on your Ubuntu server.
Step 2: Update Ubuntu Packages
Before installing MySQL, update the Ubuntu package index:
sudo apt update
This command refreshes package information from your configured software repositories so APT can see the latest available package versions.
You can also install available system updates:
sudo apt upgrade
Review the proposed changes before confirming, particularly on production servers where existing applications may depend on specific software versions.
Step 3: Install MySQL Server on Ubuntu
Ubuntu provides MySQL Server through its software repositories. You can install it directly using APT.
Run:
sudo apt install mysql-server
When prompted, enter Y to confirm the installation.
APT will download and install MySQL Server and its required dependencies.
After installation, MySQL will normally start automatically.
Check the Available MySQL Version
To see which MySQL package version is available through your configured Ubuntu repositories, run:
apt policy mysql-server
The installed version depends on your Ubuntu release and configured package sources.
For example, Ubuntu 22.04 and 24.04 commonly provide MySQL 8.0 through their standard package repositories. Always check the current package information on your own VPS before installing.
What If You Need a Specific MySQL Version?
If your application requires a particular MySQL release, you can consider Oracle’s official MySQL APT repository.
It provides access to different MySQL release series, including MySQL 8.0 and MySQL 8.4 LTS.
Official installation instructions:
https://dev.mysql.com/doc/refman/8.4/en/linux-installation-apt-repo.html
Important: Do not mix Ubuntu’s native MySQL packages and Oracle’s MySQL repository packages without understanding the package dependencies. Switching between release series or downgrading an existing installation can create compatibility and database migration problems.
Step 4: Start and Check the MySQL Service
After installation, verify that MySQL is running:
sudo systemctl status mysql
Look for:
Active: active (running)
This indicates that the MySQL service is running.
If the service is not running, start it:
sudo systemctl start mysql
To enable automatic startup whenever Ubuntu reboots:
sudo systemctl enable mysql
You can also use these commands to manage MySQL:
Command | Purpose |
sudo systemctl start mysql | Start MySQL |
sudo systemctl stop mysql | Stop MySQL |
sudo systemctl restart mysql | Restart MySQL |
sudo systemctl status mysql | Check service status |
sudo systemctl enable mysql | Enable startup at boot |
These commands use Ubuntu’s systemd service manager to control MySQL.
Step 5: Secure Your MySQL Installation
Securing MySQL is essential before using it for a production website or application.
Ubuntu installations commonly configure the MySQL root account to authenticate through the local Unix socket using auth_socket or a related socket authentication mechanism.
This allows an administrator with appropriate sudo privileges to access MySQL without necessarily entering a separate database root password.
You can run the MySQL security configuration utility if it is available:
sudo mysql_secure_installation
The questions displayed depend on the installed MySQL version and existing configuration.
The utility may offer options related to:
- Password validation policies.
- Setting or changing the root password.
- Anonymous database accounts.
- Remote root access.
- The default test database.
- Reloading privilege tables.
Important: Understand Root Authentication Before Changing It
If your Ubuntu installation uses socket authentication, the following command normally provides local administrative access:
sudo mysql
If you want to retain this authentication method, do not change the root account to password-based authentication without understanding the consequences.
In particular, if the security utility offers to change the root authentication method or set a root password, review the prompt carefully. The correct response depends on your current configuration and intended authentication method.
Changing the authentication plugin can affect whether sudo mysql continues to work as expected.
For a typical VPS hosting a website and its database on the same machine, keeping administrative MySQL access local is a sensible security practice.
Step 6: Log In to MySQL
After installation, access the MySQL command-line interface.
On a standard Ubuntu installation using socket authentication, run:
sudo mysql
If authentication succeeds, you will see a prompt similar to:
mysql>
You are now connected to the MySQL server.
To check the installed server version, execute:
SELECT VERSION();
To check the current database account and authenticated account:
SELECT USER(), CURRENT_USER();
To check the authentication plugin for the root account:
SELECT user, host, plugin
FROM mysql.user
WHERE user = ‘root’;
To exit the MySQL command-line interface:
EXIT;
You can also check the MySQL client version directly from the Ubuntu terminal:
mysql –version
Step 7: Create a MySQL Database
Once MySQL is running, create a database for your website or application.
First, log in:
sudo mysql
Create a new database:
CREATE DATABASE app_db;
Here, app_db is an example database name. Replace it with a suitable name for your application.
To display the available databases:
SHOW DATABASES;
To select your new database:
USE app_db;
To verify the selected database:
SELECT DATABASE();
Your application database is now ready for user configuration.
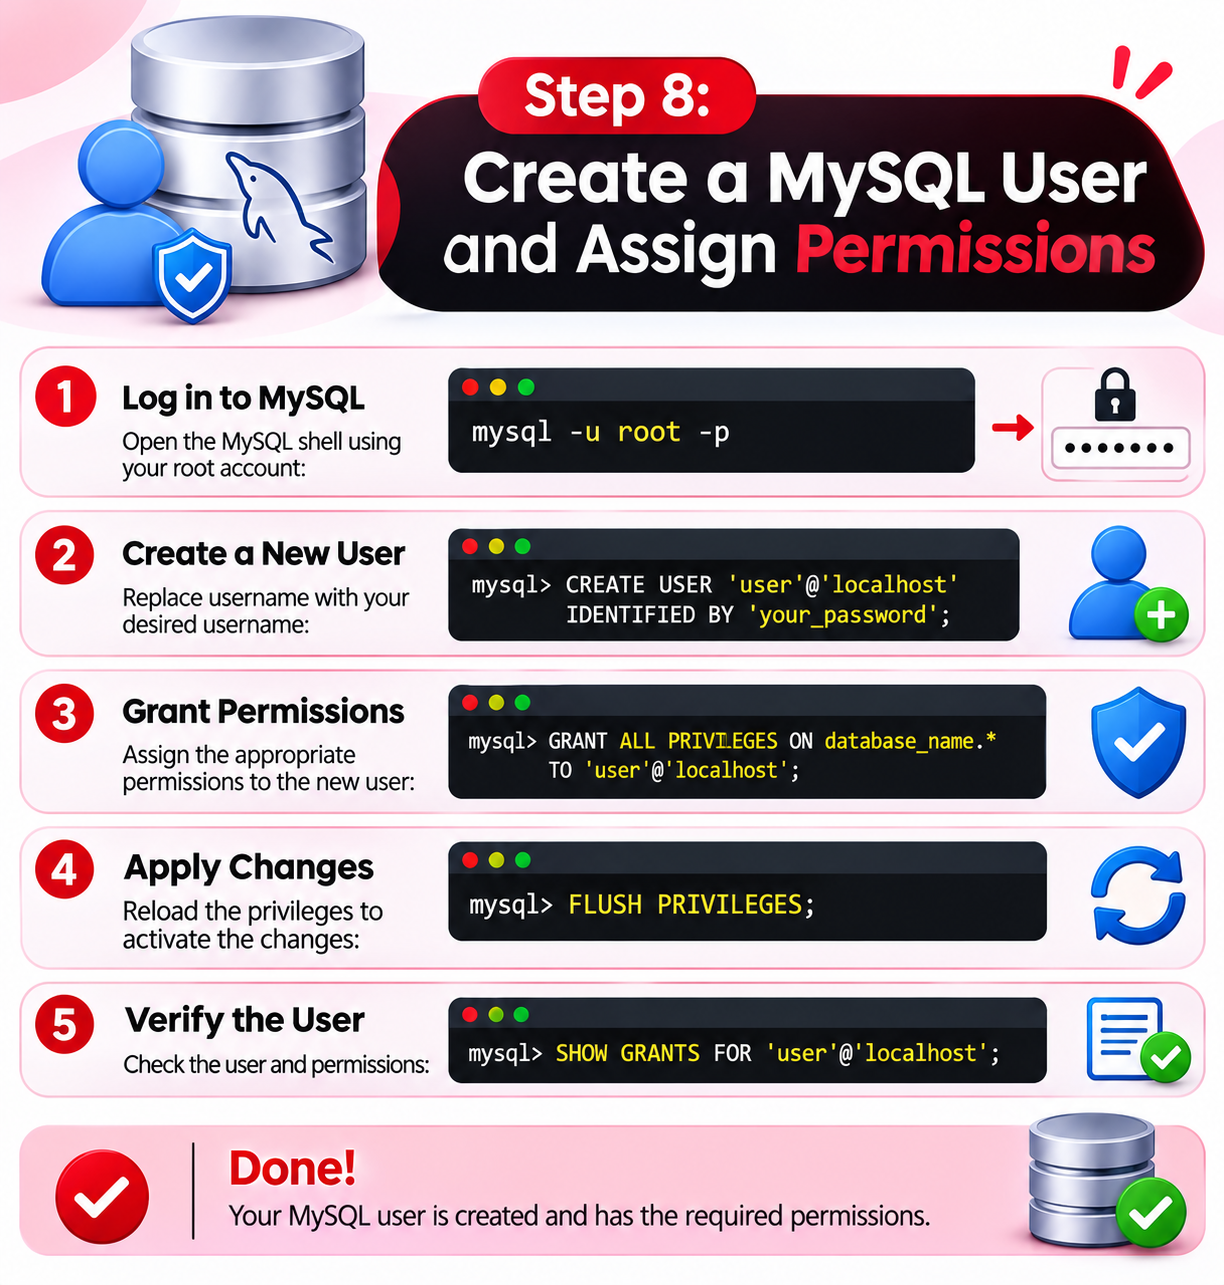
Step 8: Create a MySQL User and Assign Permissions
For security reasons, applications should generally use their own database accounts instead of connecting through the MySQL root account.
Create a dedicated user:
CREATE USER ‘app_user’@’localhost’
IDENTIFIED BY ‘Replace_With_A_Strong_Password’;
Replace the example password with a unique, strong password.
Option 1: Grant Full Permissions on One Database
If your application requires full control over its own database, use:
GRANT ALL PRIVILEGES ON app_db.*
TO ‘app_user’@’localhost’;
This grants permissions on app_db rather than providing unrestricted access to every database on the server.
Option 2: Grant Only Essential Permissions
For applications that only need basic data operations, you can use:
GRANT SELECT, INSERT, UPDATE, DELETE
ON app_db.*
TO ‘app_user’@’localhost’;
This is a more restrictive permission set.
However, some applications require additional privileges for installation, schema changes, or upgrades. Review the application’s database requirements before choosing the permissions.
To review the assigned permissions:
SHOW GRANTS FOR ‘app_user’@’localhost’;
Exit the MySQL interface:
EXIT;
Note: You do not normally need to run FLUSH PRIVILEGES after using CREATE USER and GRANT. These account-management statements take effect immediately.
Step 9: Test the MySQL Database Connection
After creating the database and user, test whether the account can connect successfully.
Run:
mysql -u app_user -p app_db
Enter the password when prompted.
If authentication succeeds, you should see the MySQL command-line prompt.
Run:
SELECT DATABASE();
The expected result should identify:
app_db
You can also create a temporary test table to verify database write permissions:
CREATE TABLE connection_test (
id INT AUTO_INCREMENT PRIMARY KEY,
message VARCHAR(100)
);
Insert a test record:
INSERT INTO connection_test (message)
VALUES (‘MySQL connection successful’);
Retrieve the record:
SELECT * FROM connection_test;
If the record appears, the account can successfully create, insert, and retrieve data.
Remove the test table when finished:
DROP TABLE connection_test;
Exit MySQL:
EXIT;
MySQL Authentication Plugin Compatibility
Newer MySQL versions commonly use the caching_sha2_password authentication plugin for password-based accounts.
Older database clients and application connectors may not support this authentication method.
If an older PHP application or database connector cannot authenticate, check:
- The MySQL server authentication plugin.
- The PHP version.
- The installed MySQL client library.
- The application framework’s database connector.
- Whether the connector supports the authentication method being used.
You can inspect the authentication plugin of your application user with:
SELECT user, host, plugin
FROM mysql.user
WHERE user = ‘app_user’;
Whenever possible, update the application and its database connector rather than weakening MySQL authentication.
Step 10: Configure Remote MySQL Access (Optional)
By default, MySQL on Ubuntu is commonly configured to accept local connections.
This is appropriate when your website and database are hosted on the same VPS.
However, if you need to connect to MySQL from another server or remote development environment, you may need remote access.
There are two approaches: configuring direct remote access or using an SSH tunnel.
Option A: Configure Direct Remote MySQL Access
First, open the MySQL configuration file:
sudo nano /etc/mysql/mysql.conf.d/mysqld.cnf
Find the following directive:
bind-address = 127.0.0.1
If direct remote access is required, change it to the appropriate private IP address assigned to your VPS.
For example:
bind-address = 10.0.0.10
Replace the example with your actual private network address.
Not every VPS provider supplies a private network address. If your server has no private IP, do not automatically expose MySQL on its public interface. Consider an SSH tunnel instead.
Save the configuration file and restart MySQL:
sudo systemctl restart mysql
Create a Database User for the Remote Host
A MySQL account is associated with both a username and a host.
If the remote application server has a fixed IP address, create a dedicated account:
CREATE USER ‘remote_user’@’203.0.113.10’
IDENTIFIED BY ‘Replace_With_A_Strong_Password’;
Replace 203.0.113.10 with the actual IP address of the remote server.
Grant the required database permissions:
GRANT SELECT, INSERT, UPDATE, DELETE
ON app_db.*
TO ‘remote_user’@’203.0.113.10’;
Add other privileges only when required by the application.
Configure the Ubuntu Firewall
If UFW is enabled, allow MySQL connections only from the trusted remote IP:
sudo ufw allow from 203.0.113.10 to any port 3306 proto tcp
Check the firewall rules:
sudo ufw status
Also review any firewall or security-group rules provided by your VPS hosting provider.
Never expose MySQL port 3306 to the entire internet without a specific security design and appropriate protections.
Option B: Use an SSH Tunnel for Remote MySQL Access
An SSH tunnel is often a safer alternative when you need to access a VPS database from your local computer.
It forwards a local port through an encrypted SSH connection to the MySQL service on your VPS.
From your local computer, run:
ssh -N -L 3307:127.0.0.1:3306 username@your-server-ip
This command:
- Opens local port 3307 on your computer.
- Forwards database traffic to port 3306 on the VPS.
- Uses SSH encryption to protect the connection.
- Keeps MySQL bound to its local interface.
Keep the SSH session running while using the tunnel.
Now connect your local MySQL client using:
mysql -h 127.0.0.1 -P 3307 -u app_user -p app_db
Use a database account permitted to connect through the local server connection.
Which method should you choose?
Requirement | Recommended method |
Website and database on the same VPS | Local connection |
Occasional remote database administration | SSH tunnel |
Two VPS servers on a private network | Private networking |
Application on another server | Restricted private network access |
Remote access over an untrusted network | SSH tunnel or properly secured TLS connection |
For most website owners and VPS administrators, local connections or SSH tunnels are preferable to exposing MySQL directly.
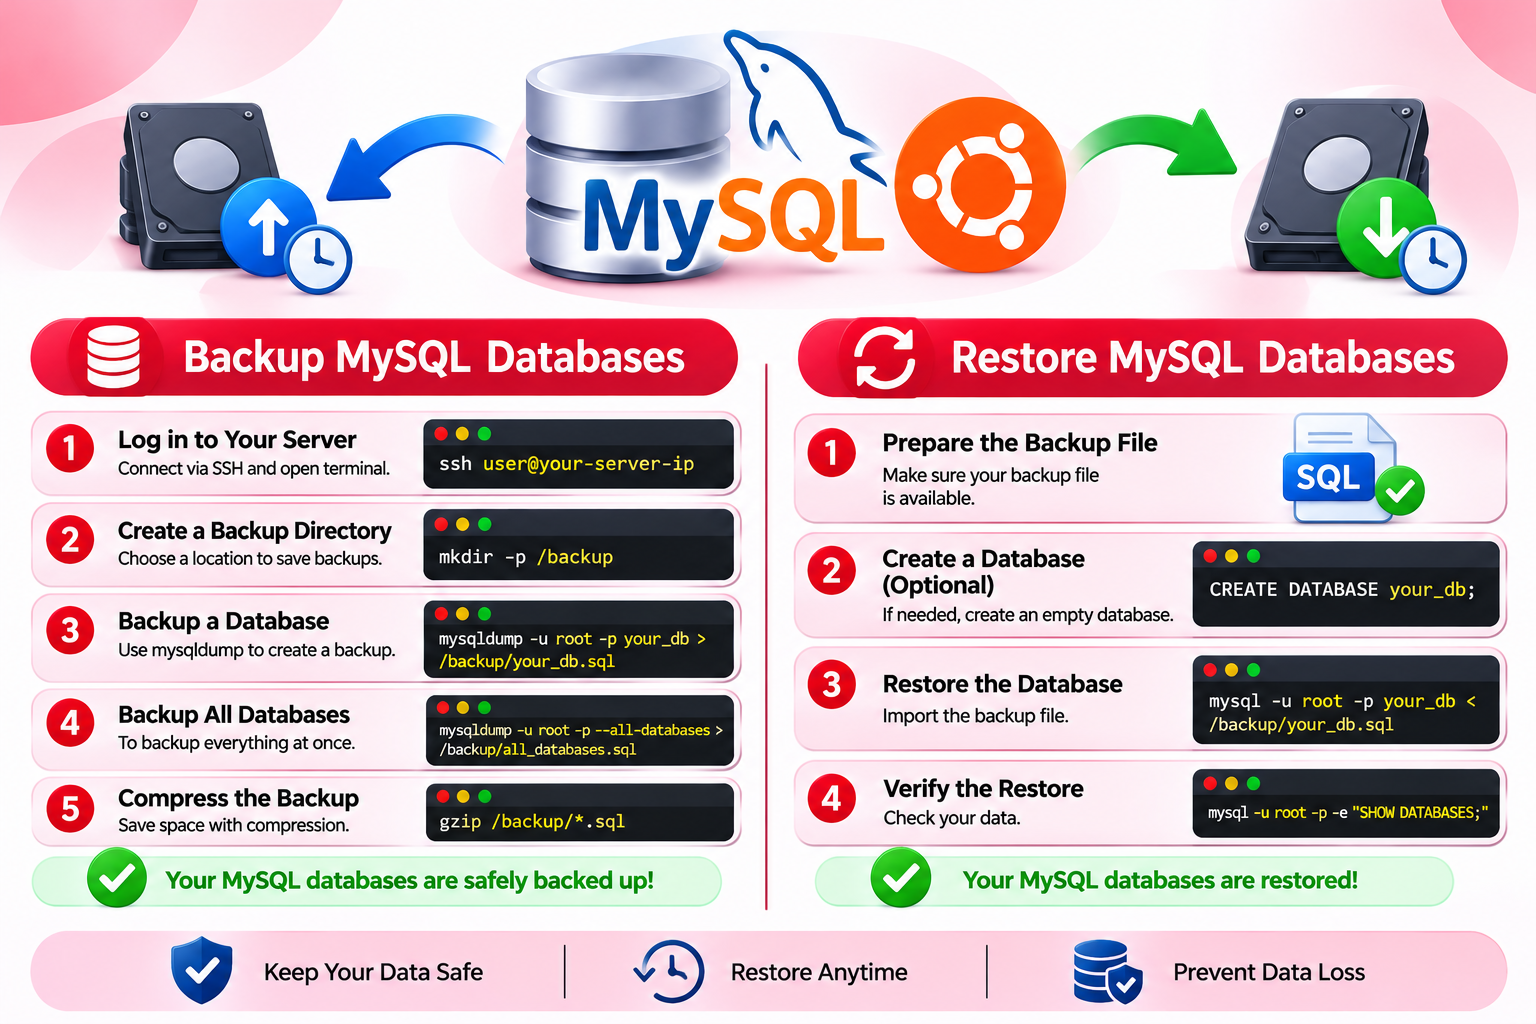
Step 11: Backup and Restore MySQL Databases
Regular database backups are essential for protecting website content, customer information, and application data.
MySQL provides the mysqldump utility for creating logical database backups.
Create a MySQL Database Backup
Run:
mysqldump -u app_user -p app_db > app_db.sql
Enter the database password when prompted.
This creates a backup file named app_db.sql in your current working directory.
Make sure the database user has the permissions required for the dump operation. For some database configurations, additional privileges or options may be needed.
Restore a MySQL Database Backup
To restore the backup, first make sure the destination database exists.
For example:
sudo mysql -e “CREATE DATABASE app_db;”
Then restore the backup:
mysql -u app_user -p app_db < app_db.sql
Enter the database password when prompted.
The database account must have the required permissions to create and populate the tables.
Important backup recommendations:
- Store backups outside the VPS whenever possible.
- Use secure storage for database backup files.
- Protect backups containing personal or business information.
- Automate backups according to your recovery requirements.
- Test restoration periodically to confirm that backups are usable.
A backup stored only on the same VPS may be lost if the server or its storage fails.
Step 12: Verify MySQL Installation on Ubuntu
After completing the installation and configuration, perform a final verification.
Check the MySQL service:
sudo systemctl status mysql
Check the MySQL client version:
mysql –version
Check the actual database server version:
sudo mysql -e “SELECT VERSION();”
Check MySQL listening ports:
sudo ss -lntp | grep -E ‘3306|33060’
With a typical local-only MySQL configuration, you may see an entry similar to:
127.0.0.1:3306
This indicates that MySQL is listening for TCP connections on the local loopback interface.
You may also see port 33060, which is associated with MySQL X Protocol when enabled.
If MySQL is configured for local socket connections only, the TCP listener may be restricted or disabled. A Unix socket connection does not require a TCP port listener.
If the service is running and your database connection test succeeds, your Ubuntu VPS is ready to use MySQL.
Step 13: Troubleshoot Common MySQL Installation Problems
Although MySQL installation through APT is straightforward, you may encounter problems during installation, configuration, or application integration.
Here are some common issues and their troubleshooting steps.
1. ERROR 1698: Access Denied for User ‘root’@’localhost’
You may encounter this error when attempting to log in to MySQL using a root username and password:
ERROR 1698 (28000): Access denied for user ‘root’@’localhost’
On Ubuntu, this commonly occurs because the MySQL root account uses socket authentication instead of password-based authentication.
Try:
sudo mysql
This allows an administrator with appropriate sudo privileges to connect through the local Unix socket.
Do not immediately reset the root password or change the authentication plugin. First, check the existing authentication configuration.
2. MySQL Service Is Not Starting
If MySQL fails to start, inspect its service status:
sudo systemctl status mysql
Check the service logs:
sudo journalctl -u mysql -n 100 –no-pager
Look for:
- Configuration errors.
- Permission problems.
- Insufficient disk space.
- Database file problems.
- Port conflicts.
- Incompatible package changes.
Resolve the underlying issue before attempting repeated restarts.
3. MySQL Port 3306 Is Not Accessible Remotely
If a remote application cannot connect to MySQL, check:
- Whether MySQL is listening on the intended network interface.
- Whether the firewall permits the trusted source IP.
- Whether the MySQL account allows connections from that host.
- Whether the VPS provider’s firewall allows the connection.
- Whether the correct private or public IP is being used.
- Whether the connection is properly encrypted where required.
Do not disable your firewall simply to test a database connection.
4. MySQL Installation Fails Because of Package Problems
If APT reports package or dependency errors, refresh the package index:
sudo apt update
Check the available MySQL package information:
apt policy mysql-server
Review package conflicts before making changes, particularly if MariaDB or another MySQL distribution is already installed.
Avoid removing database packages or purging configuration files without first confirming where your existing database data is stored and ensuring that you have a restorable backup.
5. MySQL Is Running but the Application Cannot Connect
If MySQL is running but your website cannot connect, verify:
- Database name.
- Database username.
- Database password.
- Database host.
- User permissions.
- Application database configuration.
For a website and database hosted on the same VPS, localhost is generally the appropriate database host.
Also check the application logs for the exact connection error.
6. MySQL Authentication Plugin Is Not Supported
Some older applications and database connectors cannot authenticate using newer MySQL authentication plugins.
If you encounter an authentication error, inspect the database user’s plugin:
SELECT user, host, plugin
FROM mysql.user
WHERE user = ‘app_user’;
Update the application or its database connector where possible.
Do not switch authentication methods without considering the security and compatibility implications.
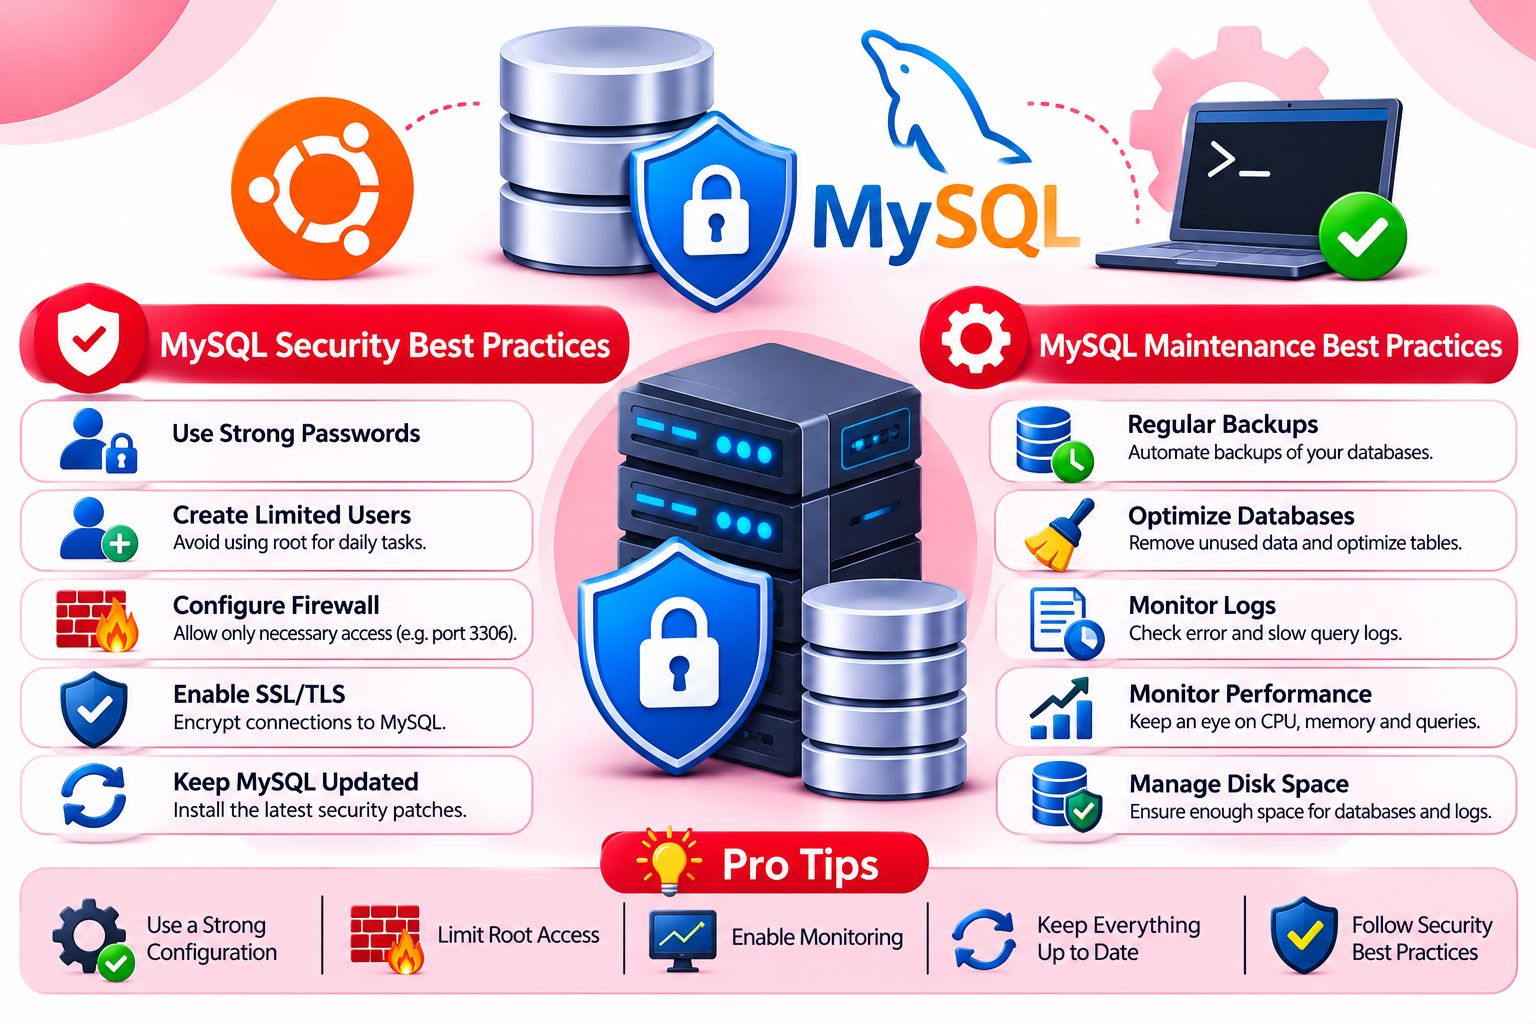
MySQL Security and Maintenance Best Practices for Ubuntu VPS
Installing MySQL is only the first part of managing a database server. Proper maintenance and security are important for reliable long-term operation.
Consider the following practices.
1. Keep MySQL Updated
Install security and maintenance updates through your configured package management process.
Review version changes before applying updates to production databases, especially when applications depend on specific database versions.
2. Use Dedicated Database Users
Create separate accounts for applications instead of using the root account.
Assign only the database permissions each application requires.
3. Create Regular Database Backups
Use mysqldump or MySQL Shell to create database backups.
Store backup copies separately from the VPS whenever possible and periodically test the restoration process.
4. Restrict Network Access
Keep MySQL accessible only to systems that need it.
For local applications, retain local database access. For remote administration, prefer SSH tunnels or private networking.
5. Monitor VPS Resources
Monitor CPU, RAM, disk space, and database activity.
Large databases and high application workloads may require additional VPS resources or database configuration changes.
6. Monitor MySQL Logs
Review MySQL logs when investigating errors, unexpected restarts, failed connections, or database performance problems.
Regular monitoring can help identify issues before they affect your applications.
7. Protect Database Credentials
Avoid placing database passwords in publicly accessible scripts or repositories.
Use secure application configuration, restrict file permissions, and rotate credentials when necessary.
Frequently Asked Questions About Installing MySQL on Ubuntu VPS
