
Docker allows you to run applications inside isolated containers without installing every application directly on your Ubuntu server. It is commonly used to deploy websites, databases, development environments, and other applications.
If you have an Ubuntu VPS, you can install Docker Engine using Docker’s official APT repository. This method makes it easier to install Docker and receive future updates through Ubuntu’s package manager.
In this guide, you’ll learn how to install Docker on an Ubuntu VPS, verify the installation, configure basic user access, and check that Docker Compose is available.
Prerequisites for Installing Docker on Ubuntu VPS
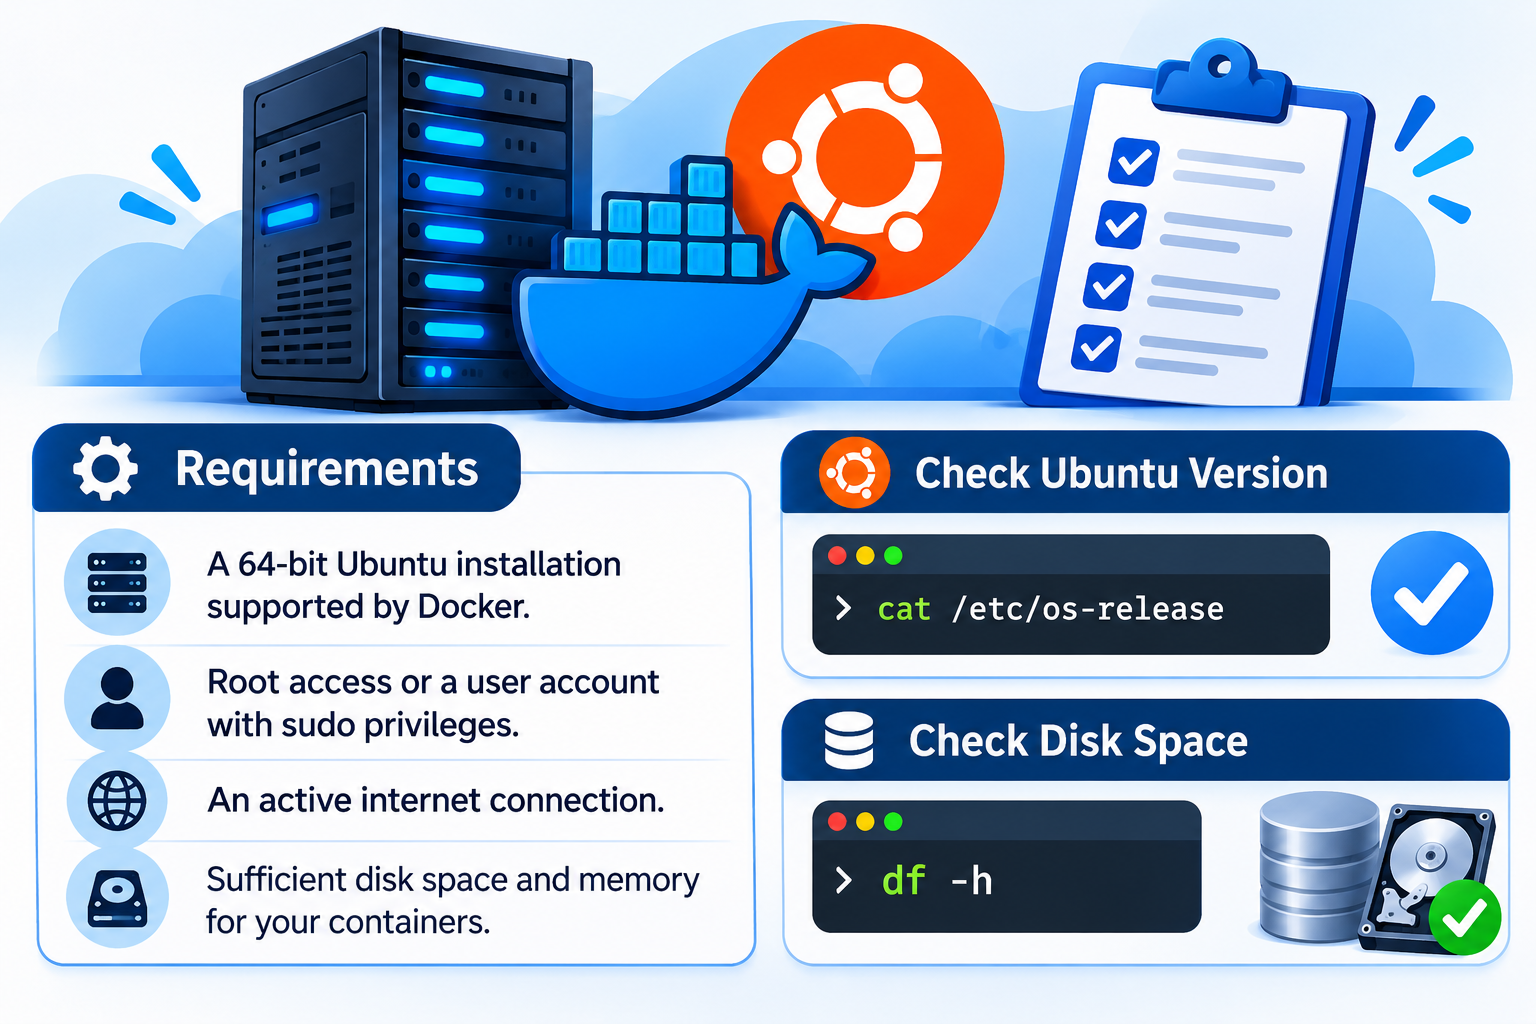
Before installing Docker, make sure your Ubuntu VPS meets the following requirements:
- A 64-bit Ubuntu installation supported by Docker.
- Root access or a user account with sudo privileges.
- An active internet connection.
- Sufficient disk space and memory for your containers.
Docker currently provides installation instructions for supported Ubuntu releases and several processor architectures. Check the official Docker Ubuntu requirements if you are unsure whether your VPS is compatible.
First, check your Ubuntu version:
cat /etc/os-release
You should also check your available disk space:
df -h
Step 1: Update Ubuntu and Remove Conflicting Packages
Start by updating your Ubuntu package information:
sudo apt update && sudo apt upgrade -y
Docker recommends removing certain older or unofficial packages that may conflict with Docker Engine installed from its official repository.
Run:
sudo apt remove docker.io docker-compose docker-compose-v2 docker-doc docker-buildx podman-docker containerd runc
If some packages are not installed, Ubuntu may report that they cannot be removed. This is normal.
Important: If your VPS already runs Docker workloads, review your existing installation and back up important data before changing packages. Removing Docker packages does not automatically delete existing images, containers, or volumes, but an existing installation may require a different migration procedure.
Step 2: Install Required Packages
Docker needs a few packages to download and verify its repository information.
Install the required packages:
sudo apt install ca-certificates curl -y
These packages provide the certificate and download utilities needed to access Docker’s official repository securely.
Step 3: Add Docker’s Official APT Repository
It is recommended to install Docker Engine through its official APT repository. This allows Ubuntu to retrieve Docker packages and updates directly from Docker.
First, create a directory for repository keys:
sudo install -m 0755 -d /etc/apt/keyrings
Download Docker’s official GPG key:
sudo curl -fsSL https://download.docker.com/linux/ubuntu/gpg -o /etc/apt/keyrings/docker.asc
Set the required permissions:
sudo chmod a+r /etc/apt/keyrings/docker.asc
Now add Docker’s official repository:
sudo tee /etc/apt/sources.list.d/docker.sources <<EOF
Types: deb
URIs: https://download.docker.com/linux/ubuntu
Suites: $(. /etc/os-release && echo “${UBUNTU_CODENAME:-$VERSION_CODENAME}”)
Components: stable
Architectures: $(dpkg –print-architecture)
Signed-By: /etc/apt/keyrings/docker.asc
EOF
Update the package index:
sudo apt update
Your Ubuntu VPS can now retrieve Docker packages from the official repository.
Step 4: Install Docker Engine
Install Docker Engine along with its command-line tools and additional components:
sudo apt install docker-ce docker-ce-cli containerd.io docker-buildx-plugin docker-compose-plugin -y
The installation includes:
- Docker Engine: Runs and manages containers.
- Docker CLI: Allows you to manage Docker through terminal commands.
- containerd: Handles container lifecycle management.
- Docker Buildx: Provides advanced image-building capabilities.
- Docker Compose Plugin: Helps manage multi-container applications.
Once the installation finishes, Docker should start automatically on Ubuntu.
Step 5: Verify Docker Installation
After installation, check whether the Docker service is running:
sudo systemctl status docker
Look for an active status indicating that Docker is running.
If the service is not running, start it manually:
sudo systemctl start docker
You can also check the installed Docker version:
sudo docker –version
Next, run Docker’s official test container:
sudo docker run hello-world
Docker downloads the test image and runs it. If everything is working correctly, you will see a confirmation message.
You can also verify that Docker Compose is installed:
sudo docker compose version
Your Ubuntu VPS now has a working Docker installation.
Step 6: Run Docker Without Sudo (Optional)
By default, Docker commands require sudo privileges. You can configure your Linux user to execute Docker commands without typing sudo every time.
First, check whether the Docker group exists:
getent group docker || sudo groupadd docker
Add your current user to the Docker group:
sudo usermod -aG docker $USER
Log out of your SSH session and log back in to apply the group membership.
Alternatively, activate the new group membership in your current shell:
newgrp docker
Now test Docker without sudo:
docker run hello-world
If the test runs successfully, your user can execute Docker commands without sudo.
Security note: Membership in the Docker group effectively grants root-level privileges. Only add trusted users to this group. If you need to run Docker without granting access to the root-level Docker daemon, consider Docker’s rootless mode.
Basic Docker Commands
Once Docker is installed, these commands can help you manage containers and images from your Ubuntu VPS.
| Command | Purpose |
| docker ps | List running containers |
| docker ps -a | List all containers |
| docker images | List downloaded images |
| docker pull nginx | Download an Nginx image |
| docker start container_name | Start a stopped container |
| docker stop container_name | Stop a running container |
| docker logs container_name | View container logs |
| docker –version | Check Docker version |
These commands provide a starting point for managing Docker. More advanced container management and deployment can be covered in separate tutorials.
Important Docker Security Considerations for VPS
Installing Docker is only the first step. Before deploying applications on your VPS, follow these basic security practices:
- Keep software updated: Regularly update Ubuntu and Docker packages.
- Secure SSH access: Use strong authentication and restrict administrative access.
- Use trusted images: Download container images from reliable sources.
- Protect application ports: Avoid exposing container ports publicly unless necessary.
- Back up important data: Keep backups of application files, databases, and Docker volumes.
- Monitor server resources: Check disk space, memory, CPU usage, and container activity.
One important firewall consideration is that Docker-published container ports can bypass normal UFW firewall rules. Simply enabling UFW does not guarantee that Docker containers are protected by those rules.
For example, if an application needs to be accessible only from the VPS itself, you can bind its published port to localhost:
docker run -d -p 127.0.0.1:8080:80 nginx
This makes the container’s port 80 available through port 8080 on the VPS’s loopback interface rather than publishing it on all network interfaces.
For internet-facing applications, review Docker’s firewall and packet-filtering documentation and configure appropriate access controls.
Conclusion
Installing Docker on an Ubuntu VPS is straightforward when you use Docker’s official APT repository. With Docker Engine, its command-line tools, and Docker Compose installed, you have the basic environment needed to start running containerized applications.
Before deploying applications publicly, make sure your VPS is properly secured, unnecessary ports are restricted, and important application data is backed up.
To learn more, continue with Docker basics, Docker Compose, and commonly used Docker commands.
Frequently Asked Questions
