Hey there! So, you’ve bought a domain name and a VPS (Virtual Private Server), but now you’re stuck on one question: How do I connect my domain to my VPS?
Good news — it’s not as complicated as it sounds. You’ve got two main ways to do it: using A Records (the easy method) or setting up Custom Nameservers (the professional method). Let’s go step by step and make this simple.
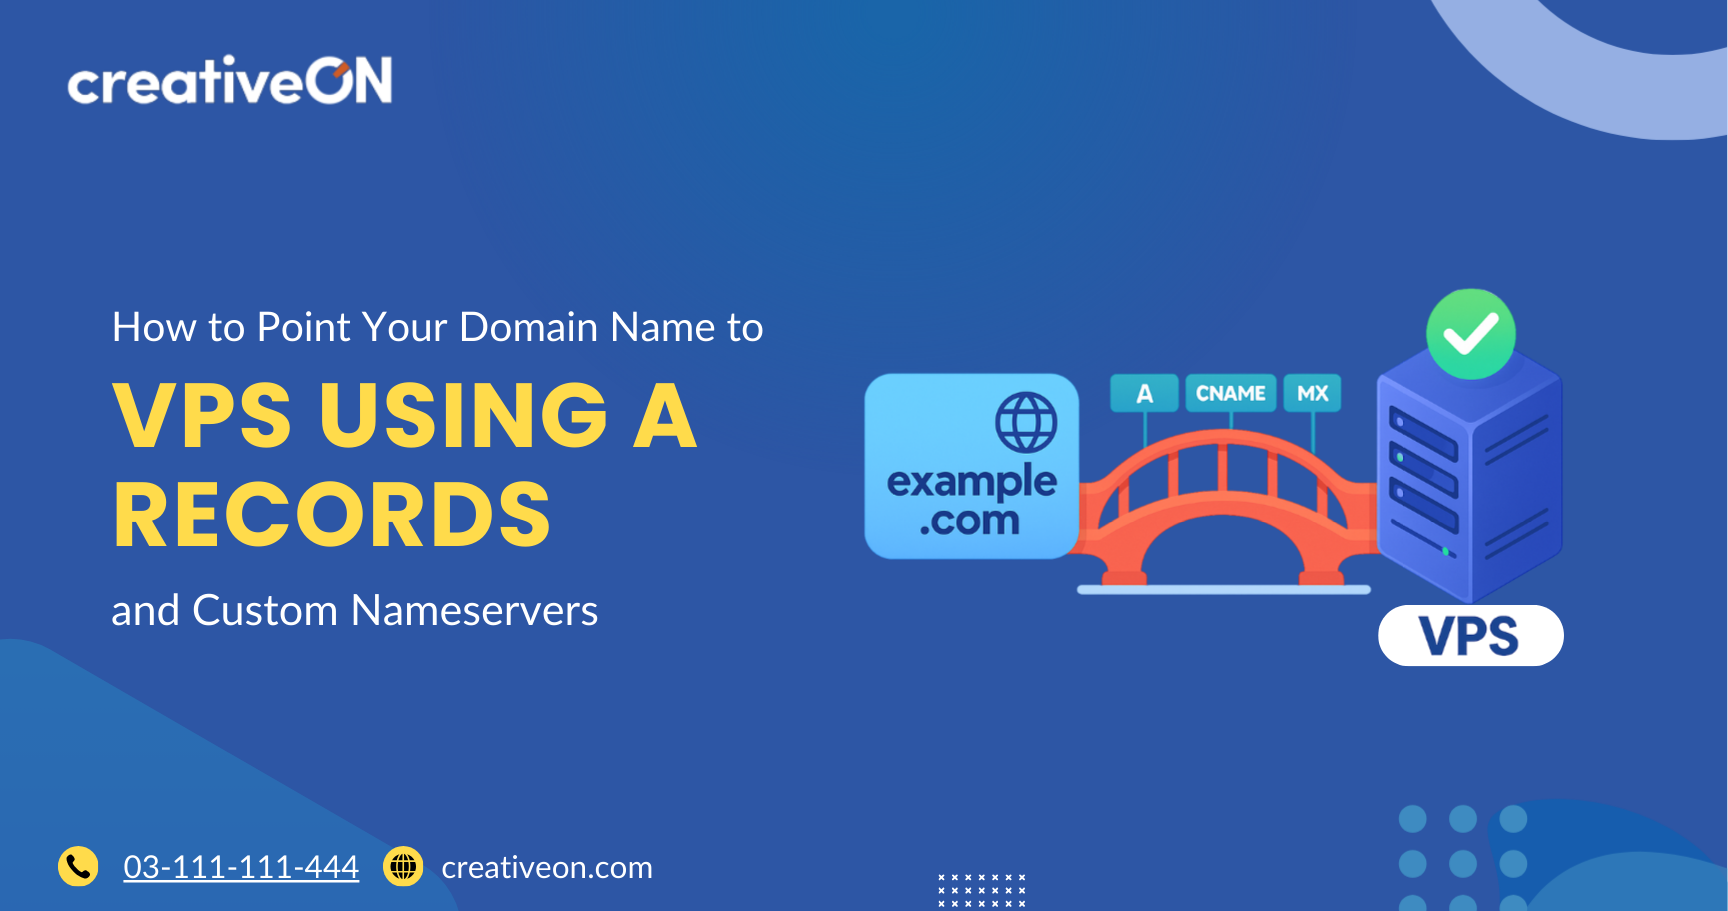
What Does It Mean to “Point” a Domain to a VPS?
Think of your domain name as your home address and your VPS as the actual house. If someone types in your web address, the internet needs to know which house (server) to go to.
Your VPS has a unique IP address, like 185.31.17.133. But since nobody wants to remember numbers, we use DNS (Domain Name System) — the internet’s phone book — to connect names to numbers.
When you “point” a domain to a VPS, you’re telling the internet: “This domain name should go to this VPS IP address.”
Method 1: Using A Records (The Beginner-Friendly Way)
This is the simplest and fastest method. Perfect if you just want your domain to load your VPS website.
Step 1: Find Your VPS IP Address
Log into your VPS control panel and look for “Server Information” or “Overview.” Copy your server’s IP address (something like 185.31.17.133).
Step 2: Access DNS Settings in Your Domain Registrar
Log into your domain registrar (where you purchased your domain). Look for:
- DNS Management
- Zone Editor
- Manage DNS Records
Step 3: Remove Old Records
Delete any old A, AAAA, or CNAME records pointing elsewhere (especially for @ or www).
Step 4: Add New A Records
Create two new A records:
- Record 1
- Type: A
- Host/Name: @
- Points to: Your VPS IP address
- TTL: Default or 3600
- Type: A
- Record 2
- Type: A
- Host/Name: www
- Points to: Your VPS IP address
- TTL: Default or 3600
- Type: A
✅ That’s it! Within a few hours, your domain should start pointing to your VPS.
Method 2: Using Custom Nameservers (The Pro Way)
If you want more control or you’re managing multiple domains, custom nameservers are a better choice.
Step 1: Create Custom Nameservers
At your registrar, look for Child Nameservers or Custom Nameservers. Create two new ones:
- ns1.yourdomain.com → Points to your VPS IP
- ns2.yourdomain.com → Points to your VPS IP (or ideally, a second IP if available)
Step 2: Configure DNS on Your VPS
Install DNS software (like BIND9) or use your hosting provider’s DNS management. Set up your domain zone files so your server can respond to DNS queries.
💡 If you’re using a provider like CreativeON, they often give you ready-to-use custom nameservers — saving you the technical setup.
Step 3: Update Nameservers
Go back to your domain registrar and replace the default nameservers with your new ones.
DNS Propagation: Why the Wait?
After making changes, you may not see results immediately. This delay is called DNS propagation.
- Normally takes 24–48 hours (sometimes up to 72).
- Speed depends on internet providers around the world.
- To reduce waiting, set your TTL (Time to Live) lower before making changes.
👉 Pro tip: Use a DNS propagation checker tool online to see if your changes are spreading.
Common Mistakes to Avoid
- ❌ Forgetting the www record → Always add both @ and www.
- ❌ Mixing CNAME with other records → A CNAME can’t coexist with MX or other records on the same subdomain.
- ❌ Panicking during propagation → Wait at least 24 hours before troubleshooting.
- ❌ Skipping backups → Always export/save old DNS records before making changes.
Why Choose VPS Hosting in Pakistan?
More and more businesses are moving to VPS hosting in Pakistan — and here’s why:
- 🚀 Better Performance – 15–35% faster than shared hosting.
- 💰 Cost-Effective – Dedicated resources without the price of a full server.
- 📞 Local Support – Providers understand local businesses and offer Urdu/English support.
- 📈 Scalable – Start small and grow as your business grows.
At CreativeON, we’ve been powering Pakistani businesses for 20+ years. We work with major brands like City42, Channel 24, QTV, and Chughtai Lab. As a Google Workspace Partner and PKNIC Gold Partner, we offer VPS services at affordable rates with expert local support.
FAQs
- Use A Records if you’re a beginner or only managing one site.
- Use Custom Nameservers if you manage multiple domains or want full DNS control.
Clear your browser cache, flush DNS (ipconfig /flushdns on Windows), or check using a different internet provider.
Yes! You can set Cloudflare as your nameserver for added security and performance.
Quick Recap
- A Records Method: Simple and fast — just point your domain to your VPS IP.
- Custom Nameservers: Professional and flexible — gives you full DNS control.
- Propagation: Be patient — changes take up to 48 hours.
- VPS Benefits in Pakistan: Speed, scalability, and cost savings.
Final Word
Connecting your domain to your VPS isn’t rocket science. With either A Records or custom nameservers, you can get your site online in just a few steps.
And remember — if you ever feel stuck, CreativeON’s support team is here to help.

The author
Asher Feroze
I’m Asher Feroze, and I’ve been part of CreativeON for several years, working in various roles including Manager Operations, Business Development Manager, and technical support for our web hosting services. Over time, I’ve gained deep insights into both the business and technical sides of the industry. Now, I use that experience to write informative articles for CreativeON, Gworkspace, and gworkspacepartner.pk, helping readers make smart choices when it comes to web hosting and Google Workspace solutions.