

If NGINX won’t start on your VPS, your website or application is offline until the service is running again. This is one of the most common issues VPS users run into, and in most cases it comes down to one of a handful of predictable causes: a configuration syntax error, a port conflict, a permissions problem, an SSL certificate issue, or a stale PID file.
This guide walks you through exactly how to find out why NGINX isn’t starting and how to fix it, step by step.
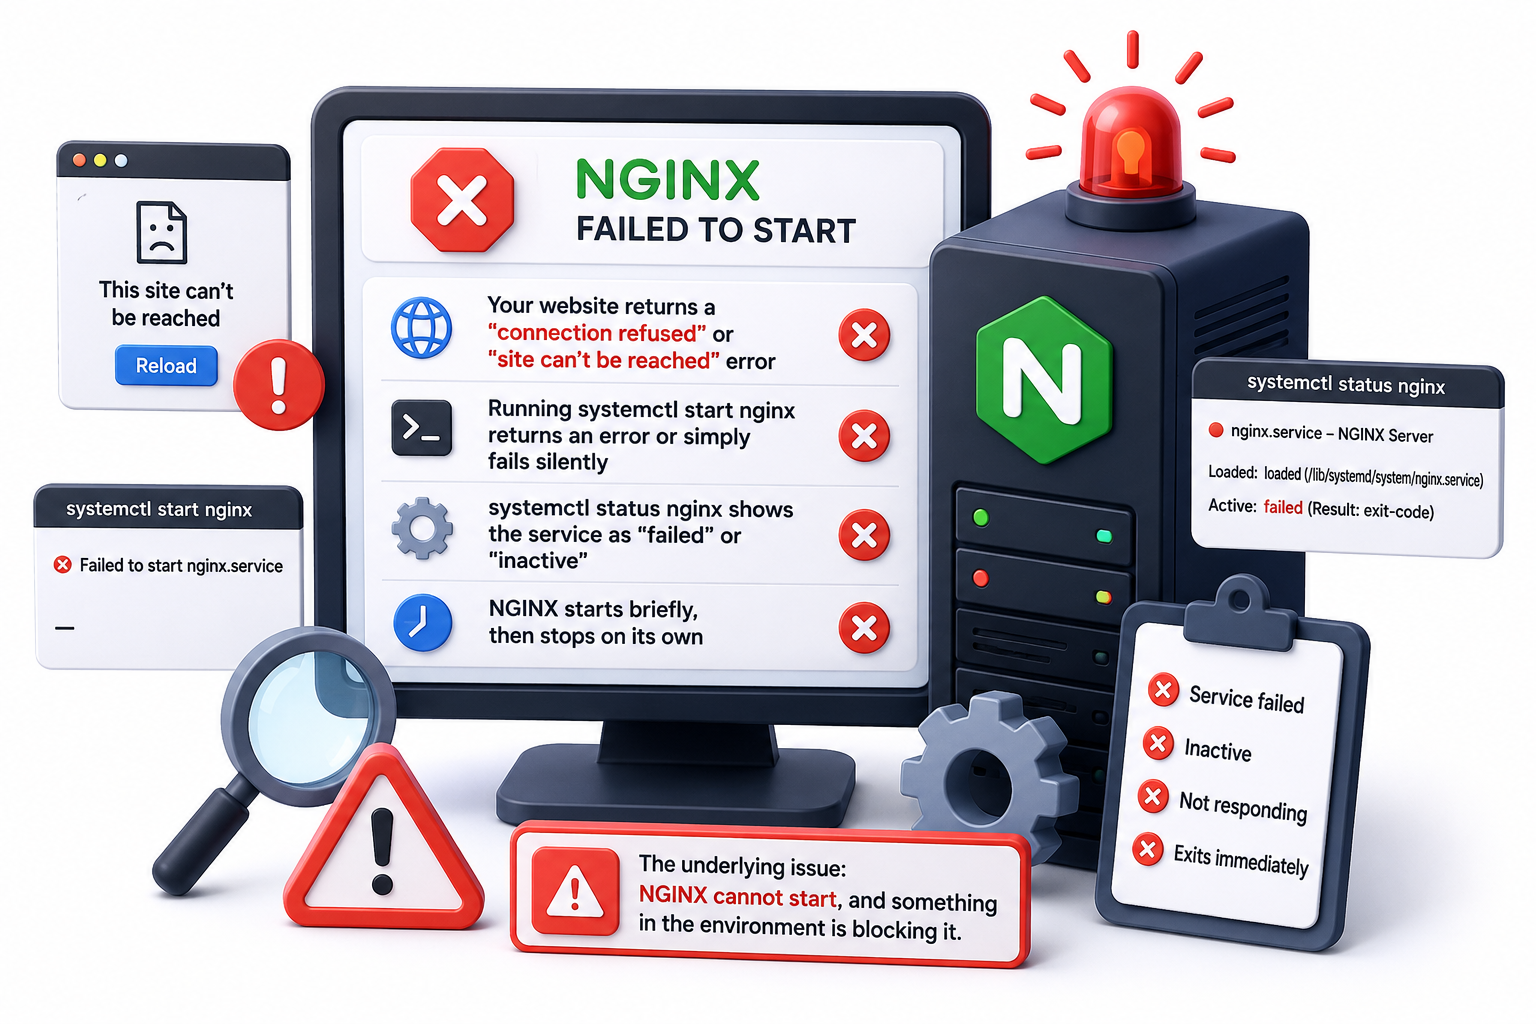
Signs NGINX Isn’t Starting Properly
Before troubleshooting, confirm what’s actually happening. Common symptoms include:
- Your website returns a “connection refused” or “site can’t be reached” error
- Running systemctl start nginx returns an error or simply fails silently
- systemctl status nginx shows the service as “failed” or “inactive”
- NGINX starts briefly, then stops on its own
Any of these point to the same underlying issue: NGINX cannot start, and something in the environment is blocking it.
Common Causes of NGINX Startup Failures
Several common issues can prevent NGINX from starting, including:
- A syntax error in your configuration file — a missing semicolon, an unclosed bracket, or a typo in a directive
- Port 80 or 443 already in use — another process, often Apache or a second NGINX instance, is already bound to the port
- Incorrect file permissions — NGINX can’t read its configuration, SSL certificates, or log files
- A problem with an SSL certificate reference — a missing or misconfigured certificate file
- A stale PID file — a leftover process ID file that no longer matches a running process
Rather than guessing which one applies to you, the fastest path is to work through the service status, configuration test, and logs in order.
Step 1: Check the NGINX Service Status
Start by asking systemd what happened:
sudo systemctl status nginx
This command often tells you immediately whether NGINX failed due to a configuration problem, a permissions issue, or a conflict with another process. Look at the last few lines of output for the specific error message.
Step 2: Test the NGINX Configuration
NGINX includes a built-in configuration test that checks your configuration syntax and reports many errors before you even try to start the service:
sudo nginx -t
If there’s a problem, this command will point to the file and line number causing the issue. Common syntax mistakes include:
- A missing semicolon at the end of a directive
- Mismatched curly braces { }
- A duplicate listen directive for the same port
- An incorrect file path referenced in include or ssl_certificate
Fix the reported line, save the file, and run nginx -t again until it returns “syntax is ok” and “test is successful.”
Step 3: Check for Port Conflicts
If the configuration test passes but NGINX still won’t start, another likely cause is that a different process is already using port 80 or 443. Check with:
sudo ss -ltnp | grep ‘:80’
sudo ss -ltnp | grep ‘:443’
You can also use lsof -i :80 or lsof -i :443 if lsof is installed on your system.
If another web server, such as Apache, is holding the port, don’t stop it purely because it owns the port. First confirm what application is running there and whether it’s meant to serve another site or service on the same VPS. If you’re sure it’s safe to stop, you can do so with:
sudo systemctl stop apache2
This is especially important on VPS environments hosting more than one site or application.
Step 4: Review NGINX and Systemd Logs
When the cause isn’t obvious from the status output or the config test, the logs are usually the next place to look. Start with the systemd journal, which often captures the failure reason even before NGINX writes its own log:
sudo journalctl -u nginx -n 50 –no-pager
Then check the NGINX error log itself, which often provides the specific reason NGINX failed to start:
sudo tail -50 /var/log/nginx/error.log
Reading the most recent entries first will usually point you toward the fix, whether it’s a missing file, a permissions issue, or a module failing to load.
Step 5: Check File Permissions and Missing Files
NGINX needs read access to its configuration files, certificates, and web root directories. If ownership or permissions were changed recently — for example, after restoring a backup or migrating files — NGINX may be unable to read what it needs to start.
If the log points to a specific file:
- Confirm the file actually exists at the path referenced
- Check its ownership with ls -l
- Check that the NGINX user (typically www-data on Debian/Ubuntu or nginx on CentOS/RHEL) has read access
Avoid using a blanket fix like:
sudo chmod -R 777 /etc/nginx
This resolves the symptom while creating a much larger security risk. Fix the ownership or permissions of the specific file the log identifies instead.
Step 6: Check for SSL Certificate Problems
If your configuration includes HTTPS, a missing or misconfigured certificate can also prevent NGINX from starting. This typically shows up as an error such as:
cannot load certificate
or:
No such file or directory
Running sudo nginx -t will generally identify the configuration block and file path causing the problem, so you can confirm the certificate and key files exist at the paths referenced and that NGINX has permission to read them.
Step 7: Check for a Stale PID File
If NGINX previously crashed or was stopped forcefully, it’s possible for a leftover PID file to no longer match a running process, which can interfere with a clean start. This is worth checking if the status output or logs specifically reference the PID file, and no NGINX master process is currently running.
The default location is usually:
/run/nginx.pid
Confirm this is actually the problem before removing anything. Once you’re sure no NGINX process is running, you can remove the stale file and try starting the service again:
sudo rm -f /run/nginx.pid
sudo systemctl start nginx
Verifying NGINX Is Running Correctly
Once you’ve applied a fix, confirm that NGINX is actually up and serving traffic:
sudo systemctl status nginx
curl -I http://localhost
A status of “active (running)” combined with a successful local response confirms the service itself is working. Keep in mind that a local curl only verifies that NGINX is responding on the server — it doesn’t confirm that DNS, your firewall, or HTTPS access are correctly configured from the outside.
It’s also worth reloading rather than restarting when making future configuration changes, since a reload applies changes without dropping active connections:
sudo systemctl reload nginx
Preventing NGINX Startup Failures in the Future
A few habits go a long way toward avoiding this problem again:
- Always run nginx -t before restarting the service after any configuration change
- Keep a backup of working configuration files before editing them
- Avoid running multiple web servers on the same port without a clear reason
- Monitor your VPS so you’re alerted immediately if a service goes down, rather than finding out from a user report
For ongoing visibility into service health, CPU, and memory usage, a proper monitoring setup will flag these issues before they cause downtime — see our VPS Monitoring Guide for how to set that up.
If file ownership problems are a recurring issue on your server, it’s worth reviewing broader server hardening practices as well, covered in our VPS Server Hardening Checklist.
Conclusion
NGINX failing to start almost always traces back to a configuration syntax error, a port conflict, a permissions issue, an SSL certificate problem, or a stale PID file. Working through the service status, configuration test, logs, and the checks above will identify the cause in most cases, and the fixes themselves are usually quick once you know where to look. Keeping your configuration tested, your permissions consistent, and your server monitored will help you avoid this issue going forward.
If you’re managing a CreativeON VPS and want help getting NGINX back online, our support team can review your configuration and server logs directly.