
A VPS backup gives you a recovery point you can use when important server data, applications, databases, or configurations are lost or damaged. But having a backup is only part of the recovery process. You also need to know which backup to restore, what the restoration will replace, and how to verify the VPS afterward.
A full VPS restore can potentially replace the server’s current state, depending on the provider and backup system. Some platforms restore directly over the original server, while others allow you to restore to a new VPS or another destination. Always check your provider’s restoration behavior before starting.
This guide explains how to restore a VPS backup safely, including how to choose the correct recovery point, select the appropriate restoration method, and verify that your VPS and applications are working afterward.
Important: Do not start a full VPS restore until you understand what data will be replaced. If the restore is destructive, preserve any important data created after the selected backup whenever possible.
When Should You Restore a VPS Backup?
A VPS backup restore is appropriate when returning individual files to an earlier state is not enough or when the server itself needs to be recovered.
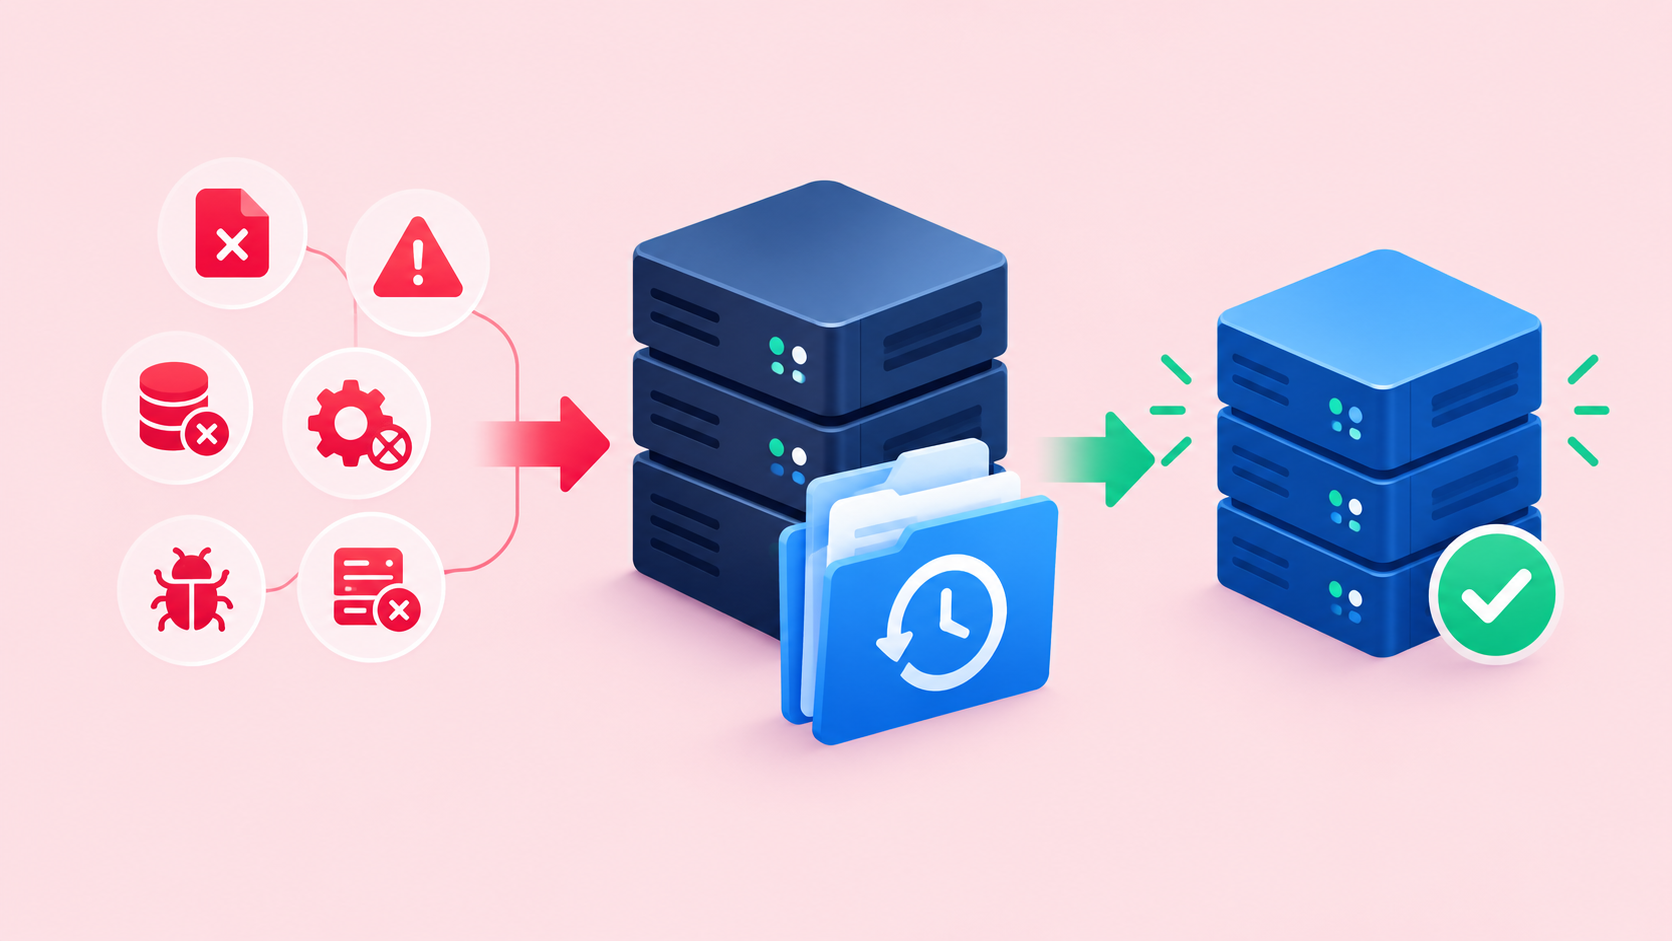
Common situations include:
- Important files were accidentally deleted.
- A software update caused the application or server to fail.
- A database was damaged or incorrectly modified.
- A configuration change broke a critical service.
- Malware or ransomware affected important server data.
- The VPS has significant filesystem or system corruption.
- The original VPS has become unavailable.
- You need to roll the server back to a known working state.
The important question is not simply “Which is the newest backup?”
It is:
“Which recovery point represents the last known-good state I need?”
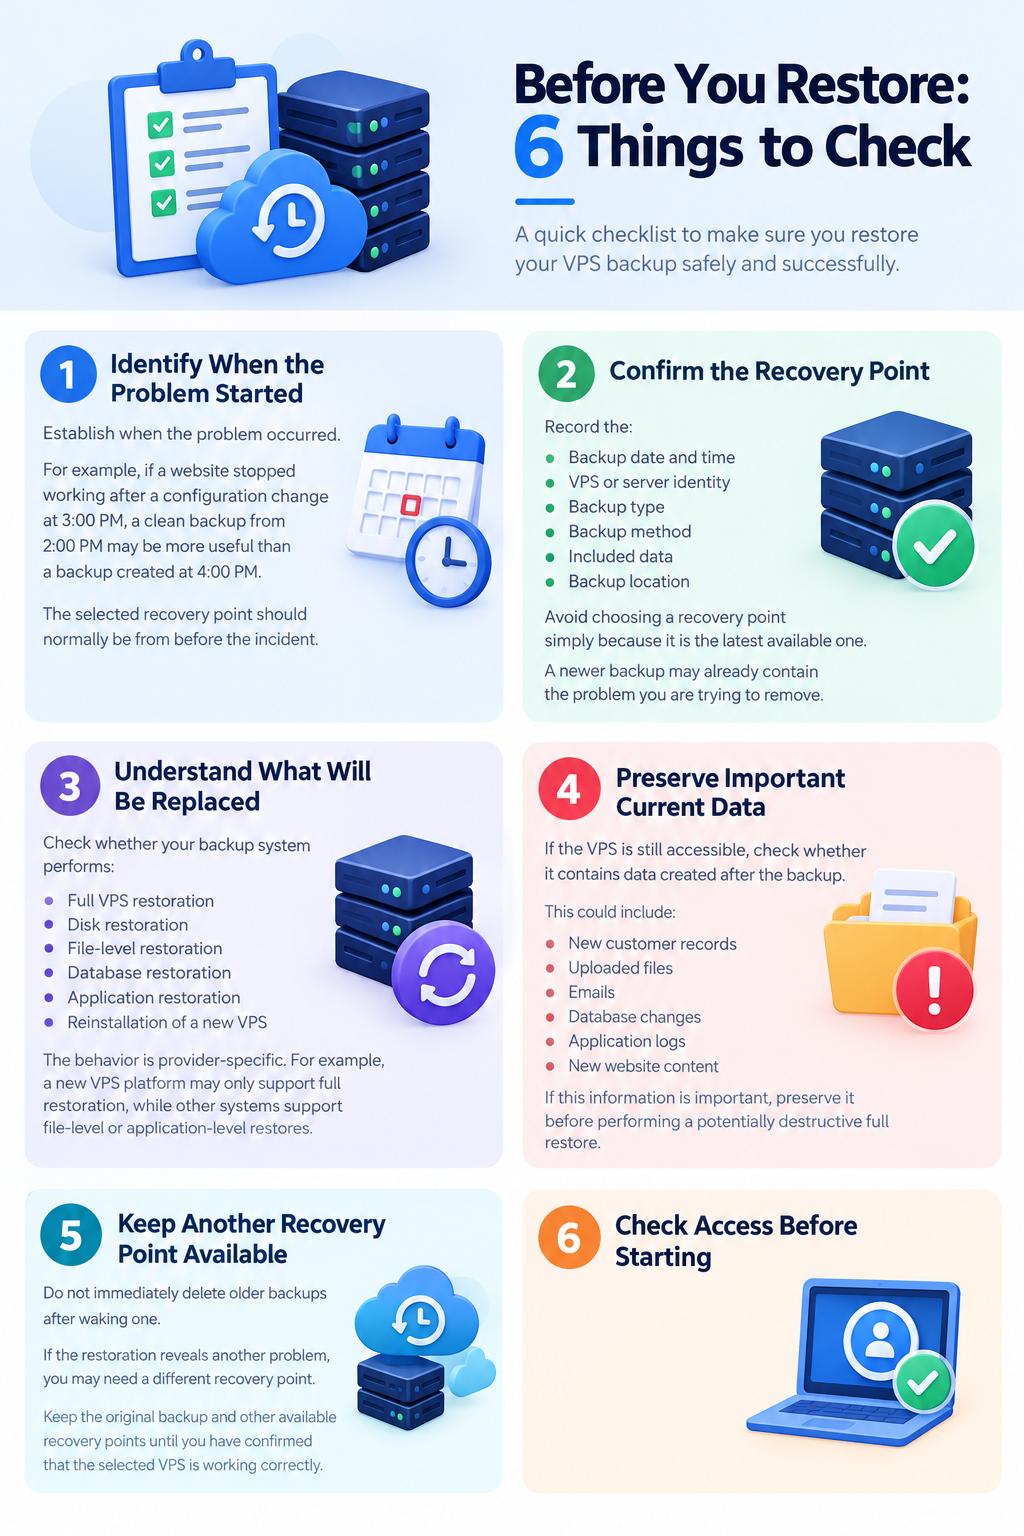
Before You Restore: 6 Things to Check
A VPS restoration can affect more data than the original problem. Before clicking Restore, check these six things.
1. Identify When the Problem Started
Establish approximately when the problem occurred.
For example, if a website stopped working after a configuration change at 3:00 PM, a clean backup from 2:00 PM may be more useful than a backup created at 4:00 PM.
The selected recovery point should normally be from before the incident.
2. Confirm the Recovery Point
Record the:
- Backup date and time
- VPS or server identity
- Backup type
- Backup status
- Included data
- Backup location
Avoid choosing a recovery point simply because it is the latest available one.
A newer backup may already contain the problem you are trying to remove.
3. Understand What Will Be Replaced
Check whether your backup system performs:
- Full VPS restoration
- Disk restoration
- File-level restoration
- Database restoration
- Restoration to a new VPS
The behavior is provider-specific. For example, some VPS platforms explicitly stop the original server and overwrite its disk during a restore, while other systems support restoring the VM to a separate destination.
4. Preserve Important Current Data
If the VPS is still accessible, check whether it contains data created after the backup.
This could include:
- New customer records
- Uploaded files
- Emails
- Database changes
- Application logs
- New website content
If that information is important, preserve it before performing a potentially destructive full restore.
5. Keep Another Recovery Point Available
Do not immediately delete older backups after selecting one.
If the restoration reveals another problem, you may need a different recovery point.
Keep the original backup and other available recovery points until you have confirmed that the restored VPS is working correctly.
6. Check Access Before Starting
Make sure you can access the systems required for recovery.
Depending on your setup, this may include:
- VPS control panel
- Backup management system
- SSH credentials
- Recovery credentials or keys
- DNS management
- Application credentials
A backup is not very useful during an emergency if the person responsible for recovery cannot access it.
Full VPS Restore vs Partial Restore
Not every problem requires restoring the entire VPS.
|
Restoration type |
Best used when |
Main consideration |
|
Full VPS restore |
The server is severely damaged or needs a complete rollback |
Current data may be replaced |
|
File restore |
Specific files were deleted or damaged |
Other system problems remain |
|
Database restore |
Database data is corrupted or incorrect |
Recent database changes may be lost |
|
Restore to a new VPS |
The original VPS is unavailable or you want to test recovery safely |
Networking and DNS may need adjustment |
Choose the smallest restoration scope that solves the problem.
For example, if one website directory was accidentally deleted and everything else is working correctly, restoring the entire VPS could unnecessarily remove newer data.
What Happens During a Full VPS Restore?
During a full restoration, the backup system uses a selected recovery point to reconstruct the VPS or its disks.
Depending on the platform, this may include:
- Operating system files
- Website files
- Databases
- Application data
- Server configurations
- User files
- Other persistent VPS data
The VPS may also be stopped, restarted, or restored to a separate destination depending on the provider.
For example, some backup platforms restore the complete VM to new infrastructure without overwriting the existing VM, while other VPS systems explicitly overwrite the original server’s disk.
Never assume how your provider’s restore works. Check the restoration documentation before starting.
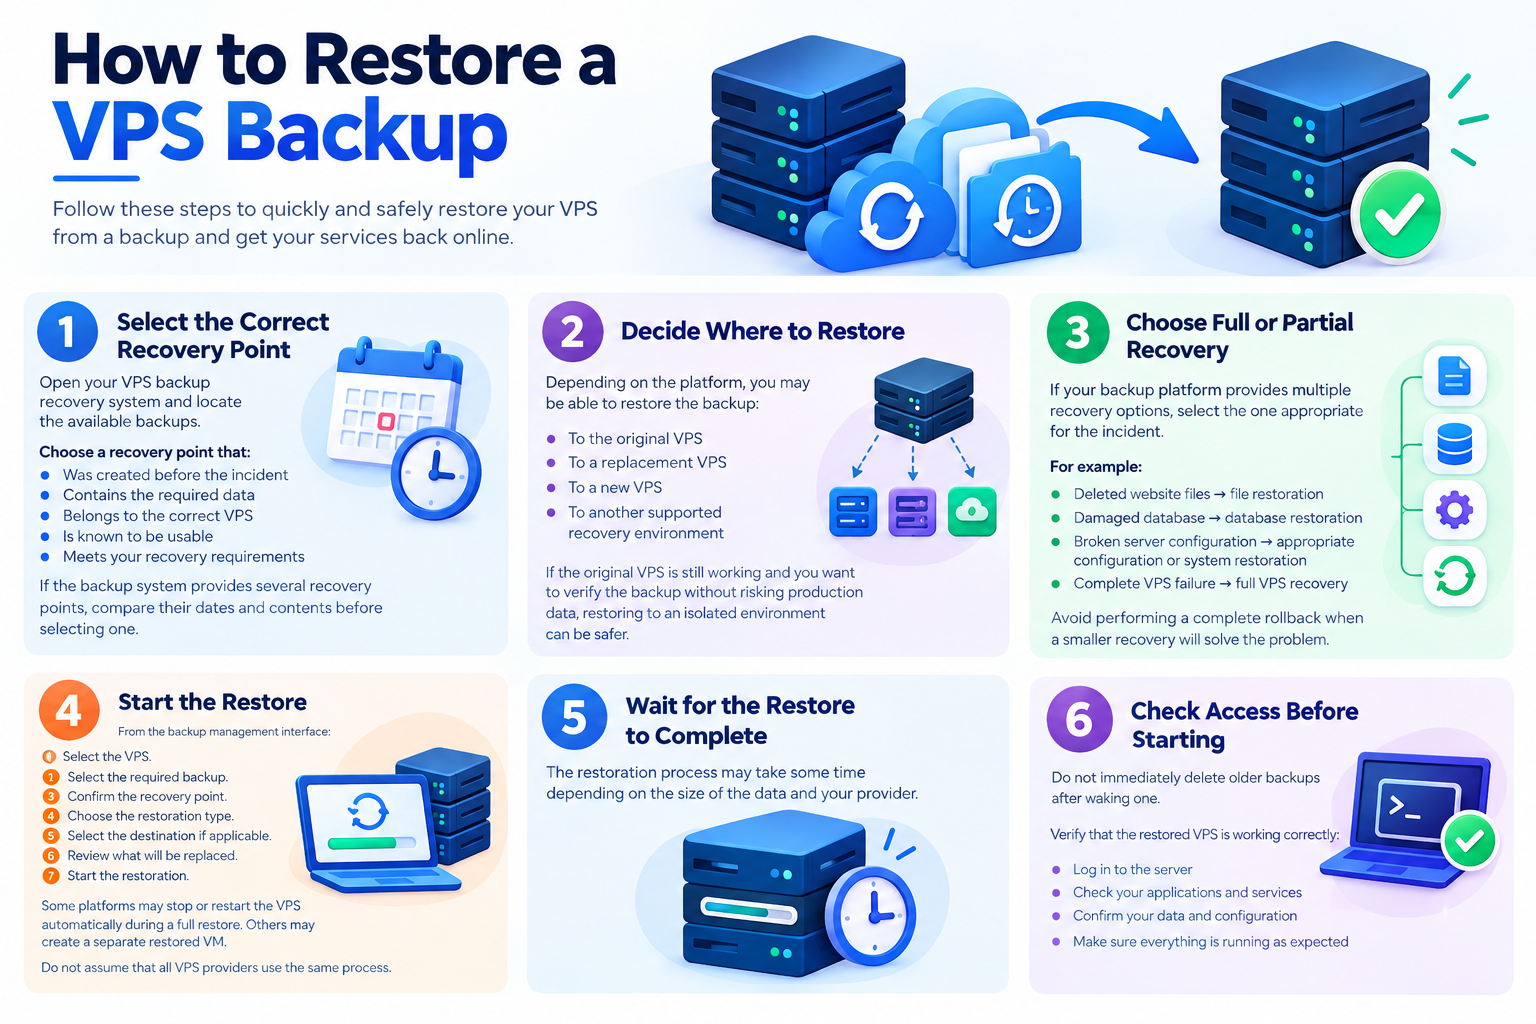
How to Restore a VPS Backup
The exact interface varies between VPS providers and backup platforms, but the general recovery process follows the same principles.
Step 1: Select the Correct Recovery Point
Open your VPS backup or recovery system and locate the available backups.
Choose a recovery point that:
- Was created before the incident
- Contains the required data
- Belongs to the correct VPS
- Is known to be usable
- Meets your recovery requirements
If the backup system provides several recovery points, compare their dates and contents before selecting one.
Step 2: Decide Where to Restore
Depending on the platform, you may be able to restore the backup:
- To the original VPS
- To a replacement VPS
- To a new VPS
- To another supported recovery environment
If the original VPS is still working and you want to verify the backup without risking production data, restoring to an isolated environment can be safer.
Restore testing guidance generally recommends using a separate destination so the recovery process does not accidentally overwrite production or trigger live integrations.
Step 3: Choose Full or Partial Recovery
If your backup platform provides multiple recovery options, select the one appropriate for the incident.
For example:
- Deleted website files → file restoration
- Damaged database → database restoration
- Broken server configuration → appropriate configuration or system restoration
- Complete VPS failure → full VPS recovery
Avoid performing a complete rollback when a smaller recovery will solve the problem.
Step 4: Start the Restore
From the backup management interface:
- Select the VPS.
- Select the required backup.
- Confirm the recovery point.
- Choose the restoration type.
- Select the destination if applicable.
- Review what will be replaced.
- Start the restoration.
Some platforms may stop or restart the VPS automatically during a full restore. Others may create a separate restored VM.
Do not assume that all VPS providers use the same process.
Step 5: Wait for the Restore to Complete
Large VPS backups can take time to restore.
Avoid making unnecessary changes while the restoration is running.
Monitor the restoration job if your provider provides progress or status information.
Do not treat a completed transfer as proof that the application itself is healthy. The restored VPS still needs to be checked.
Restore a VPS from an Offsite Backup
An offsite VPS backup is stored separately from the production VPS.
This can provide another recovery source if the original VPS, disk, or hosting environment becomes unavailable.
The general process is:
- Access the remote backup location.
- Locate the required recovery point.
- Confirm the backup belongs to the correct VPS.
- Select the destination VPS or recovery environment.
- Start the restoration.
- Wait for the backup to be restored.
- Verify the recovered system.
The exact process depends on the backup platform.
The important point is that the offsite copy must actually be accessible when recovery is required. Restore testing can help confirm that the backup can be retrieved and successfully restored.
For information about designing an overall backup strategy, see the VPS Backup & Disaster Recovery Guide.
Verify Your VPS After Restoration
A successful backup job does not automatically mean your application has been successfully recovered.
After the VPS backup restore, perform a systematic verification.
Check the VPS
Confirm that:
- The VPS boots normally.
- SSH access works.
- Disk storage is available.
- Required system services are running.
- The expected hostname and configuration are present.
Check Websites and Applications
Open the affected websites and applications.
Test important functionality rather than checking only whether the homepage loads.
For example:
- Log in to the application.
- Open important pages.
- Submit a test form.
- Check uploaded files.
- Test important application workflows.
Check Databases
Confirm that:
- The database service is running.
- Expected databases are present.
- The application can connect to the database.
- Important records are available.
- Recent expected data exists up to the selected recovery point.
Check Files
Verify important:
- Website files
- User uploads
- Configuration files
- Application data
- Media files
- Required certificates and keys
Check SSL and HTTPS
Open the website over HTTPS and confirm that the expected certificate and application configuration are working.
Check DNS
If you restored to a new VPS or changed the server’s network configuration, verify that DNS records point to the correct destination.
Do not assume that restoring server data automatically changes DNS.
For detailed DNS procedures, use the dedicated VPS DNS Configuration Guide.
Check Data Integrity After a VPS Restore
After recovery, compare important data with what you expect to have been restored.
Pay particular attention to data that changes frequently.
For example:
- Recent database records
- Uploaded documents
- Website content
- Customer information
- Application settings
- Transaction records
If important data is missing, do not immediately discard the original backup.
Another recovery point may contain the information you need.
The selected recovery point also determines the potential data-loss window. If your backup was created three hours before the incident, changes made during those three hours may not be present after restoration.
What If the VPS Restore Fails?
Do not repeatedly overwrite the same VPS if the first restoration does not work as expected.
Instead:
- Record the restoration error.
- Keep the original backup.
- Check whether another recovery point is available.
- Review the provider’s restoration logs.
- Confirm that the backup is intended for the selected VPS or platform.
- Consider restoring to a separate VPS if supported.
- Contact your VPS provider if the backup cannot be restored.
If another clean recovery point exists, it may be safer to test that recovery point separately rather than repeatedly modifying the production server.
Common VPS Backup Restore Mistakes
Restoring the Wrong Backup
A backup created after the problem occurred may contain the same damaged configuration or data.
Always establish when the problem began.
Overwriting Production Without Preserving Current Data
A full restore may replace newer information.
Preserve important current data before a destructive restoration whenever possible.
Restoring the Entire VPS for a Small Problem
If only one file or database needs recovery, a complete VPS rollback may cause unnecessary data loss.
Use a smaller restoration when your backup platform supports it.
Skipping Application Testing
A VPS can boot successfully while the application remains broken.
Always test the actual website or application.
Deleting Other Backups Too Early
Do not remove your other recovery points immediately after restoring.
Keep them available until the restored VPS has been fully validated.
Testing Only the Backup Job
A backup job completing successfully does not prove that the business can recover from it.
A practical restore test should validate the recovery point, restored components, application behavior, and recovery process.
Test Your VPS Backup Before You Need It
A backup should be periodically tested through an actual restoration process.
A practical restore test can use an isolated VPS or other non-production destination.
Verify that:
- The backup can be accessed.
- The expected recovery point can be identified.
- The VPS can be restored.
- Important files are present.
- Databases can be recovered.
- Applications start correctly.
- Important workflows work.
- The recovery process is documented.
You can also record how long the restoration takes.
This helps you understand whether your actual recovery process meets your operational requirements.
For detailed backup testing and disaster recovery planning, see the VPS Backup & Disaster Recovery Guide.
VPS Backup Restore FAQ
