
Do you want to install the most popular Content Management System (WordPress) on your windows computer without buying a hosting space on the internet? Building your website using WordPress on your local computer helps you learn how to develop a WordPress website, understand new features and the website development process before migrating it to the live server. In this guide, I will provide you with step-by-step information on How to install WordPress on the WAMP server from downloading to installation and completion in just three steps.
In simple words, you can say I will provide you with a WordPress installer for PC so that you can learn, develop and test your website before getting a web hosting plan.
Usually, developers prefer to set up a working environment to quickly make changes and test them before migrating them to the live server.
Why Do You Need to Install WordPress CMS on Windows?
As I have discussed earlier, WordPress installation step by step on your localhost (Windows) creates a testing environment that doesn’t harm your published website on the internet. It simulates a server environment on your laptop or personal computer that is called localhost.
According to the computer networking, localhost is “this computer,” the one you’re using for your personal use. When anyone enters the URL of any website, he is connected to a “host” computer somewhere in the world, and this computer or server is responsible for delivering his requested pages.
Experienced developers use their local machines to develop WordPress Themes, Plugins and websites. However, beginners use XAMPP or WAMP server to learn the web development using WordPress and test new features, themes, plugins and other experiments without fear.
Important Note: Your client will not see your website if you are developing it on your local machine using any localhost server. So, if you want to keep your client or visitors up to date, you need a domain name and a web hosting plan to publish it on the internet where anyone can see your website if they know your website name. Moreover, if you have adopted valuable SEO tips and ranked your website on google search results, you can also get maximum visitors.
What is WAMP?
WAMP (stands for Windows, Apache, MySQL, and PHP) is used to create web applications on Windows operating systems using Apache2, PHP and a MySQL database. Using WordPress with a WAMP server allows you to build your website that is only visible to you or your local network (if setup).
How to install WordPress on WAMP
Following are three simple steps to install WAMPServer on your Windows 7, 8, 8.1 or 10 to setup a localhost environment:
Step # 1: Download and install WAMP Server on Your Windows PC
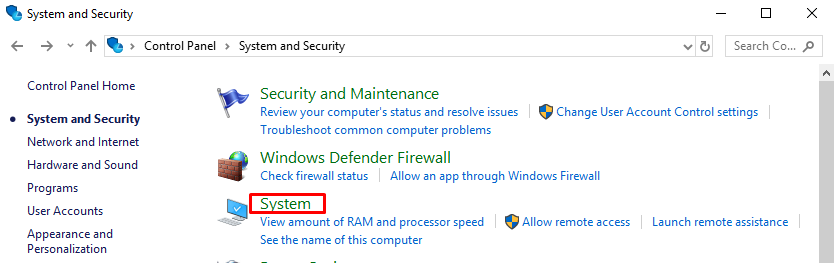
First of all, you have to check either your windows operating system is 32 or 64 bit and select the WAMP version accordingly. However, it doesn’t seem compatible with Windows Server 2003 or Windows XP, SP3. If you are not sure about your operating system, then open the Control Panel and navigate to the Systems and Security, then click on the “Systems” as you can see in the picture given below:
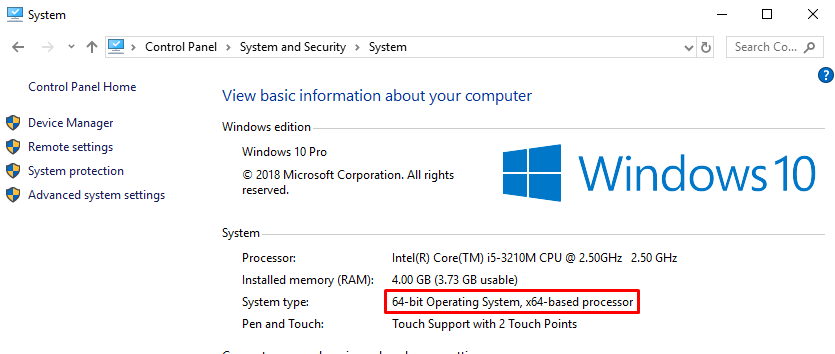
You will be landed on the given page to see the system type: 64-bit or 32-bit OS.
Open Sourceforge.net and search WAMPServer in the search bar or click here to download the latest version x64 (WAMP 64 bit).
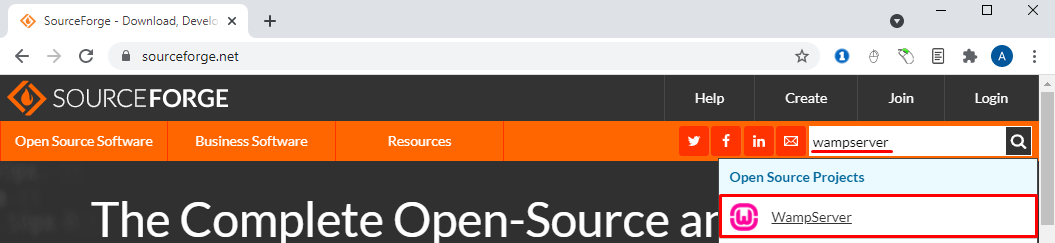
If you want to install a wamp server 32 bit, don’t click on the download button as shown in the picture given below and navigate to the Files>WampServer3>WampServer 3.0.0 > WampServer x86.

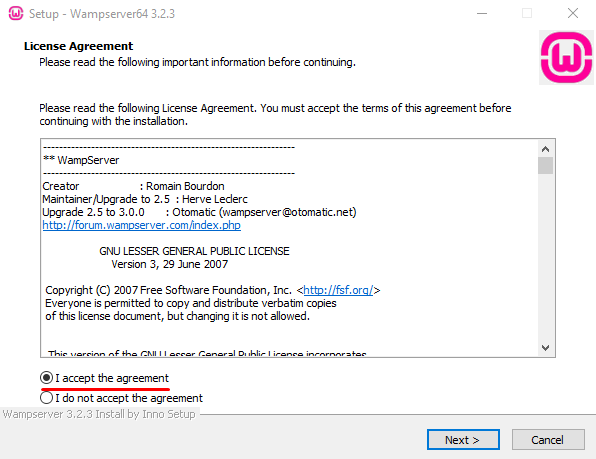
Wait for its download completion and click on the executable file to begin the installation.
Please choose the language, accept the agreement and click on the next button to proceed further.
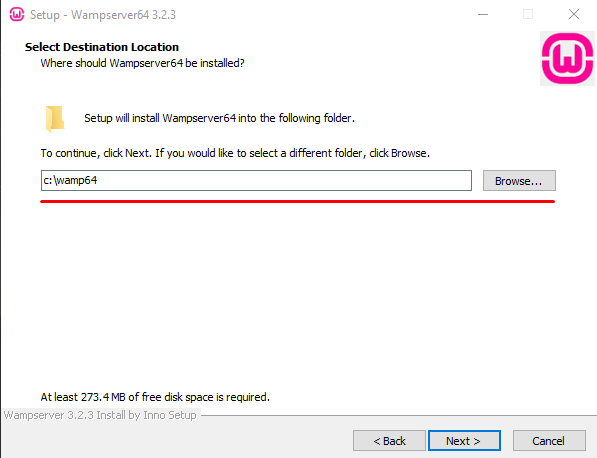
Choose your installation location carefully and follow the instruction given on the installation screen. If you don’t need to install it in any custom location, then you can go with its default location and click on the Next button as seen below:
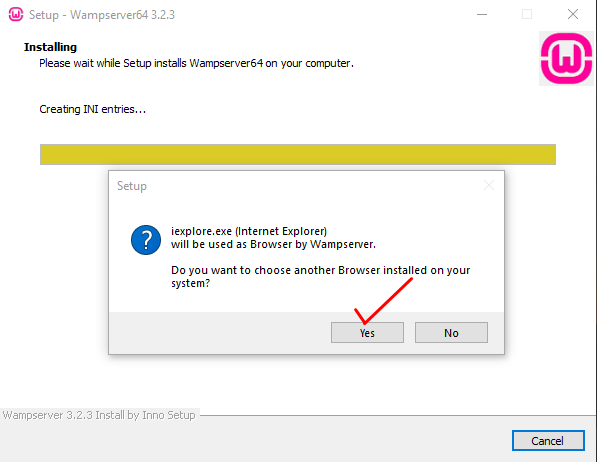
Keep in mind that your default web browser is Internet Explorer, so if you want to use another browser, click on the yes button and navigate your desired web browser.
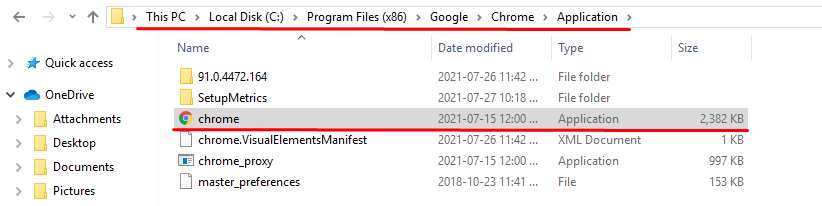
In my case, I am going to use Chrome browser, open C Drive> Program Files (x86)> Google> Chrome> Application and click on the chrome.exe file and click on the open button.
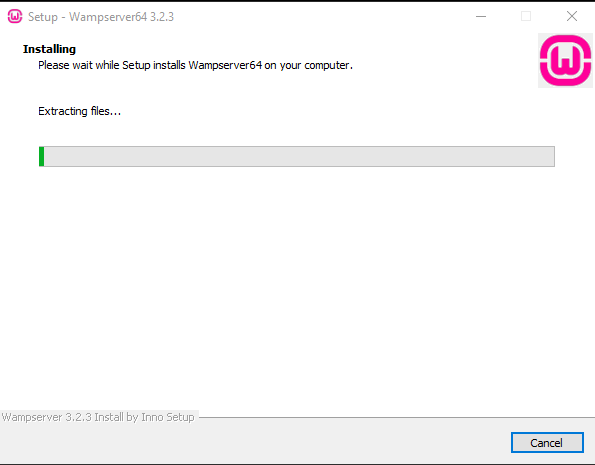
Now, click on the install button and you will see it has started extracting the files and creating an environment to install localhost server.
After installation, you will get a popup again to change the default Text Editor, which is Notepad, to change it to one of your favorite editors like Notepad++, Visual Code, etc. So, you have to repeat the same process as you have done for changing the default browser. WAMP server has been installed, and you can launch it to continue.
Now, click on the “Show Hidden icons” from the taskbar and see if the WAMP icon is showing and green that means everything is working fine, as you can see in the picture given below:
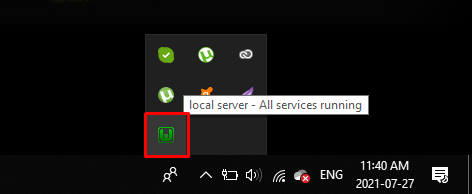
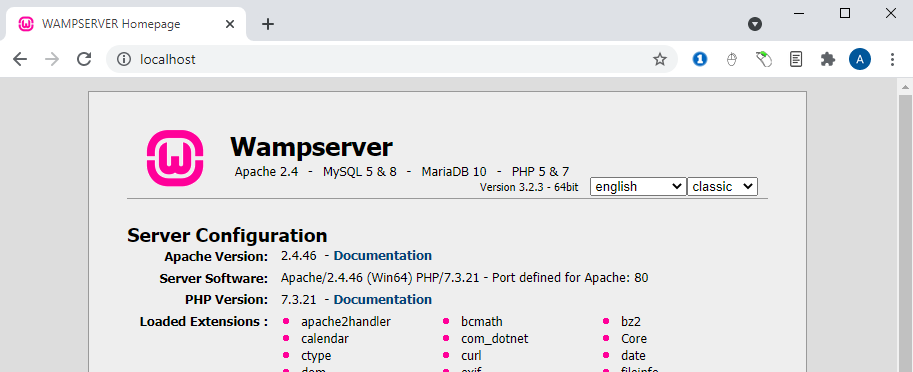
If you don’t see the WAMPServer in the icons bar, search WAMP in the windows search bar and open it. You can also test your server by entering the localhost address into your browser, and if it displays the given page, it is working fine.
Note: If the WAMP icon is red, then it means the Wamp server not working properly.
Step # 2: Create a Database in phpMyAdmin for WordPress Setup
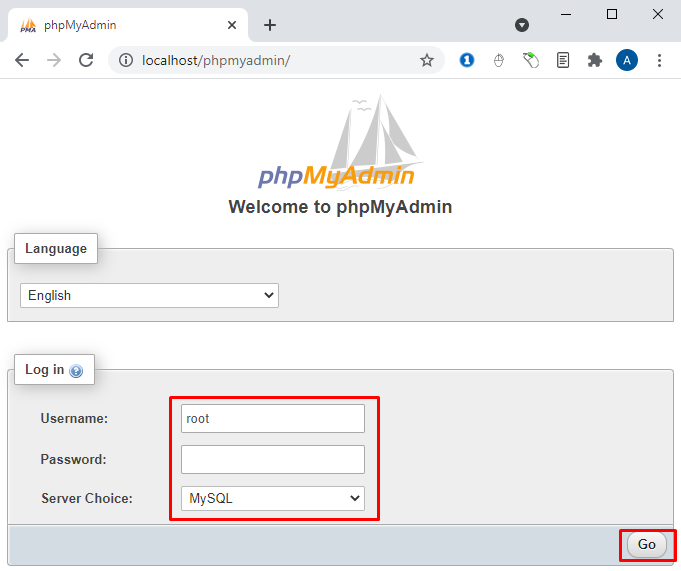
WordPress installation requires a database to install the setup files. So, let’s click on the WAMP icon (make sure it is green) and open phpMyAdmin to create a blank MySQL database. Alternatively, you can also open it by entering the http://localhost/phpmyadmin in the browser. It has by default “root” as a username and empty (leave it blank) as you can see below:
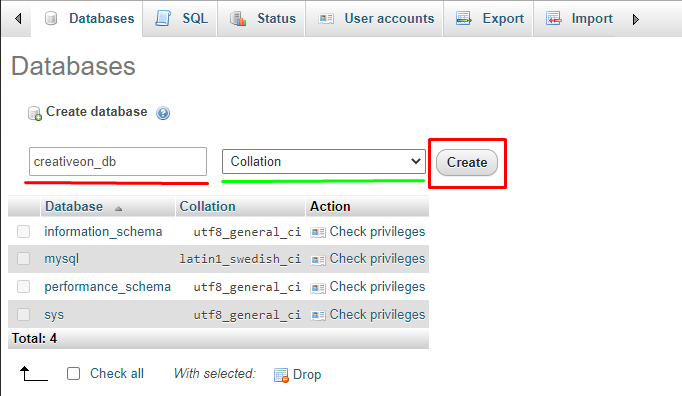
On successful login, click on the databases and write the name of your database (in my case, creativeon_db, select Collation (“that is a set of rules that defines how to compare and sort strings”) and then click on the create button.
Step # 3: Download and Install WordPress on Windows using WAMP
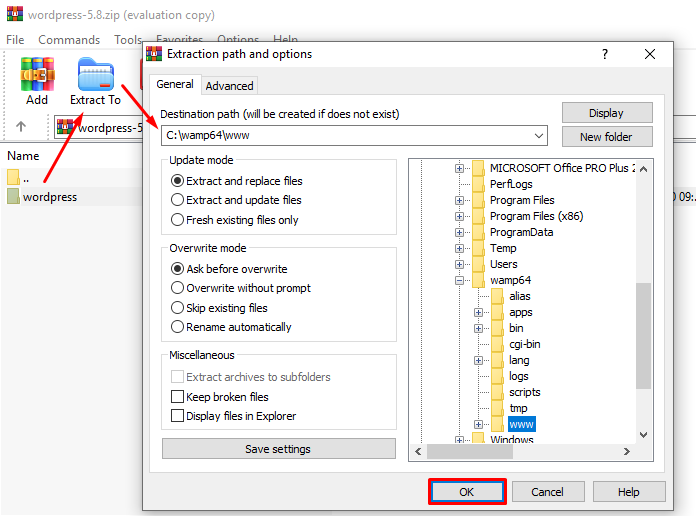
Download and extract the WordPress setup into the “WWW” folder that I have installed in the default location (C:\wamp64). If you have changed its default location, open where you have installed it and navigate to the WWW folder.
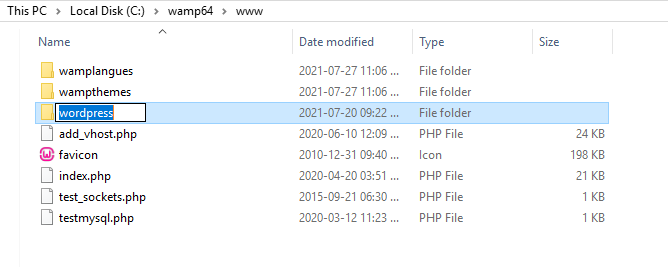
Now, open your WWW folder and rename the WordPress folder as per your website name, for example, creative or TestSite. This folder name will be the URL of your WordPress website installed on your localhost so, keep it meaningful.
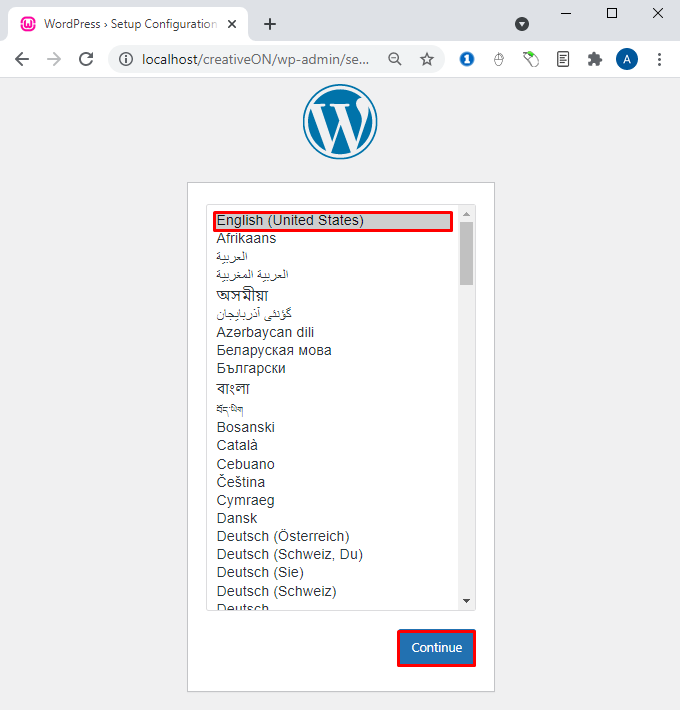
Now, open your web browser and write the URL http://localhost/creativeON (You will write your folder name in the place of creative) as you can see in the screenshot given below. You will see a list of available languages in WordPress to choose one of them. Would you please select your language (I am choosing English (United States)) and click on the Continue button?
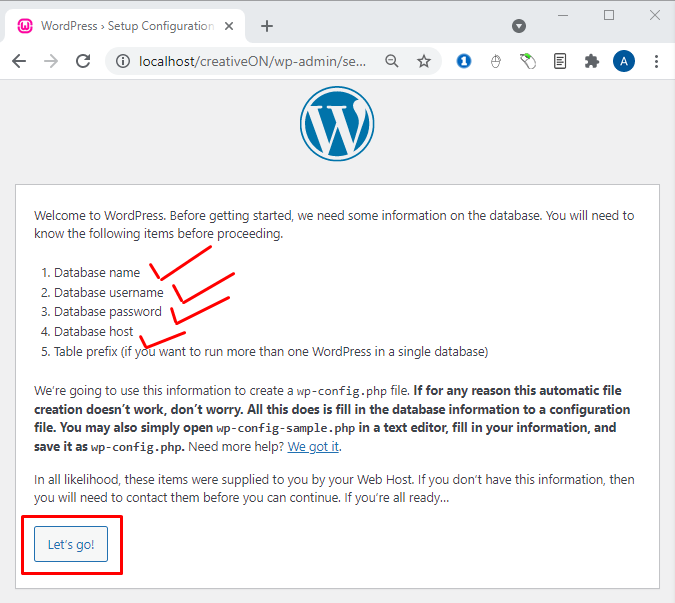
In this Window, you will get the information needed in the next step to continue with the installation. So, there is no need to worry about it and click on the Let’s go button because we have created a database in the previous steps.
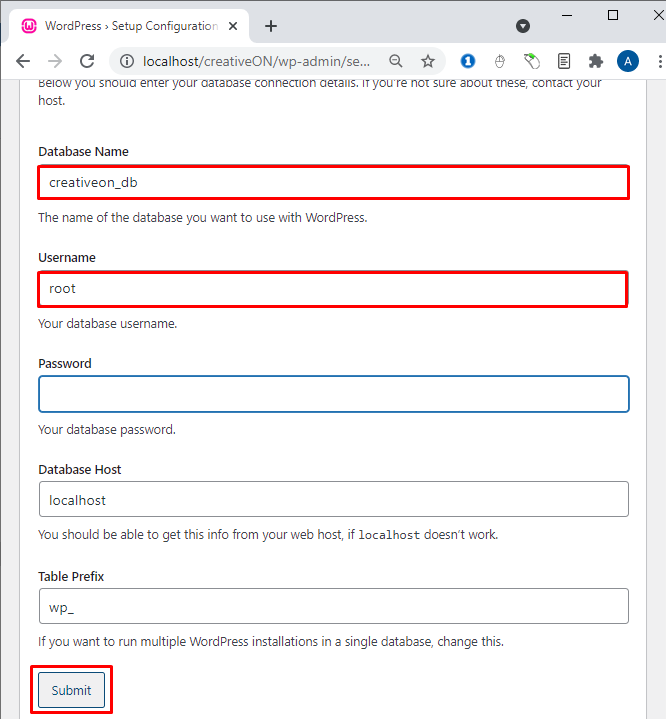
Enter the information of your Database Name (as I have created named creativeon_db), username (root is default username), password (please remove the password written in the password field leave this field empty) and click on the submit button.
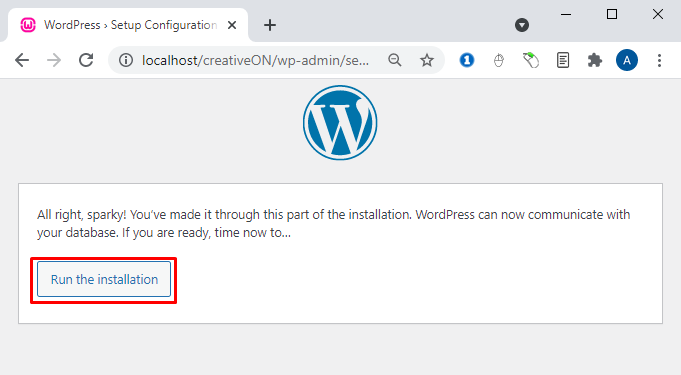
In the backend, WordPress will create a configuration file in the backend and notify you that a connection with the database has been established, and you can continue to install WordPress on WAMP.
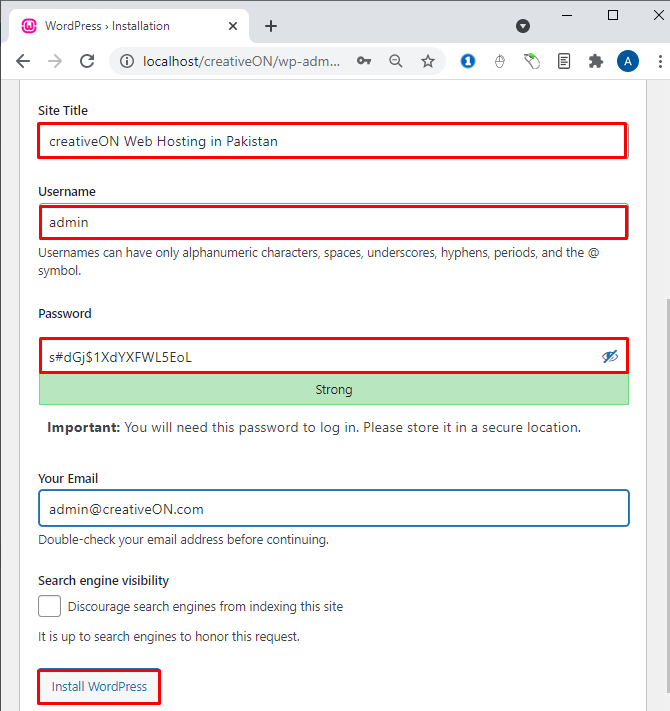
Now, finally, you can add your website title, WordPress username & password and email and install WordPress on the WAMP server with the most straightforward steps.
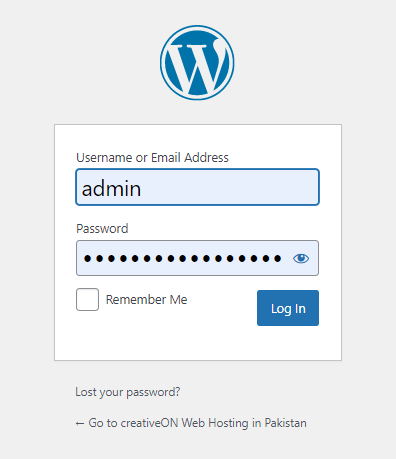
You will get a success message that WordPress has been installed, and now you can log in to your dashboard and develop your website. After completing this step, you’re able to answer the question of how to install WordPress on localhost.
Bonus Tip: Manage Permalinks in WAMP
You might be getting an error “page not found error,” which is a common issue in localhost environments such as WAMP. To fix this issue, you have to make sure the permalinks work fine by enabling the Rewrite module in Apache. Click on the WAMP icon and navigate to the Apache modules and enable rewrite_module as seen below:

If it is already set to enabled, then there is no need to change it, so links should work now when using the control panel in Settings>Permalinks.
Final Words
Congratulations, you have done the complete step-by-step information on how to install WordPress on WAMP. Hopefully, you are not getting any errors, but if you face any problem, write your issue in the comment section, and I will get back to you with a detailed solution.
Complete your website on your Windows computer, register a domain name, get a web hosting plan from creative and migrate your website on the internet.