Hey there! Thinking about setting up Google Workspace for your business? Great choice! It’s like giving your business a superpower—email, calendars, video calls, and more, all in one place. And guess what? It’s easier than you think! Let’s walk through it step by step.
What Is Google Workspace?
Google Workspace (formerly G Suite) is a set of tools from Google that helps businesses stay organized and work better together. With it, you get:
- Professional email (yourname@yourbusiness.com)
- Google Drive to store and share files
- Google Meet for video calls
- Google Calendar to keep track of meetings
- Docs, Sheets, and Slides to create and edit documents
And the best part? You can use it from anywhere!
For more details, check out CreativeON’s Google Workspace services.
Step 1: Pick a Google Workspace Plan
Before setting things up, you need to choose the right plan for your business. Google offers different options based on the number of users and features you need. Here’s a quick look:
- Business Starter: Best for small teams. Gives you professional email and basic features.
- Business Standard: More storage and extra video call features.
- Business Plus: Even more storage and better security.
? If you’re just starting, the Business Starter plan is usually a good pick! You can also explore affordable Google Workspace plans at CreativeON.
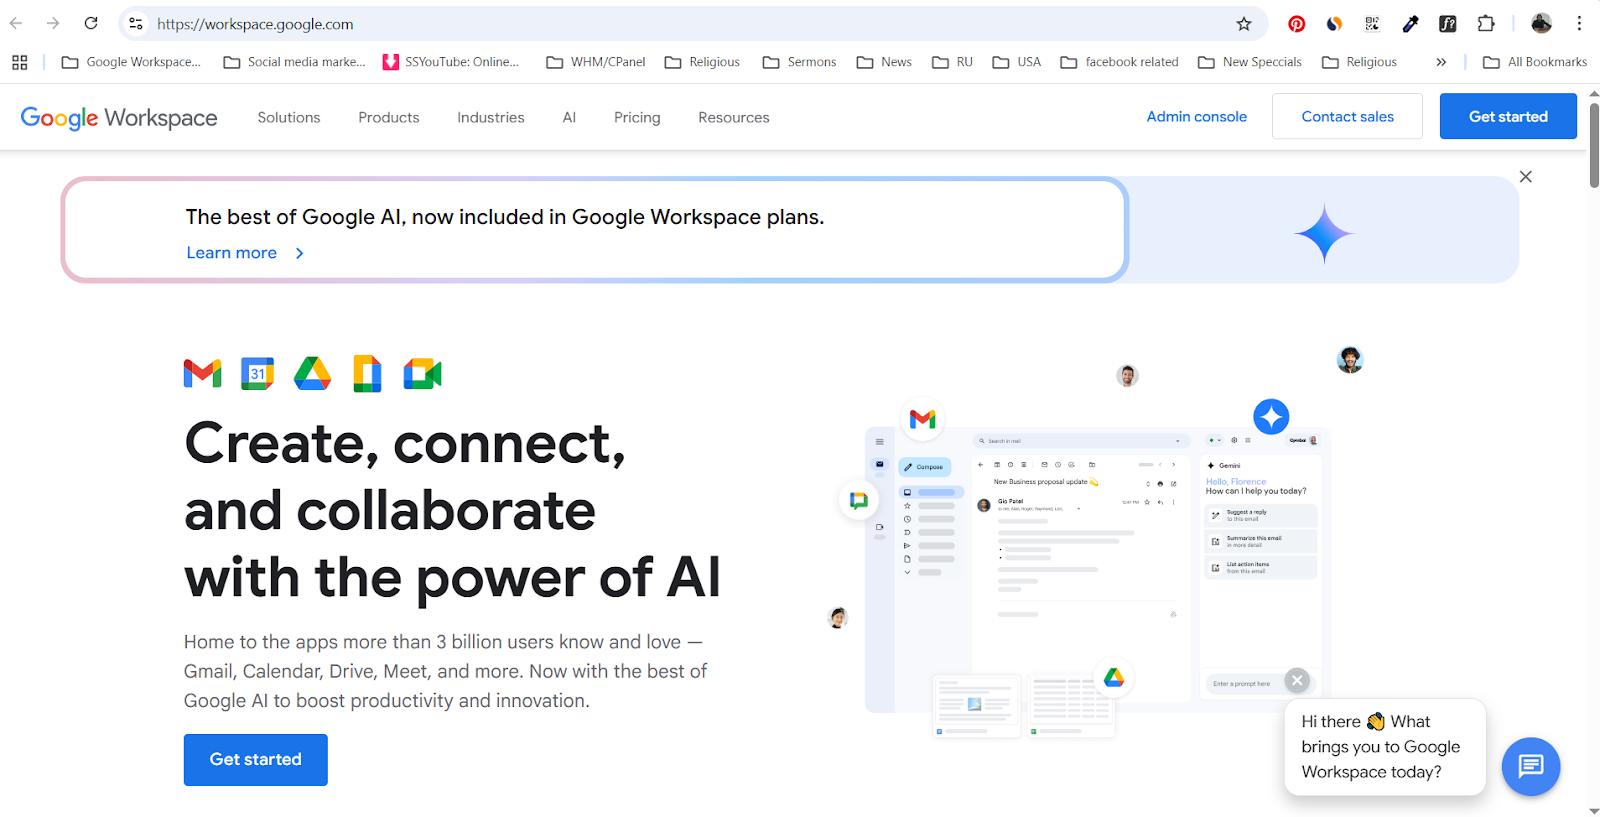
Step 2: Sign Up for Google Workspace
- Go to the Google Workspace website (https://workspace.google.com)
- Click Get Started
- Enter your business name and the number of employees

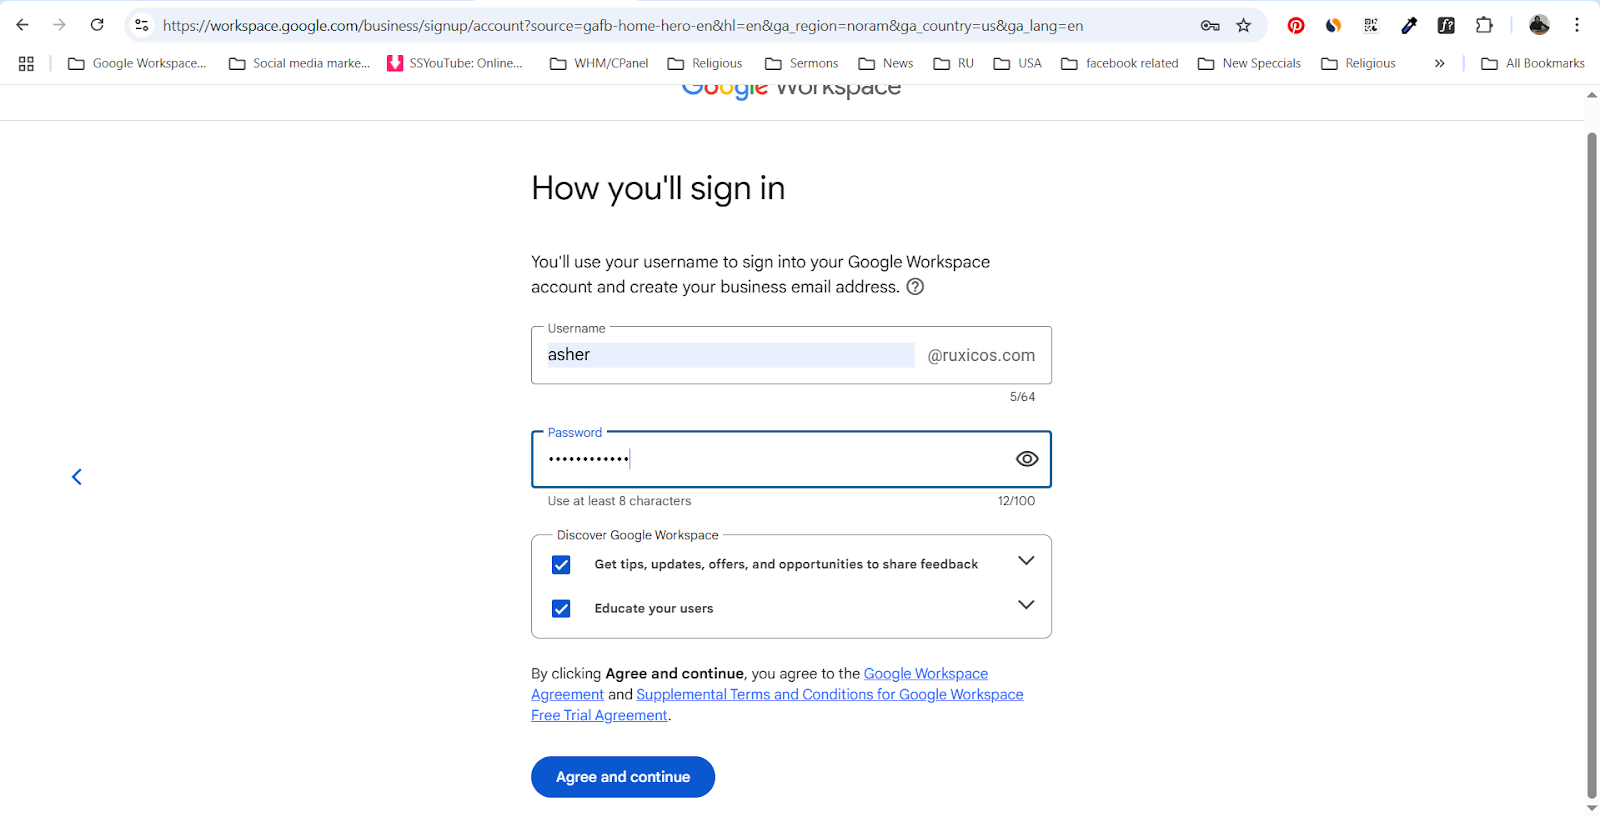
- Create your admin account (this will be your main email, like you@yourbusiness.com)
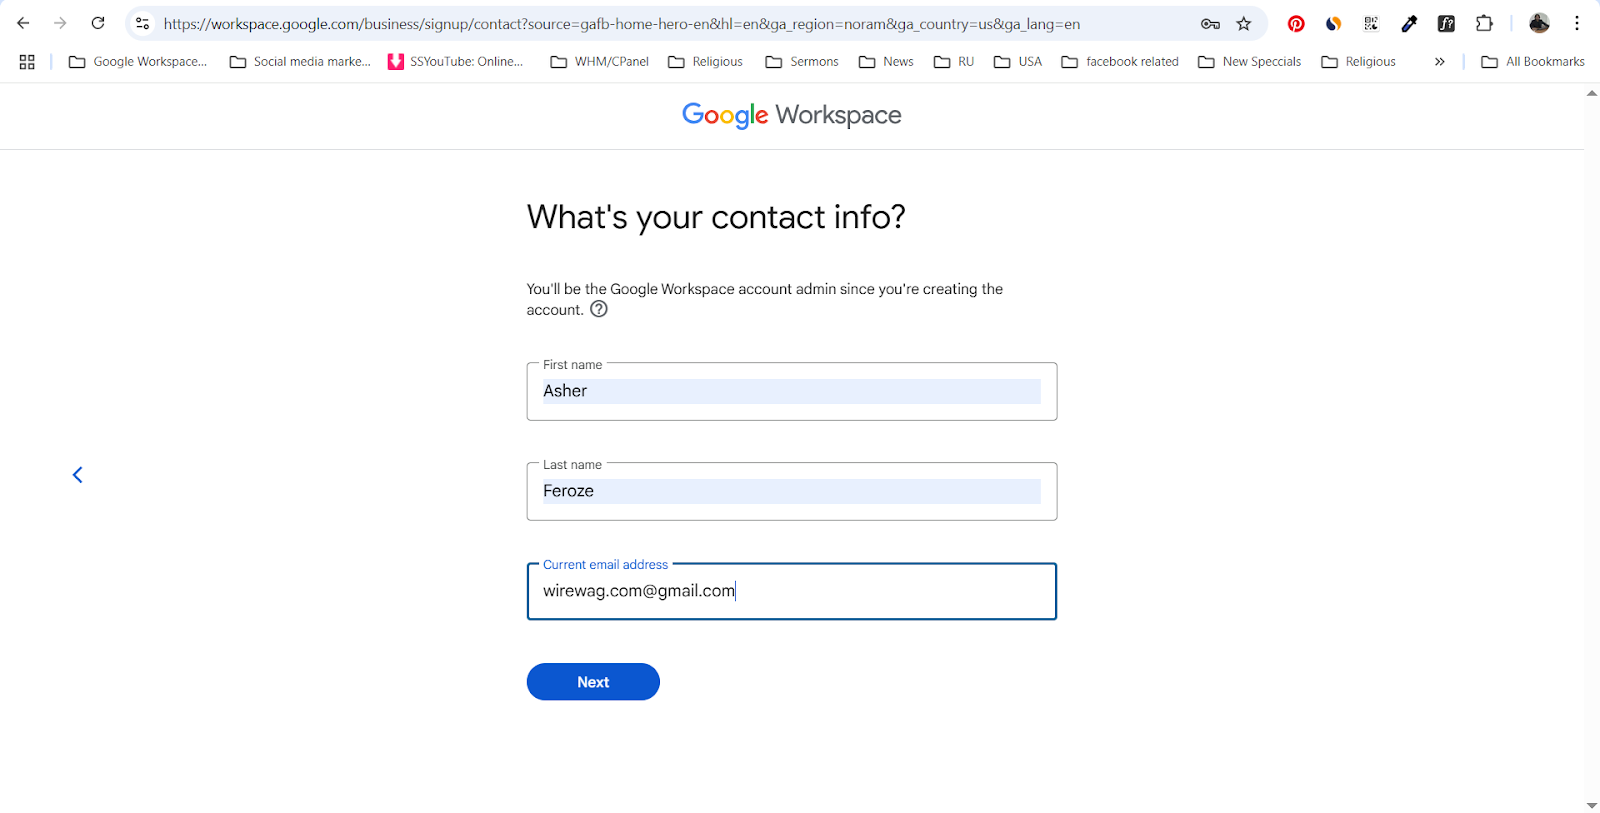
- Set a strong password (mix letters, numbers, and symbols)
And that’s it! You’re in! ? If you need help, CreativeON offers expert setup assistance.
Step 3: Connect Your Domain
Your domain is the part after “@” in your email (like yourbusiness.com). If you don’t have one yet, creativeON or Google can help you buy one. If you already have a domain, here’s how to connect it:
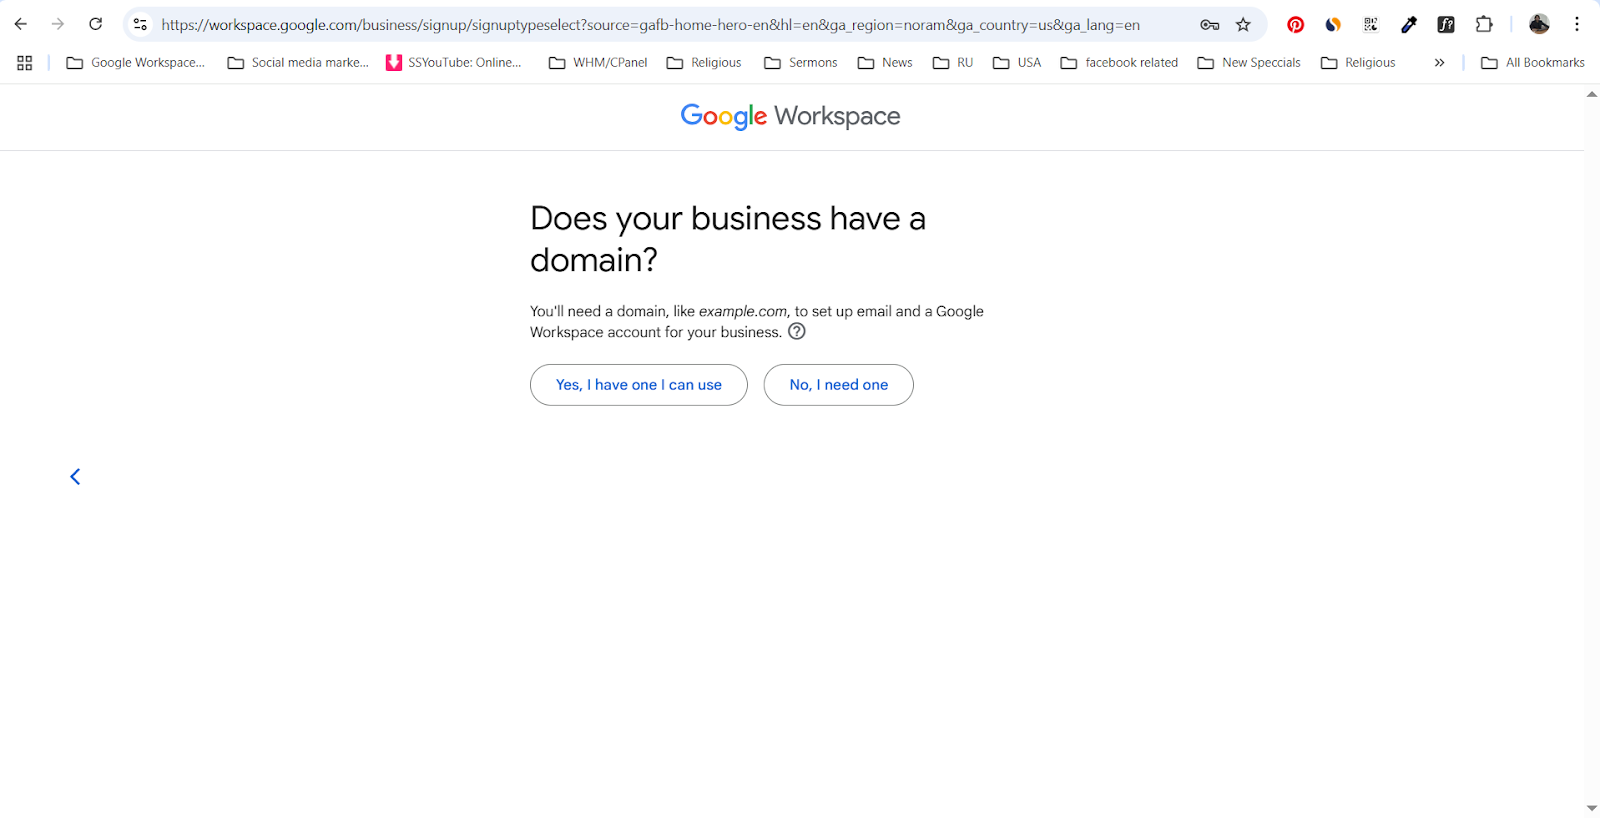
- In your Google Workspace setup, choose “I already have a domain.”
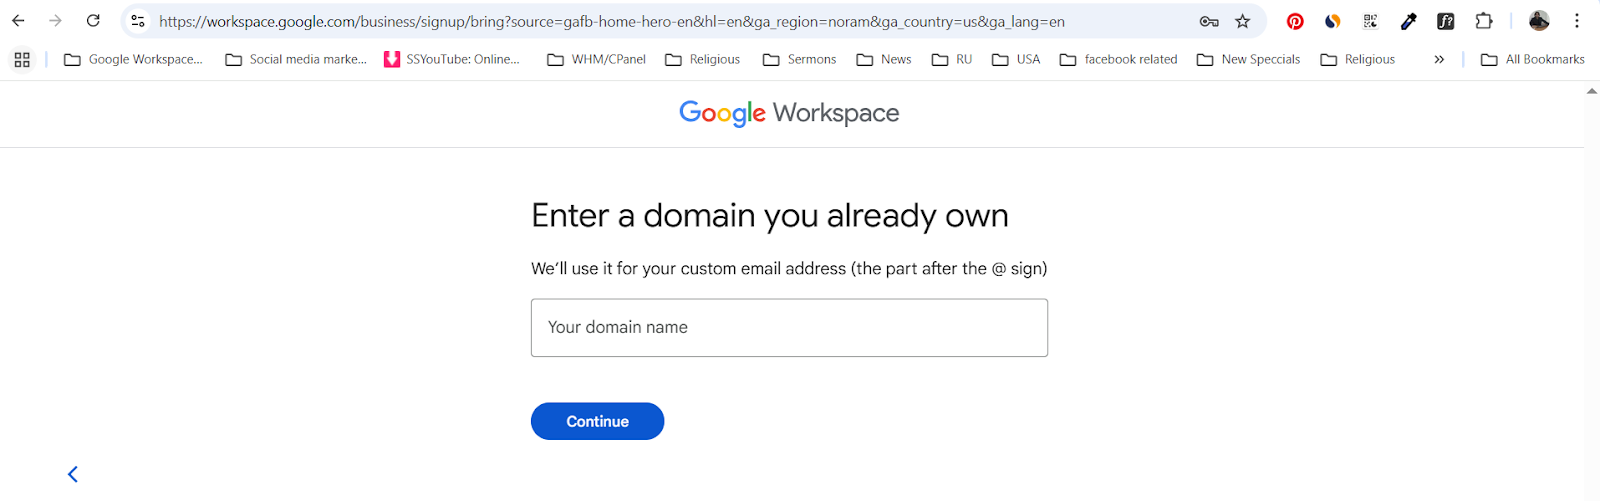
- Type in your domain name.
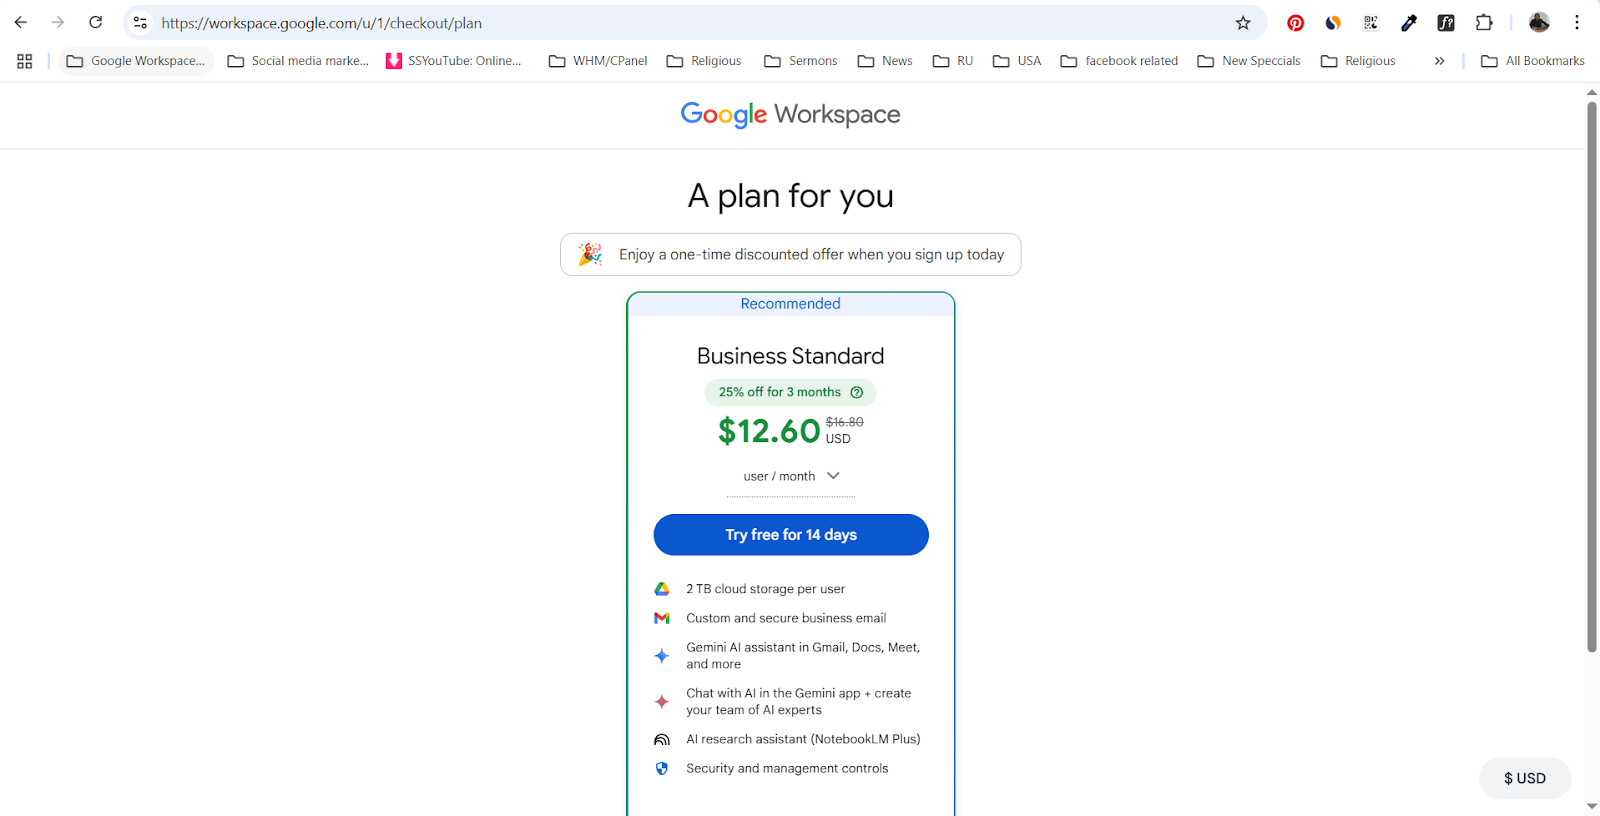
- After it Google will take you a screen to choose the subcription package.
- After chooseing the pacakge as per your need it would take you to the next screen where it would ask for the payment details. Don’t worry it won’t deduct the payment at the begining once the trial of 14 is over it would deduct the payment.
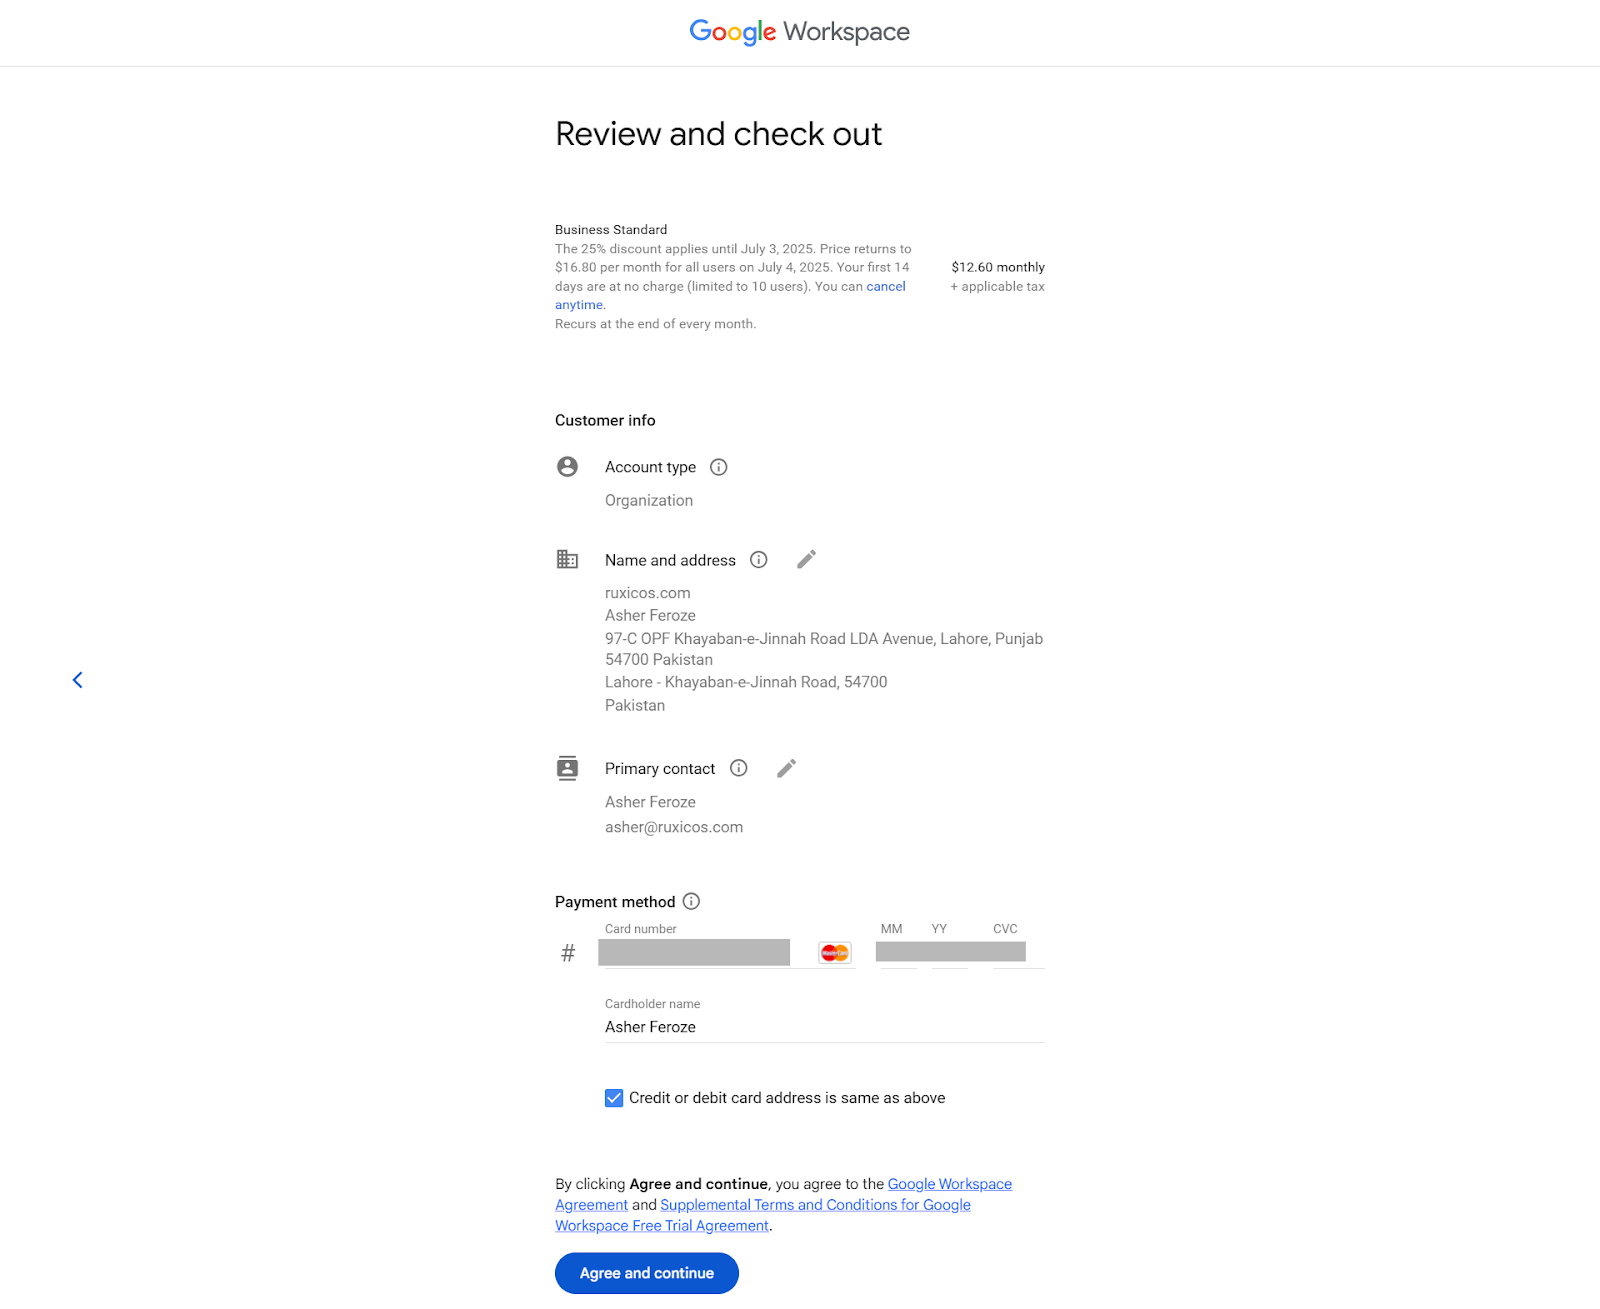
Once your click on Agree and continue your account would be activated and Google would ask you to verify your domain.
Once Google confirms the domain is yours, you’re ready for the next step!
Step 4: Login to Admin Console for the first time
If you have a team, you’ll want everyone to have their own email. Here’s how:
- Go to the Admin Console (admin.google.com)
After you signed in it would ask you to agree to the terms and conditions
Press the I Understand Button
Once You are done with this would take you to the admin panel and would ask you to verify your domain.
Verify your Domain ownership for Google Workspace
If you already have a domain and brought it to Google, you need to prove that it belongs to you.
Don’t worry! Google makes this easy. It knows where you bought your domain and gives you simple steps to check it.
To begin, click Verify. (You also got an email about this.)
Change Your MX Records to Get Emails in Gmail
To make sure your emails go to Gmail, you need to update your domain’s MX records.
No need to worry about the technical stuff!
Just log in to the website where you bought your domain, find the DNS settings, and change the MX records to the ones Google gives you.
You won’t have to figure this out alone—Google will guide you step by step. And if you need help, Google Workspace support is available 24/7!
On the other hand when you buy it from an authorized reseller or partner like creativeON. You don’t have to do even a single step and all is done by the technical staff of creativeON.
Now you are ready to create your users with Google Workspace for your business.
- Click Users > Add User
- Type in their name and pick an email (like sarah@yourbusiness.com)
- Set a temporary password
- Click Save
Now, your team can log in and start using their new Google email!
Step 5: Secure Your Account
Your business emails and files are important, so let’s keep them safe:
- Turn on 2-Step Verification (this adds an extra layer of security)
- Create strong passwords for all users
- Manage user permissions (so only the right people can access important files)
Step 6: Set Up Google Drive & Other Tools
Now that your email is working, let’s make the most of Google Workspace!
- Google Drive: Store and share files (docs, images, videos, etc.)
- Google Calendar: Schedule meetings and set reminders
- Google Meet: Host video calls with your team
- Google Docs, Sheets, and Slides: Create and edit work documents online
Everything works together, so your team can work from anywhere without missing a beat! Need more storage? Check out Google Drive options at CreativeON.
Step 7: Invite Your Team to Google Workspace
Now it’s time to let your team know they have shiny new email accounts and tools to use!
- Send them their new login details
- Show them how to access Gmail, Drive, and Meet
- Encourage them to set up their email on their phone (Gmail app works great!)
Tip: Schedule a quick team meeting on Google Meet to answer questions and make sure everyone is ready to go!
Quick Summary
Here’s a fast recap of what we did:
✅ Picked a Google Workspace plan ✅ Signed up and created an admin account ✅ Connected our domain ✅ Added users and set up email ✅ Secured accounts with 2-step verification ✅ Set up Google Drive, Meet, and other tools ✅ Invited the team to get started
And that’s it! ? You’ve officially set up Google Workspace for your business! Now you and your team can work together smoothly, no matter where you are.
? If you Need expert assistance? CreativeON is here to help!